
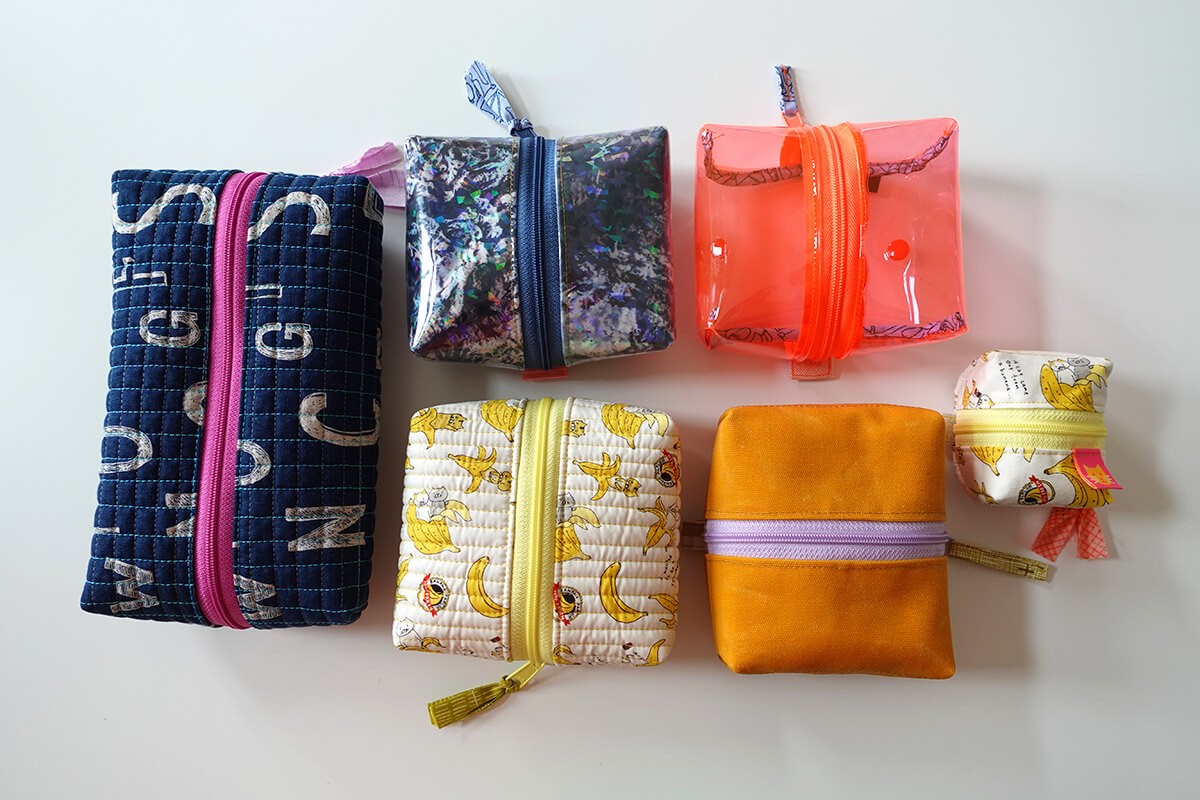
Split Pouch Sew Along: Week 3
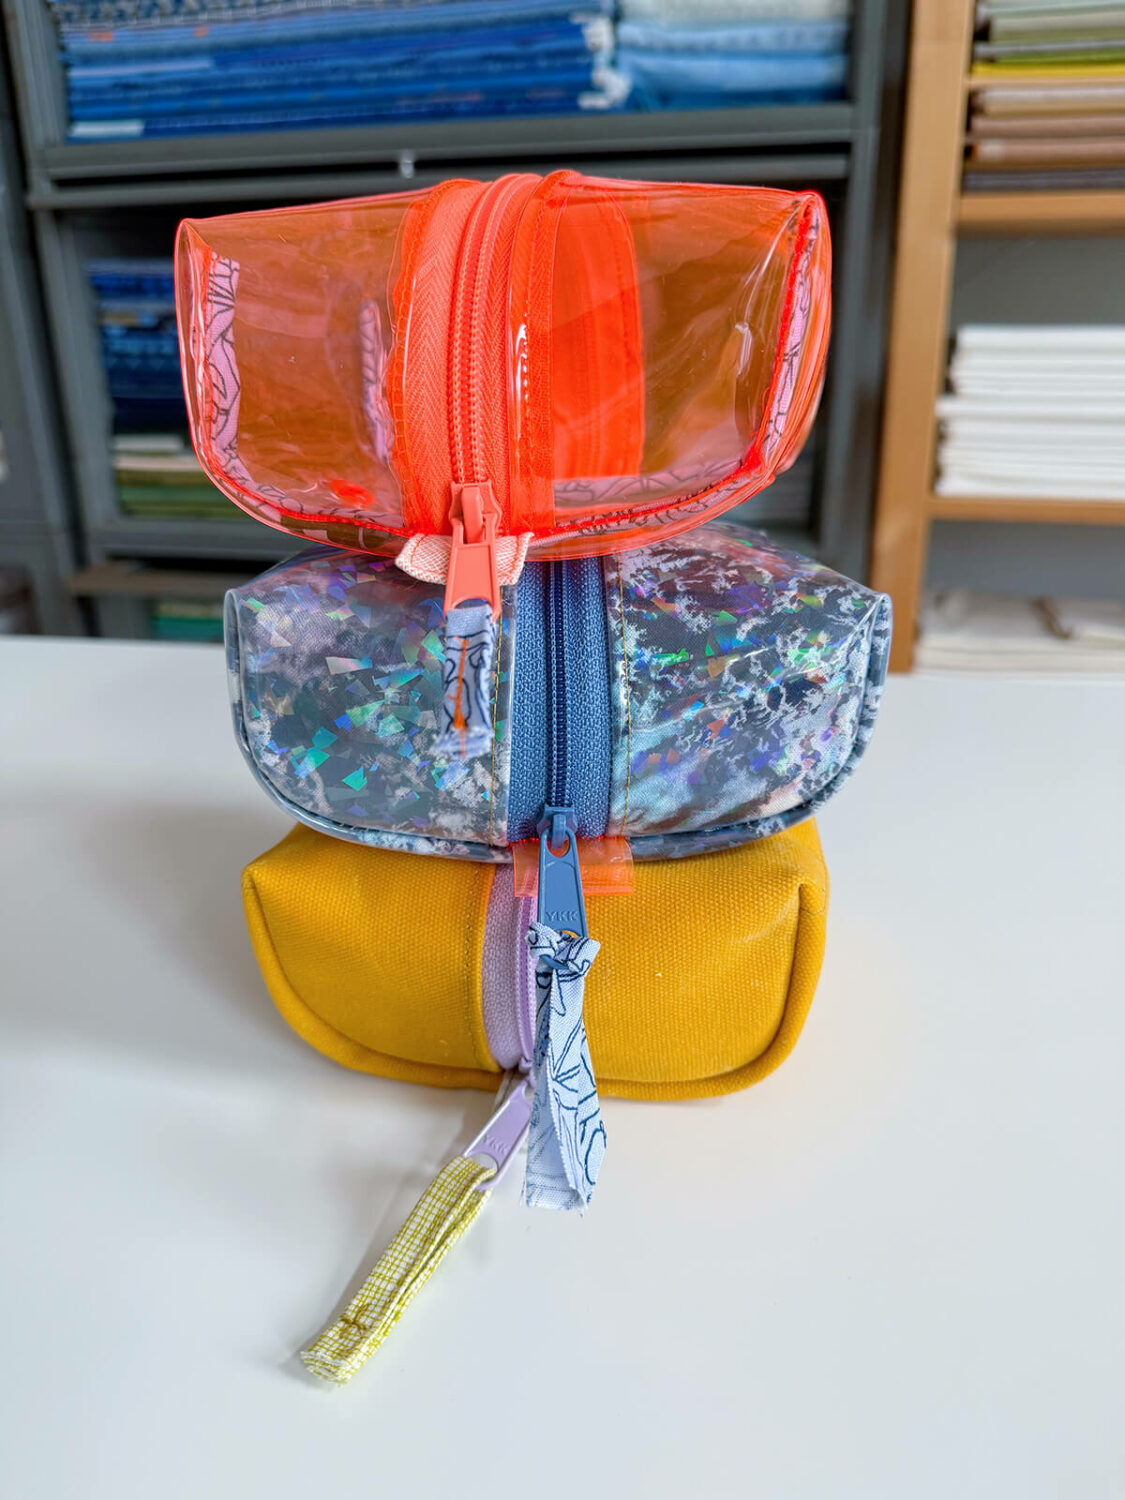
It’s week 3, and I’m all about embracing some new materials. I made three Split Pouches this week in vinyl and waxed canvas. Let’s take a look.
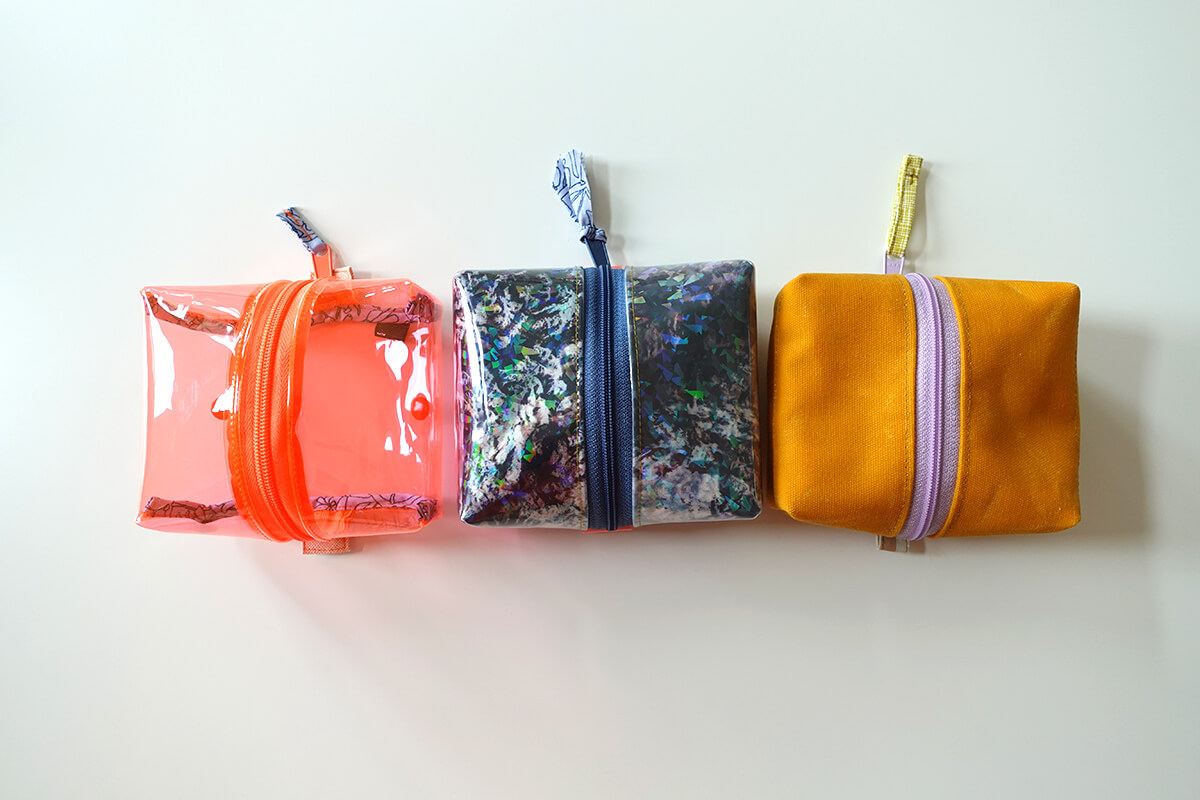
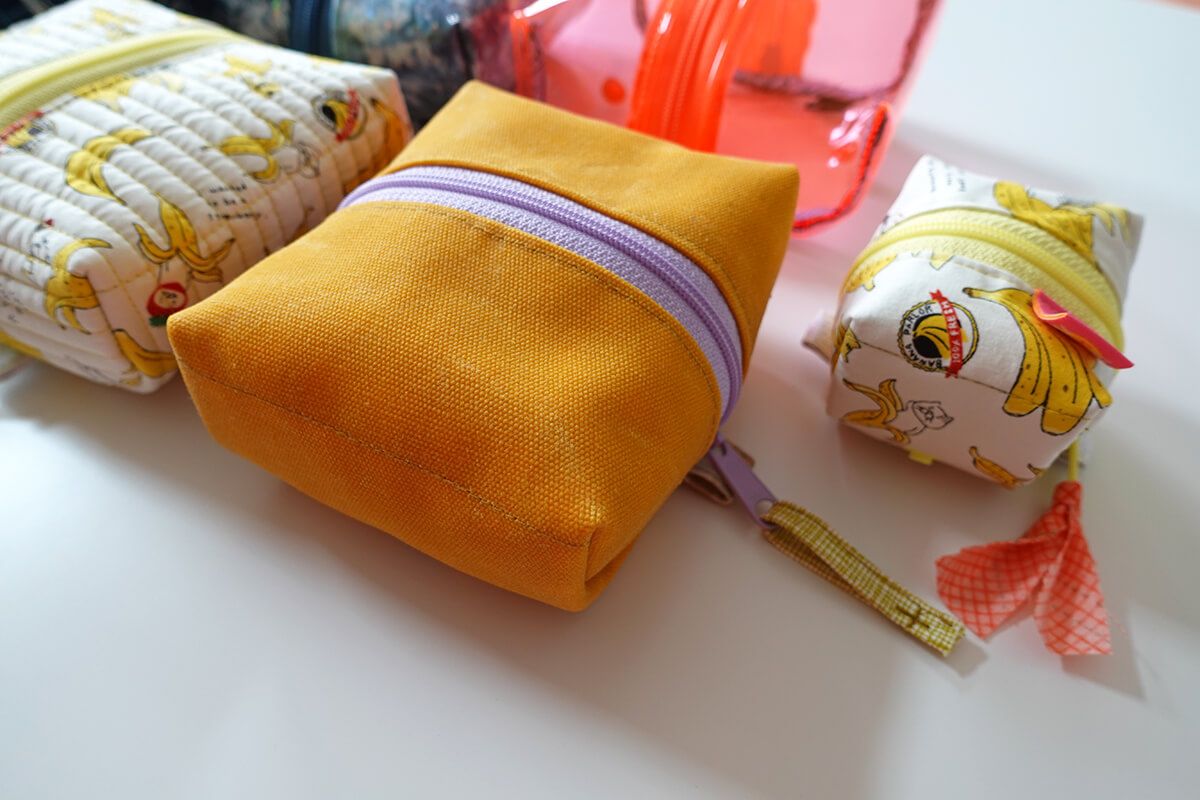
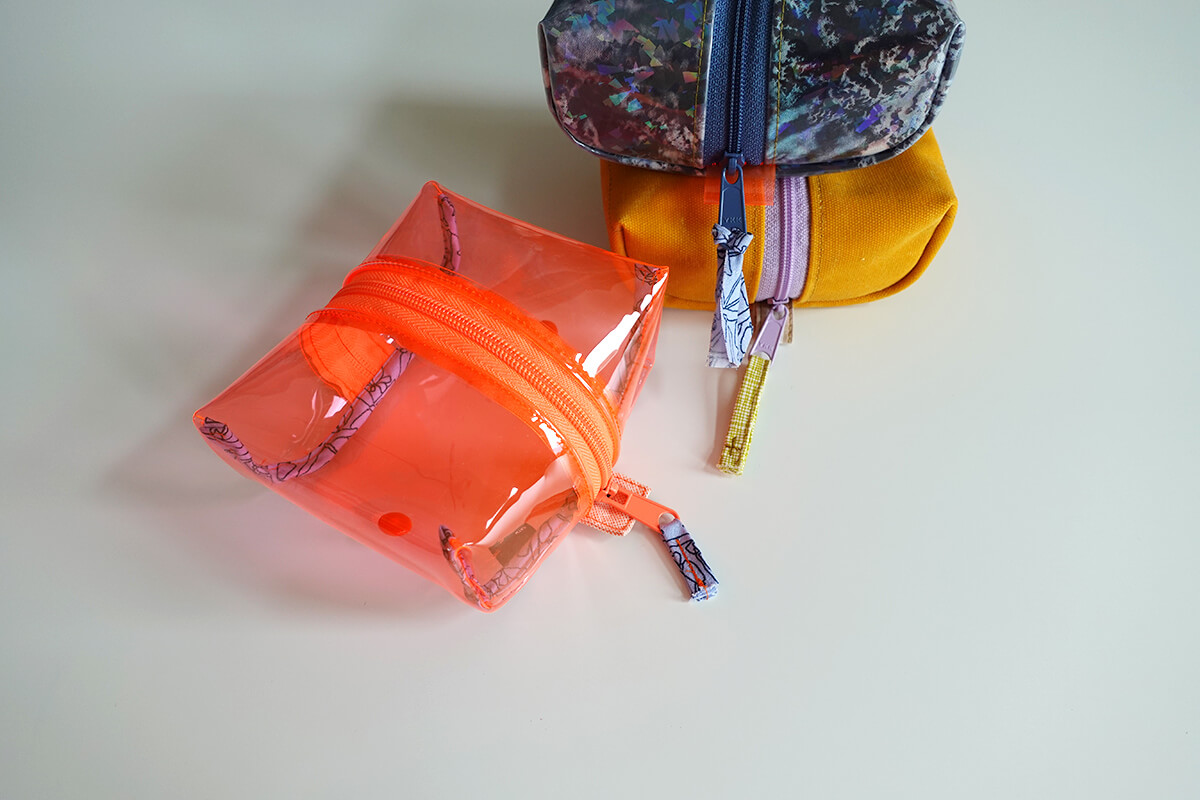
Spirited group of pouches, right?
Week 3 Video
Here’s a video for the week.
Inspired by the Materials
Last week, I was inspired by the recipients, this week, I’m inspired by the materials.
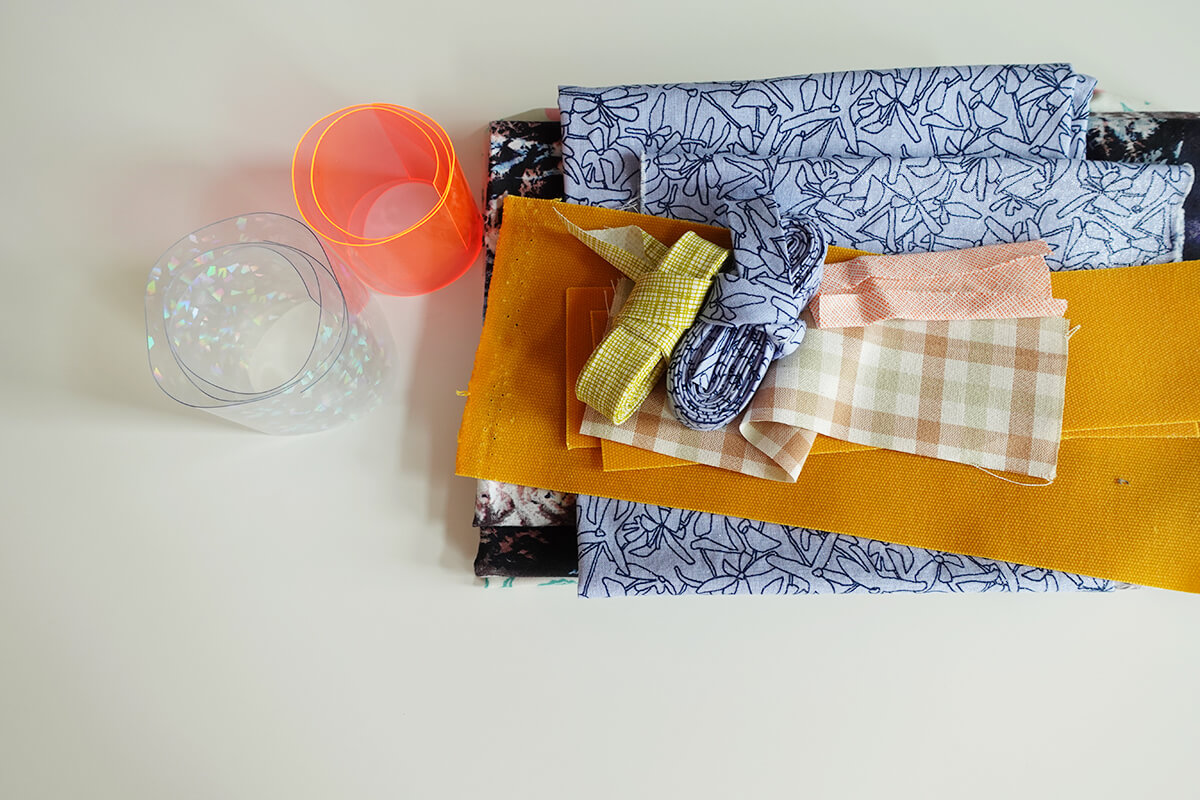
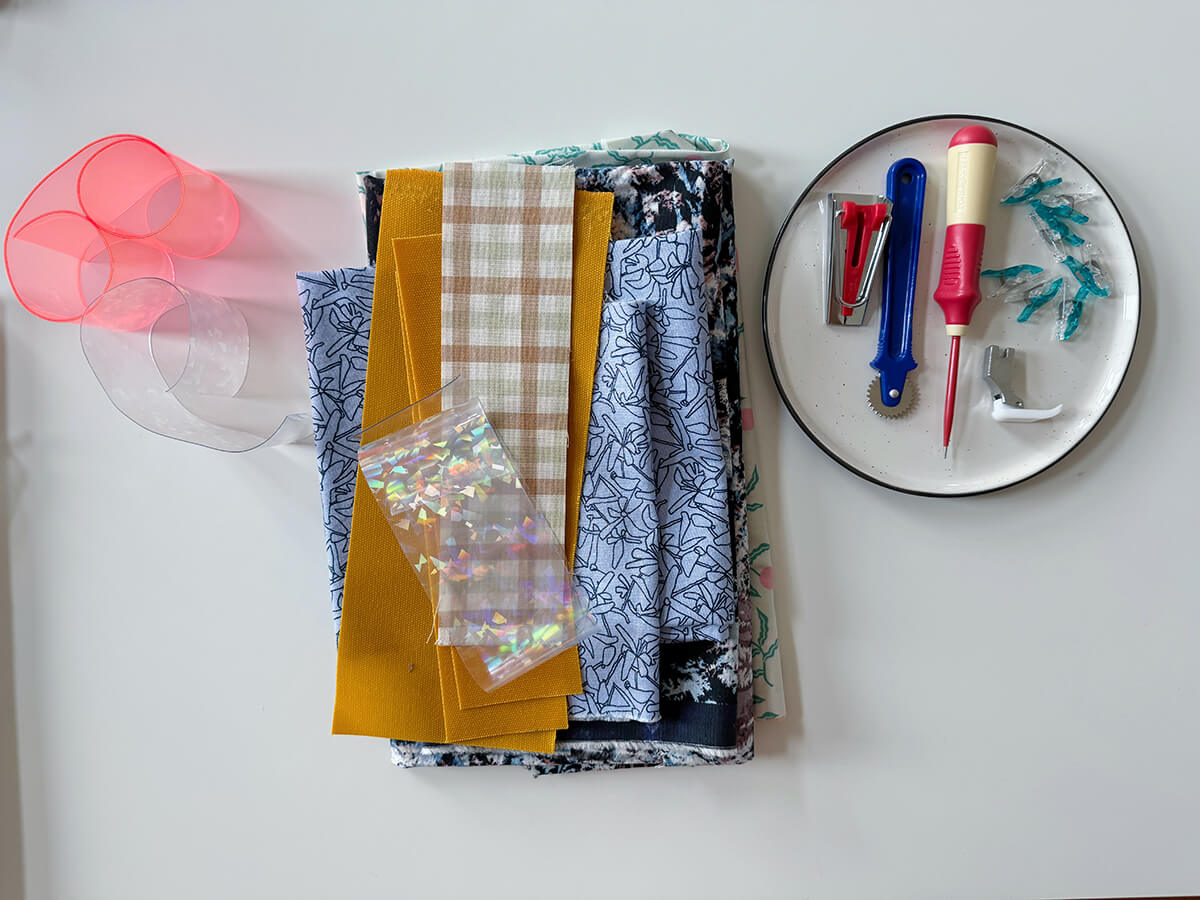
I have vinyl and waxed canvas–oh my! After pulling together last week’s post, I fell down a bit of a rabbit hole sourcing some goodies.
As a result, I snapped up this vinyl*, this vinyl* and this vinyl*, which started my Materials Extravaganza.

First Pouch
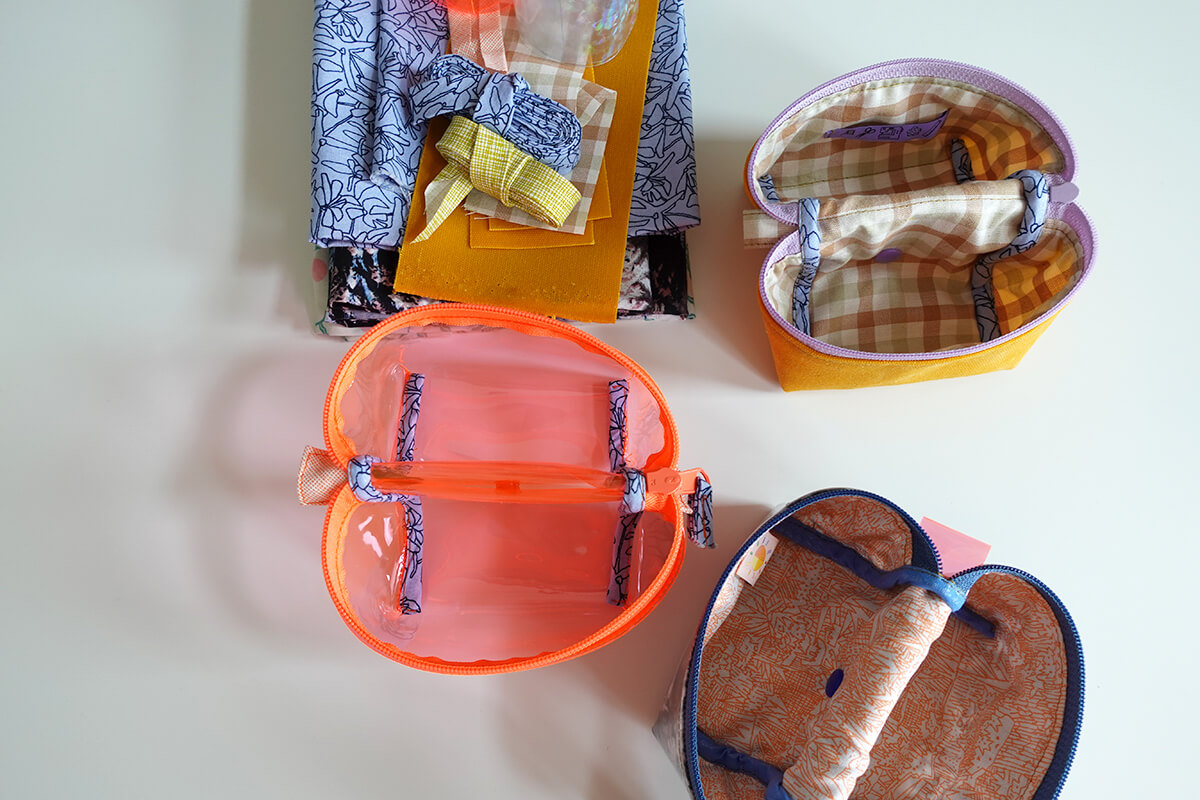
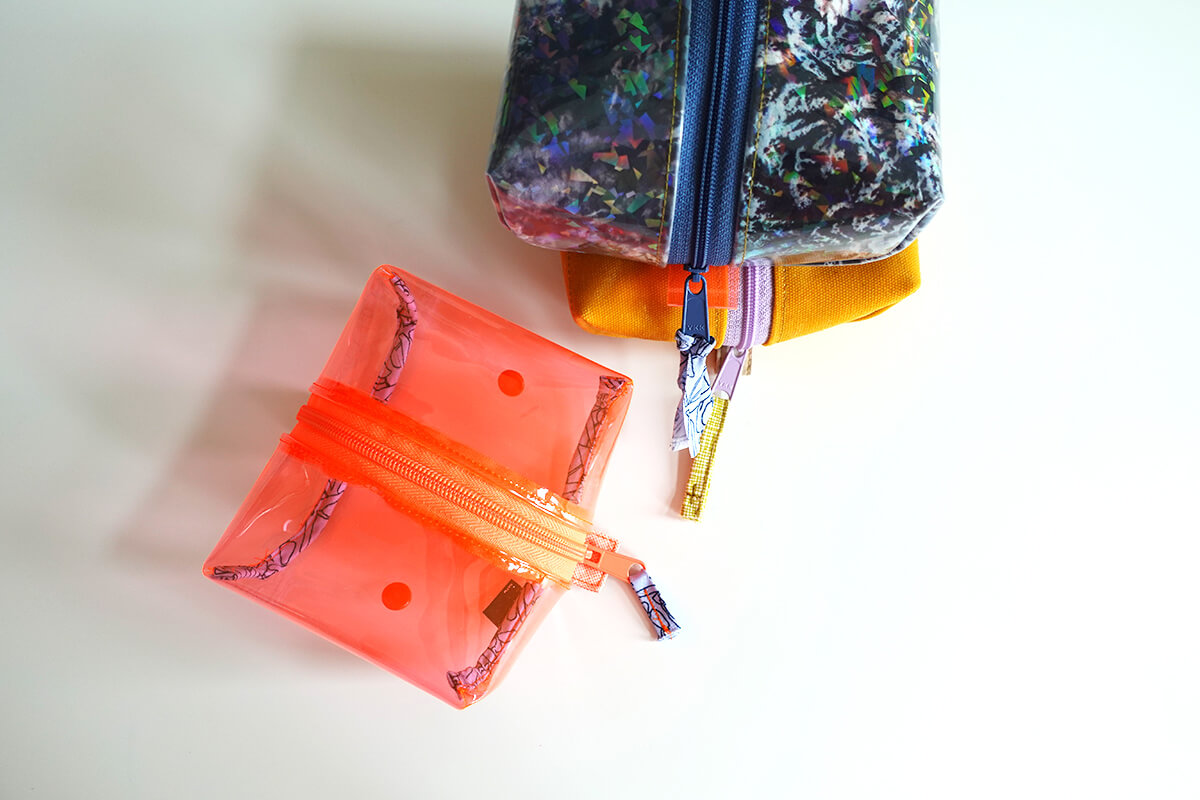
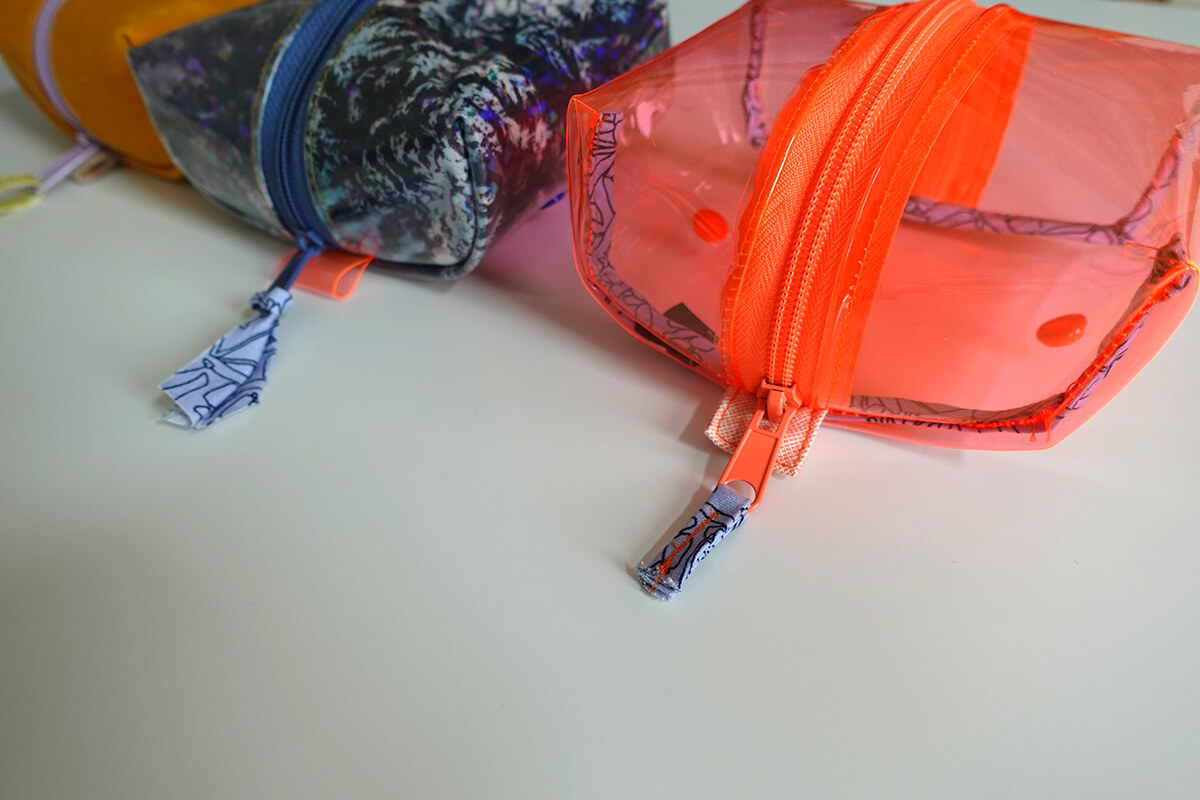
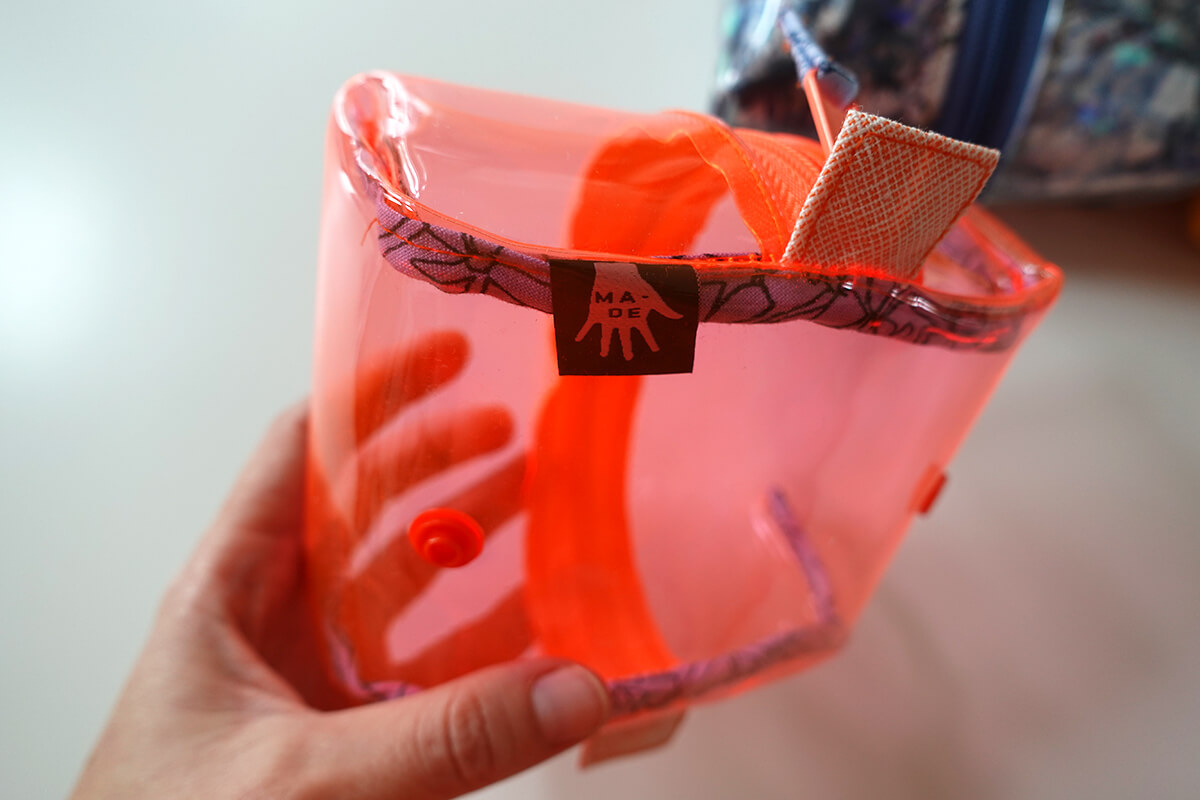
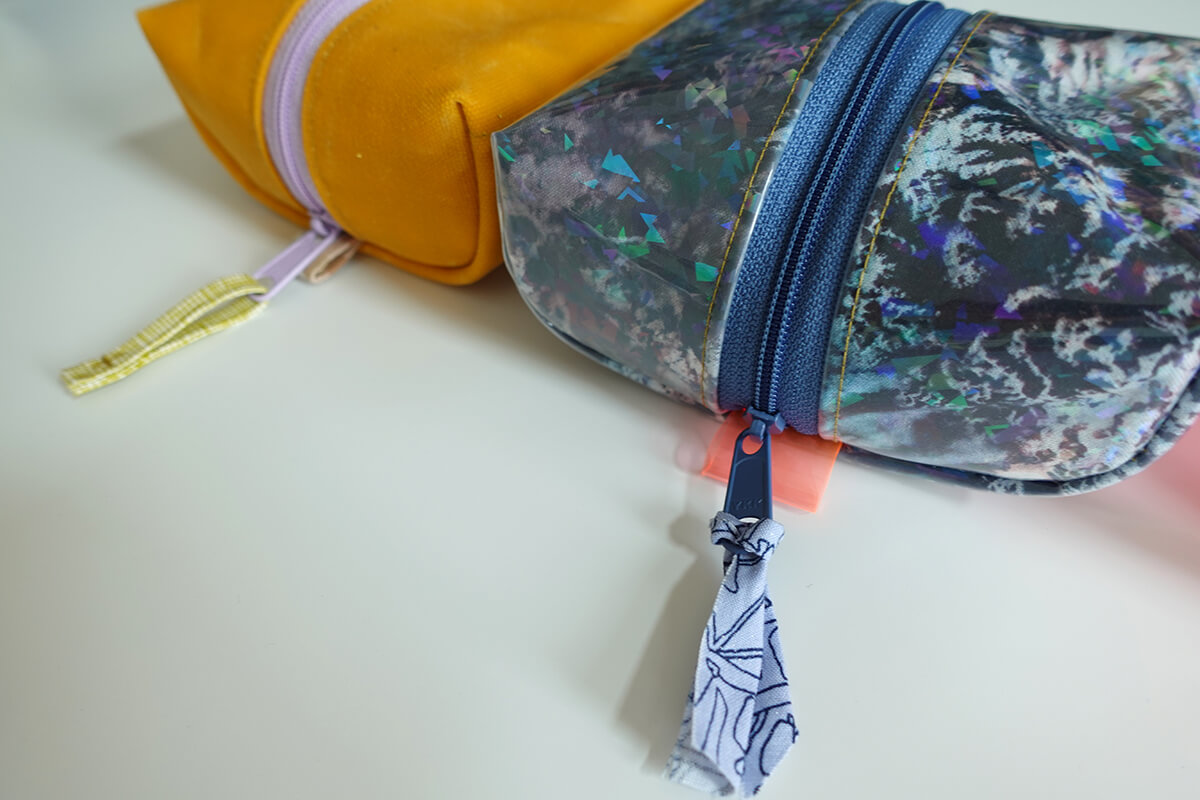
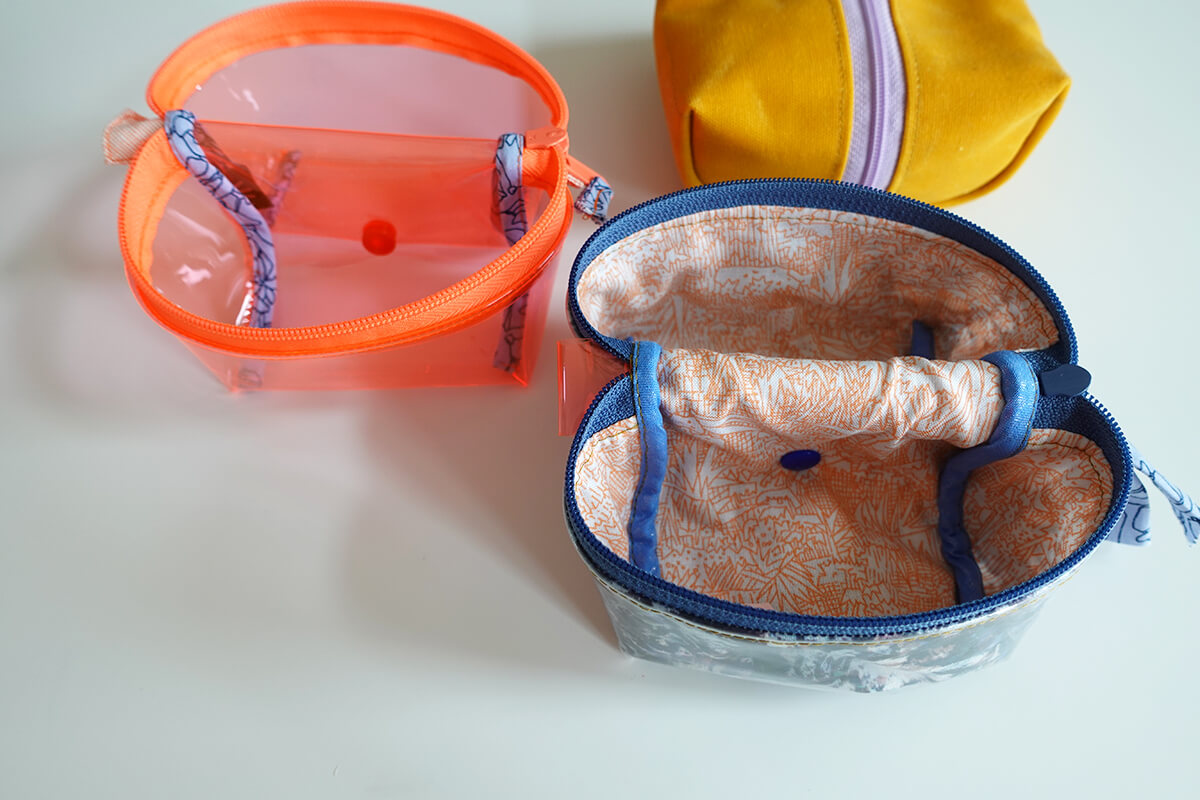
I dove right in to sewing with vinyl on this first pouch. When you are really motivated to give something a try, I find that diving right in can be a great way to go. This pouch is made with a single layer of vinyl–no lining, and then it has fabric covering the seams.
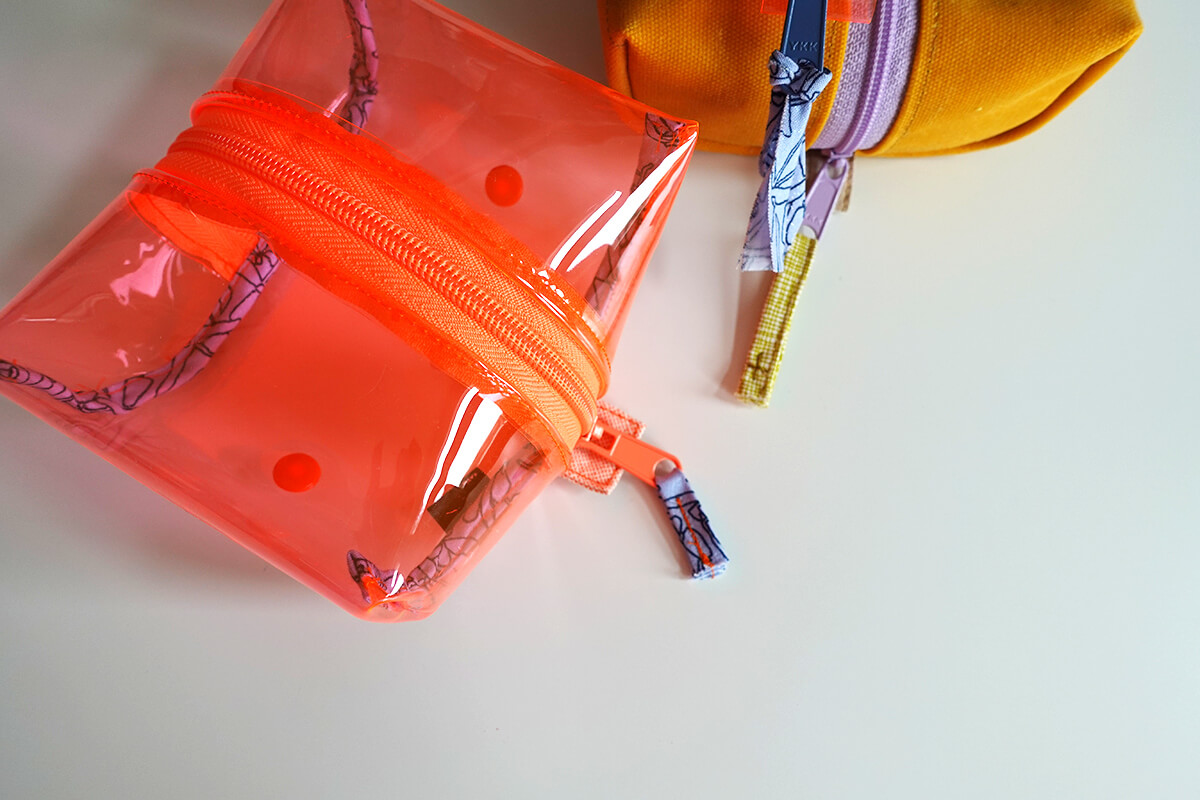
One of the many tricks here is working cleanly and being aware that you’ll basically be able to see everything since the material is transparent.
The vinyl was much brighter and more florescent than I thought when it arrived. This was a happy surprise!
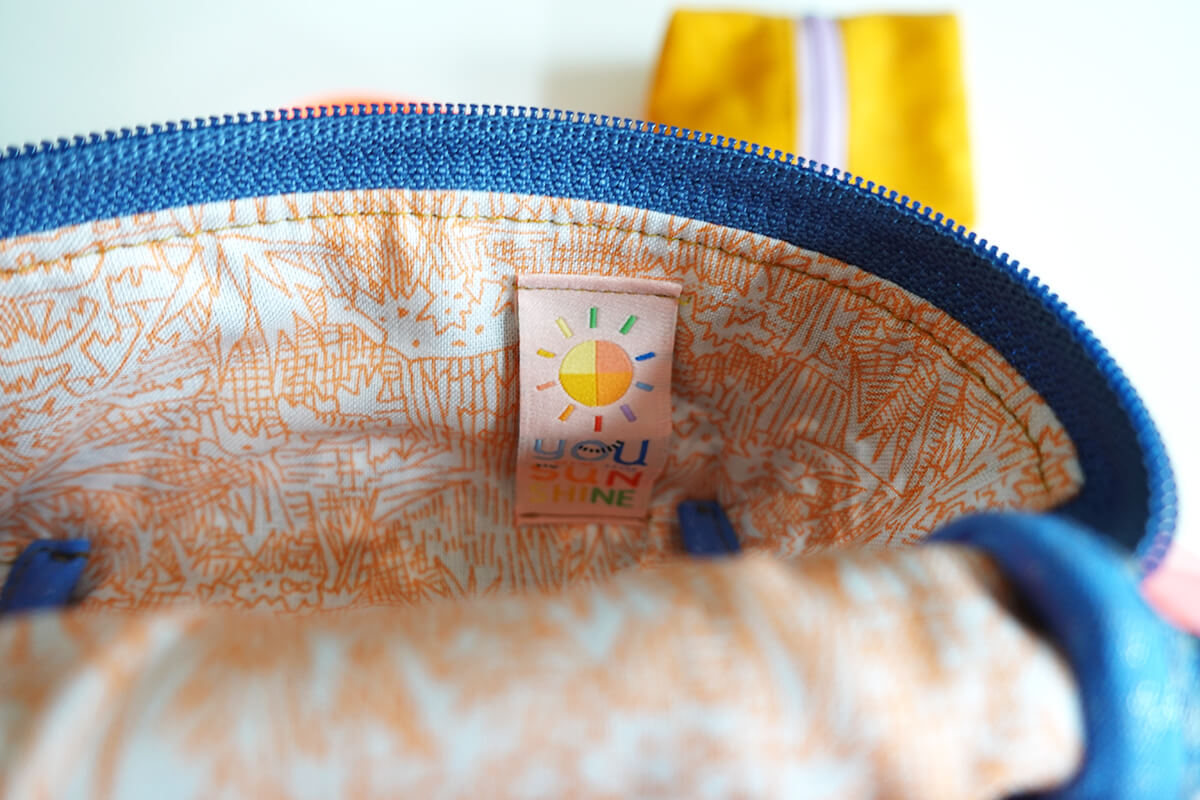
I forgot to sew in the label when I installed the zipper, so I installed it on the inside at the side seam with the label turned to the outside. Since the vinyl is clear, you can see it!
Vinyl can be a bit tricky to work with, and so I’m including some tips below. If it’s your first time, give yourself some grace. It’ll get easier with practice.
Second Pouch
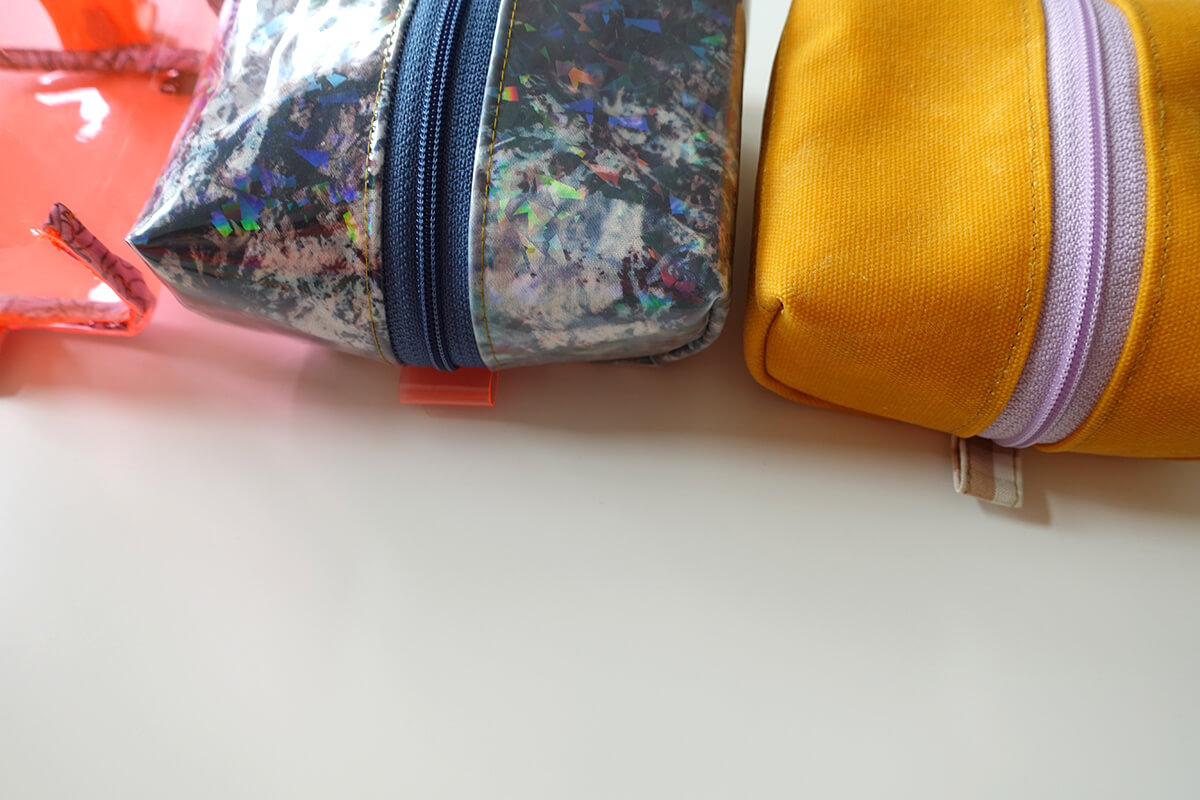
My second pouch is an easier fabric to work with, compared to the see-through vinyl. I picked up this waxed canvas from The Modern Sewist when I was there earlier this year. I love the color, and I love the thick texture and structure of the fabric. Waxed canvas wears beautifully over time and with use. It softens and is just so lovely.
Since the fabric is a light color, I realized that you could see the lining fabric through it as I was cutting out the pieces. At that point I could have decided to select something else–perhaps a solid or lighter fabric that wouldn’t show through, but I really liked this combination. The slight see-through doesn’t bother me, and so I stayed the course.
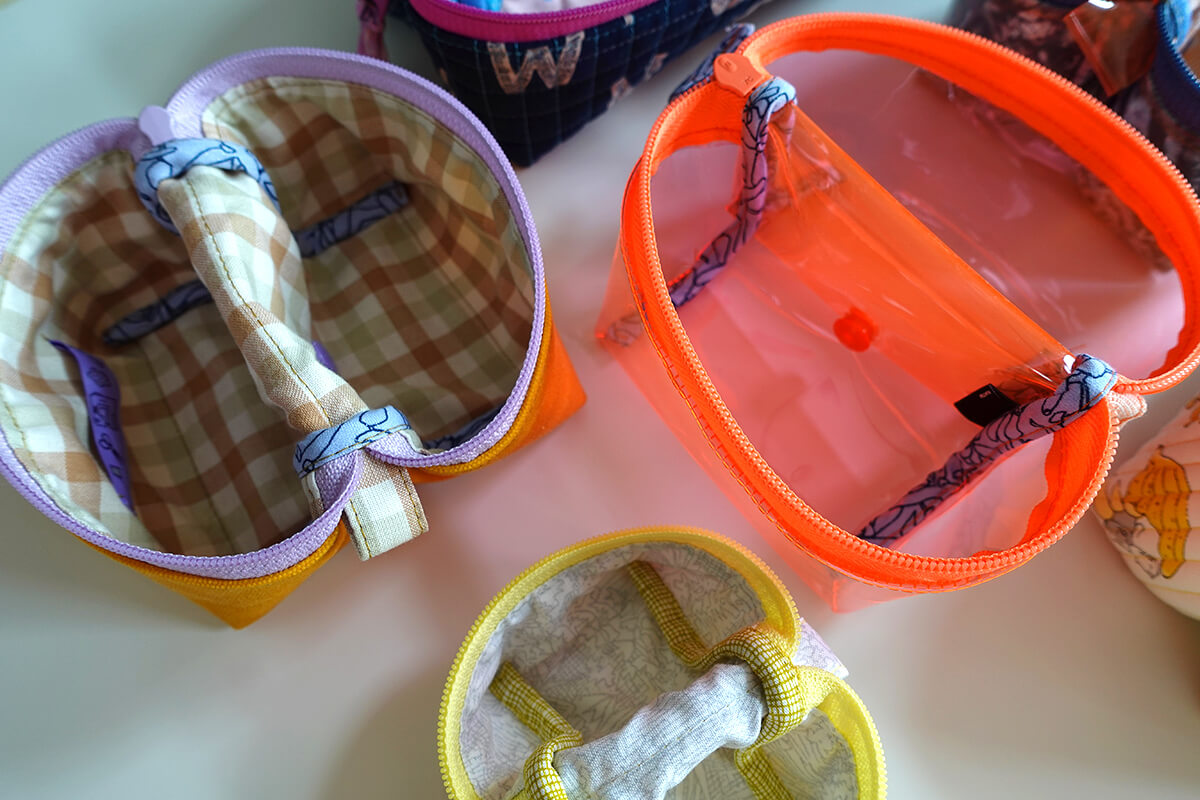
Auditioning all options is important, because I never would have thought to pair this lavender zipper, but I LOVE it. I pulled lavender snaps to match. I do kind of wonder if it’s giving too much of an Easter Egg vibe?
Third Pouch
The third pouch is a hybrid of the first two–there is vinyl and fabric coming together. I picked up this sparkly vinyl* with a holographic effect. Unlike the first vinyl pouch, I didn’t want to go in a totally see-through direction. I thought it’d be fun to layer this one on some pretty fabric. At first, I was thinking it would be something floral, but after auditioning some options I decided that the spacey fabric by Karen Nyberg (a fave–see here and here) was perfect.
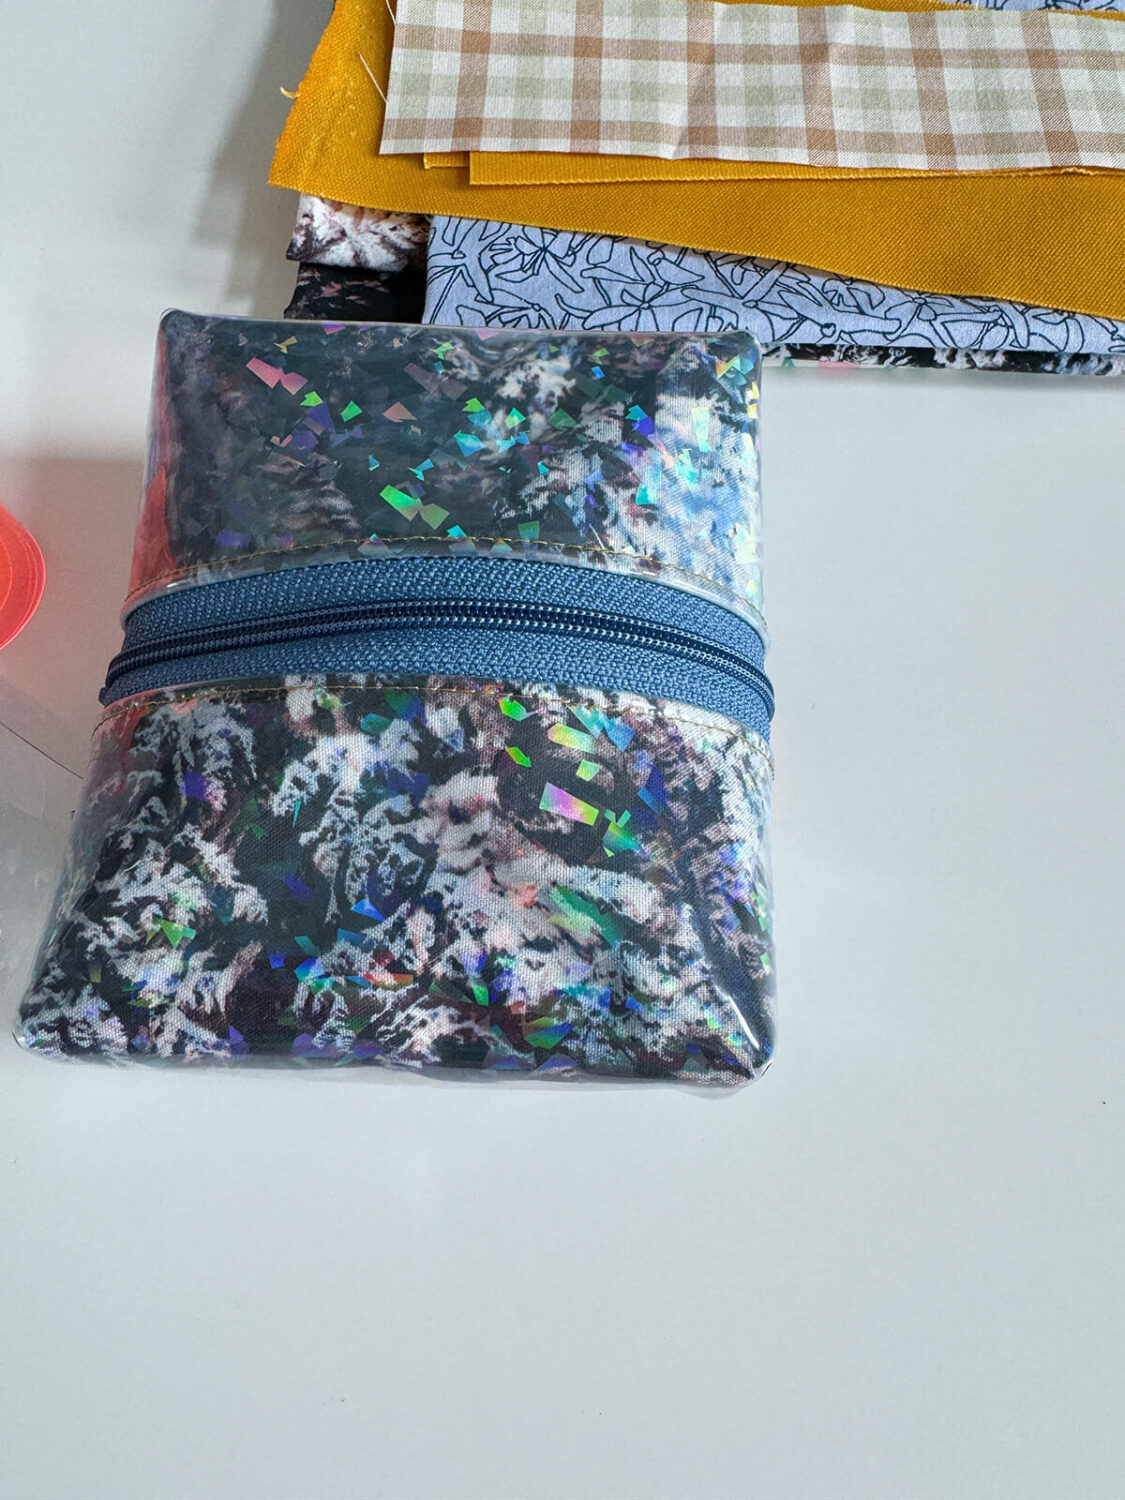
I used a gold, polyester thread as well as some leftover vinyl from the first pouch for the zipper tab.
The label inside is “You Are My Sunshine” which feels fitting given the space-y vibes this pouch is giving.
The lining is a print of my own. I love the colors and the textures and the shine.
Sewing with Vinyl
Sewing with vinyl is an entirely new experience if you’ve only sewn with fabric. It’s plastic and has an different set of properties. Here are some tips for working with vinyl.
// Lengthen your stitch length. I used a 3.0mm. You don’t want to perforate the vinyl too much or it could tear away at the seam.
// Use a Teflon foot–or something that will allow the vinyl to glide through your machine.
// Wonder Clips are your friends. If you use pins, the holes will forever be in your project, so use clips to keep everything in place without making permanent holes. I like using the very narrow Wonder Clips by clover in a situation like this. (And I have some in the shop!)
// The vinyl won’t unravel, so you don’t really need to worry about finishing your seams for that reason. Instead you’ll have to consider the look you are going for. Sometimes an exposed edge might be what you want, or maybe it isn’t.
// Take your time! This is an evergreen statement when sewing, but it’s something I made sure to remind myself when trying out this new material.
// I didn’t add the extra topstitching along the project center and pouch folds. As I’ve mentioned, each time you make a stitch you are perforating the plastic and so it’s important to do only what is absolutely necessary. Additional stitches here at a point where the project will be heavily used would only make this part weaker.
// Use polyester thread. I like Guterman Mara.
// A good stiletto can help you guide things through the machine. I liked using this* on mine.
// Turning the project right side out was tricky. Be patient and careful. You can do it!
Sewing with Waxed Canvas
Here are some tips for sewing with waxed canvas.
// There is no need for interfacing when you are using waxed canvas. If you’d like, you could interface the lining, but I don’t think it is necessary in a project like this.
// You can score your fabric instead of using a traditional marking tool. I find this* works great for waxed canvas.
// Try a Teflon foot if you are having trouble with your sewing foot sticking to your fabric as you want it to move through your machine.
// Use a longer stitch length. I used 3.0mm. Polyester thread is also a plus.
// You shouldn’t iron waxed canvas, and so I like to use a seam roller or finger press to get a good crease. (Like this one!)
// If you’d like to resettle the wax on your project, you can use a hair dryer to redistribute it.
One drawback to using waxed canvas is that it gets a bit of wax in your sewing machine. After sewing with it, I take time to clean out my machine using the tiniest brushes and scrapers I can find. If you have any tips for cleaning your machine afterwards, let me know!
*Affiliate Link
Thanks for posting all of this and the video. I can see why the hologram vinyl paired with the other fabrics would be a small problem. And you still have to use the Teflon foot not the regular foot and have a mix of fabrics to deal with. You may be aware of the iron on vinyl available? I believe it only comes in clear. Someone could iron on “regular” fabric to the iron on vinyl and possibly stabilize it a little bit more, so it doesn’t shift while sewing. But I don’t think it comes in cute patterns or colors–the fabric would be the feature. Best as always. Great job!
Oh, yes, that’s a great idea for using iron-on vinyl, Rebeca! I’m not sure if it comes in more than clear, but it might!