
Split Pouch Sew Along: Week 2
We’re in week 2 of the Split Pouch Sew Along. I’m excited to share with you what I’ve made this week.
Week 2 Video
Here’s a look at what I thought about and came up with this week.
To start, I made a list of pouch ideas to try (some of which I mentioned in the last post): using fun fabrics, new materials and supplies, etc. The beginning really is the dreaming phase, and I love that. Let your mind explore the possibilities, and write them all down for when you might be feeling stuck later. I also made a list of who I want to make pouches for, since I’m trying to get a handle on some gifts. This way, I have an overall count that I can divide out over the next few weeks.
Pouches for the Week
I made three pouches this week. One of the things I’m most excited to do is to make use of some of the cute, novelty fabrics that I have in my stash. These types of fabrics are easy to collect, but not always easy to implement into projects. You need the right project to show them off.
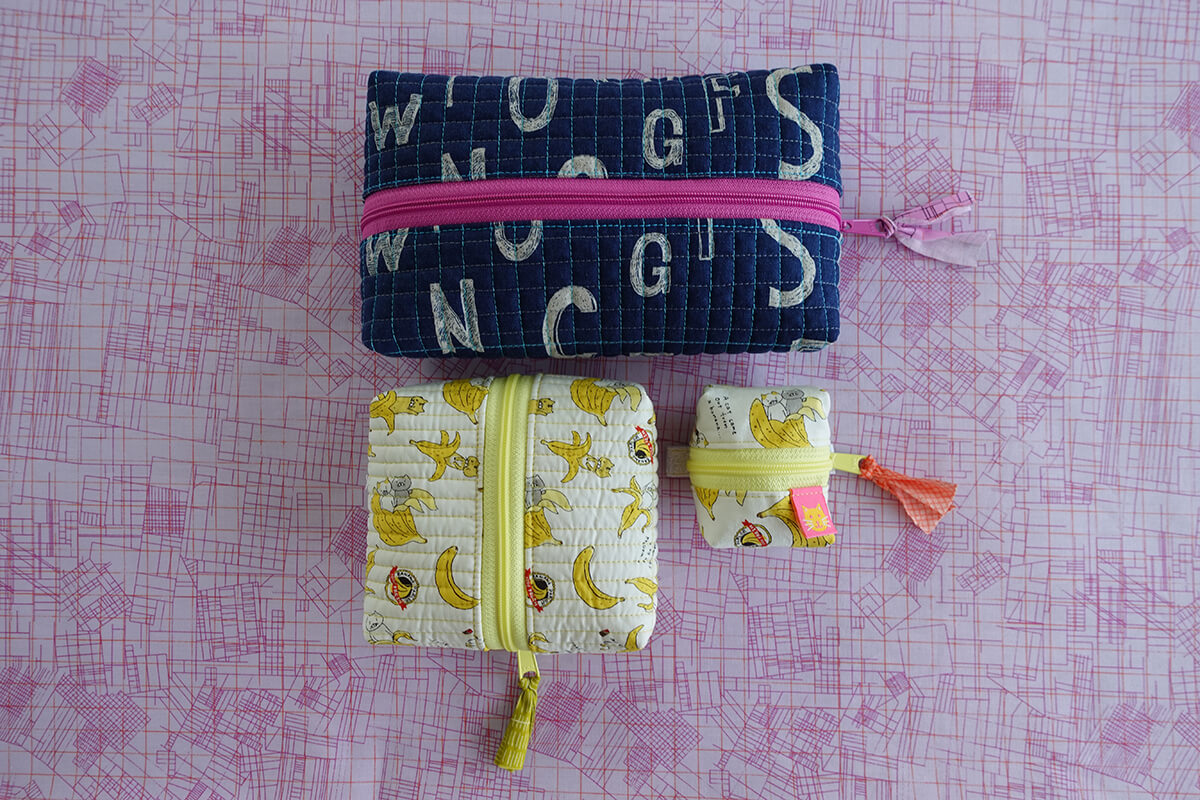
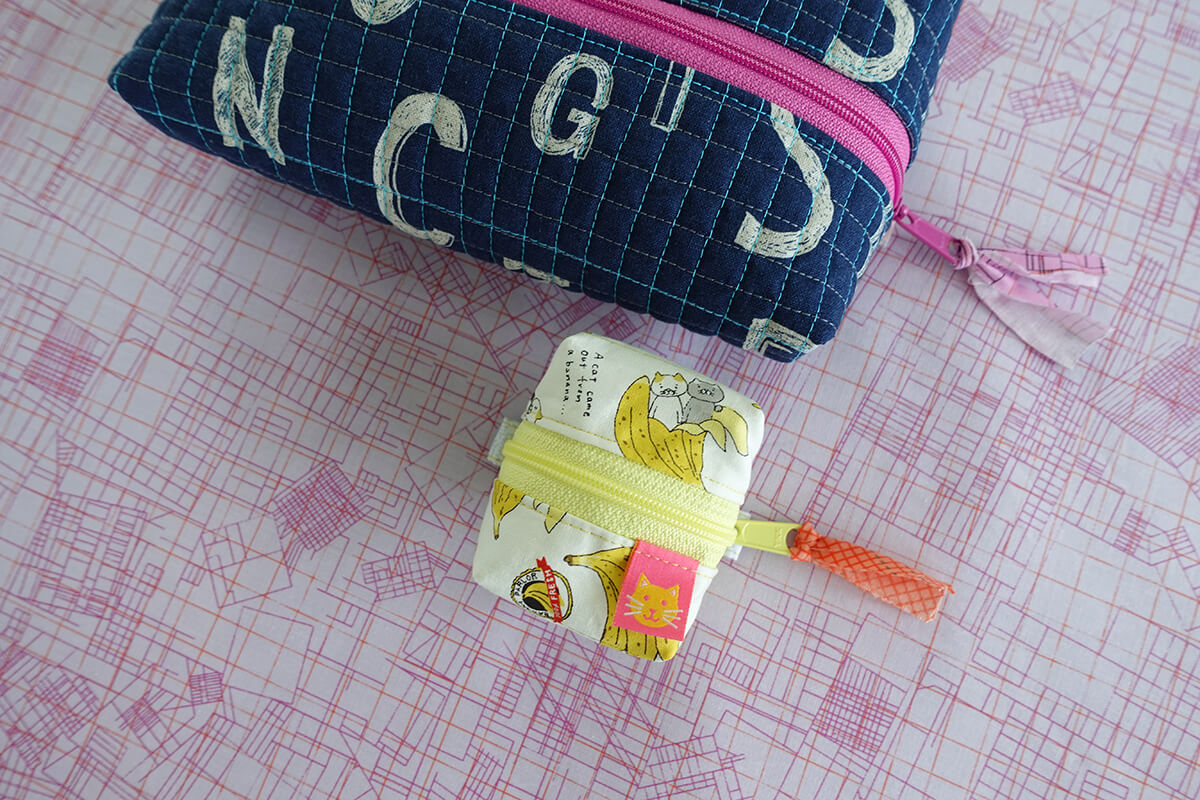
I made the alphabet/strawberries pouch first.
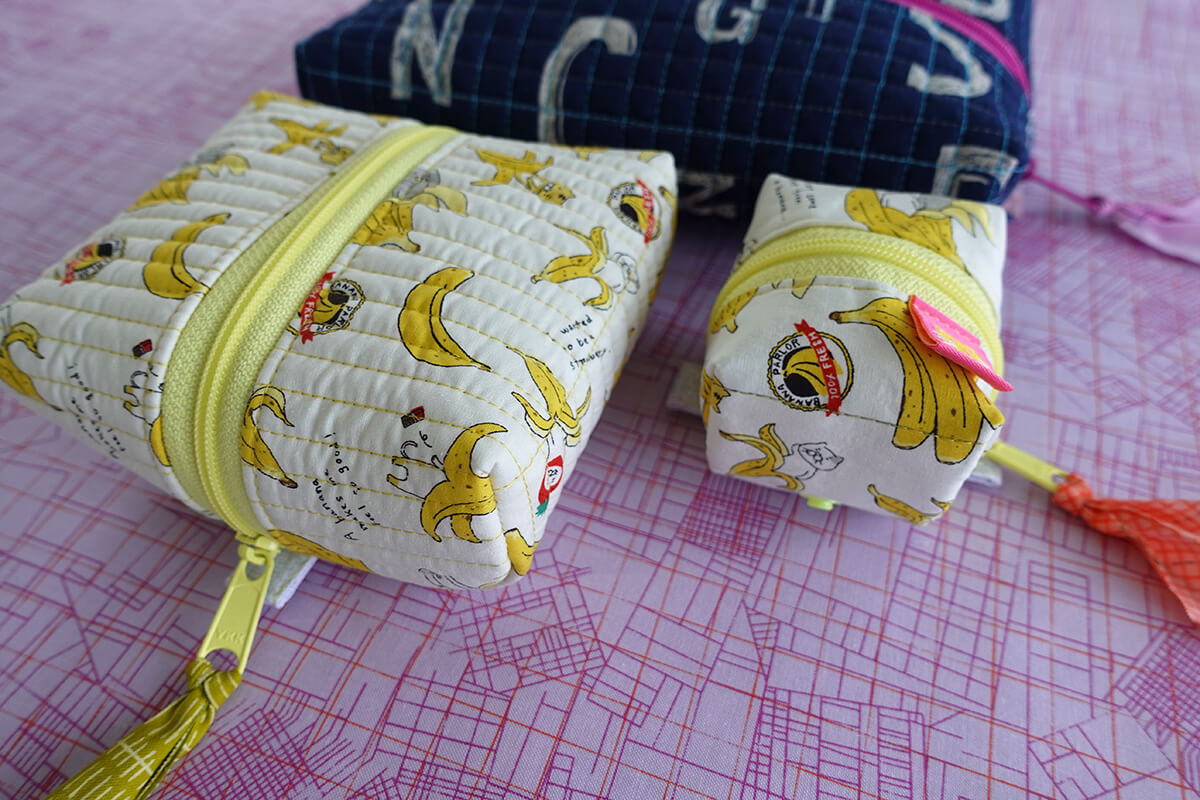
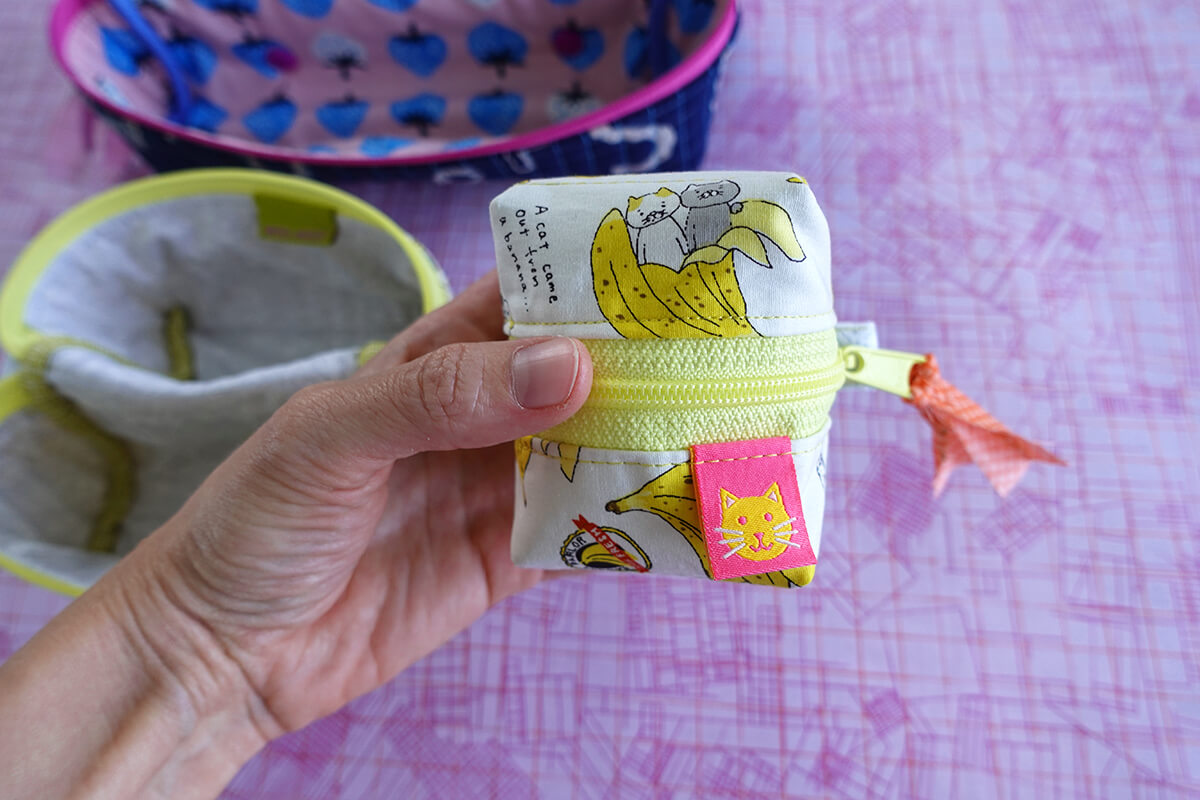
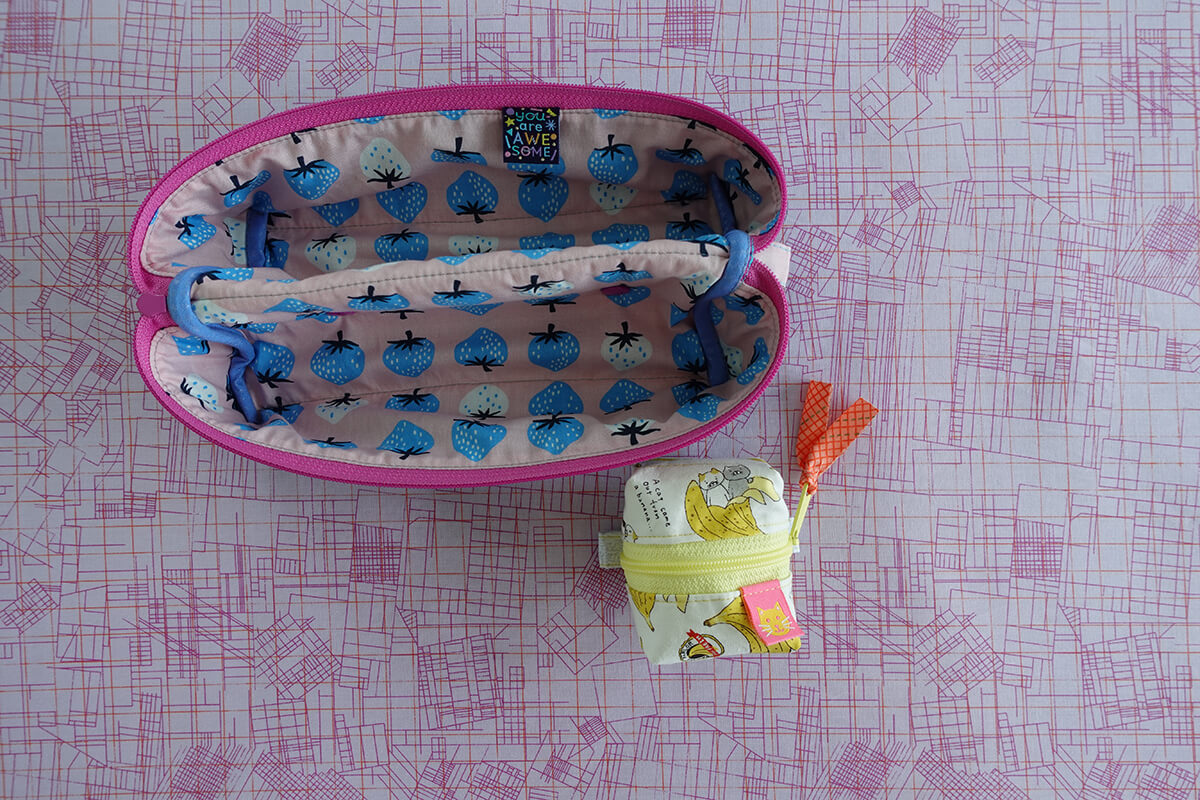
When I pulled the banana and cat fabric, I decided I wanted to make two, so I cut those out at the same time.
These are pretty cute and fun, right?
Quilting
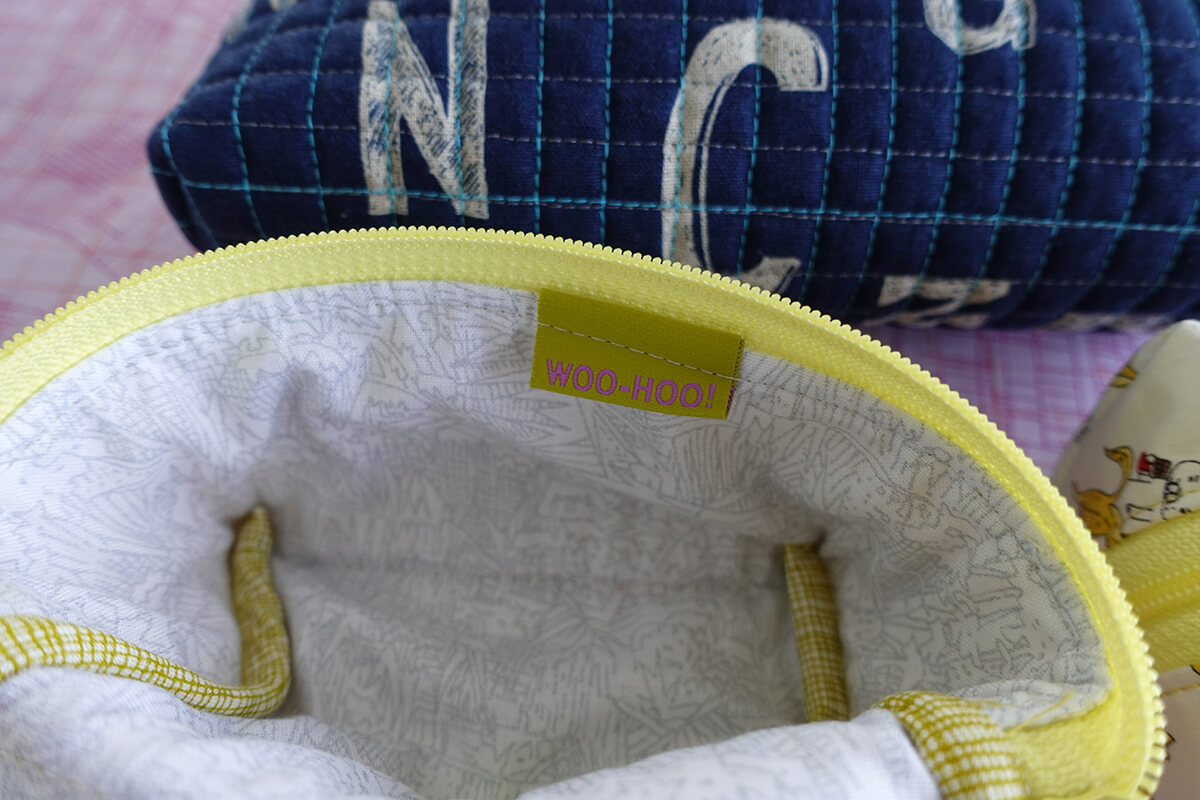
I used Soft and Stable in the alphabet pouch. When quilting with a grey thread I realized I could perk things up by using a brighter, more vibrant thread in the other direction.
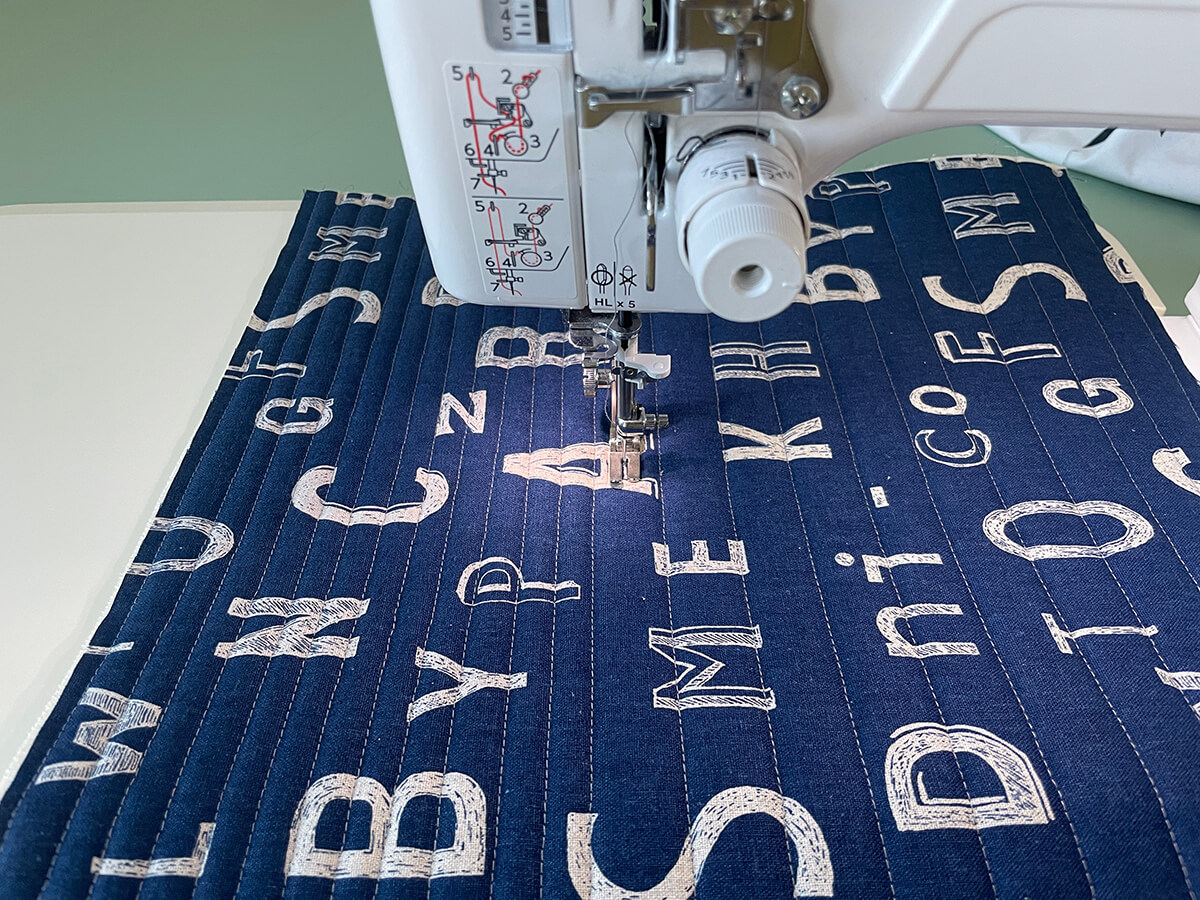
I used this bright blue thread to finish off the grid quilting.
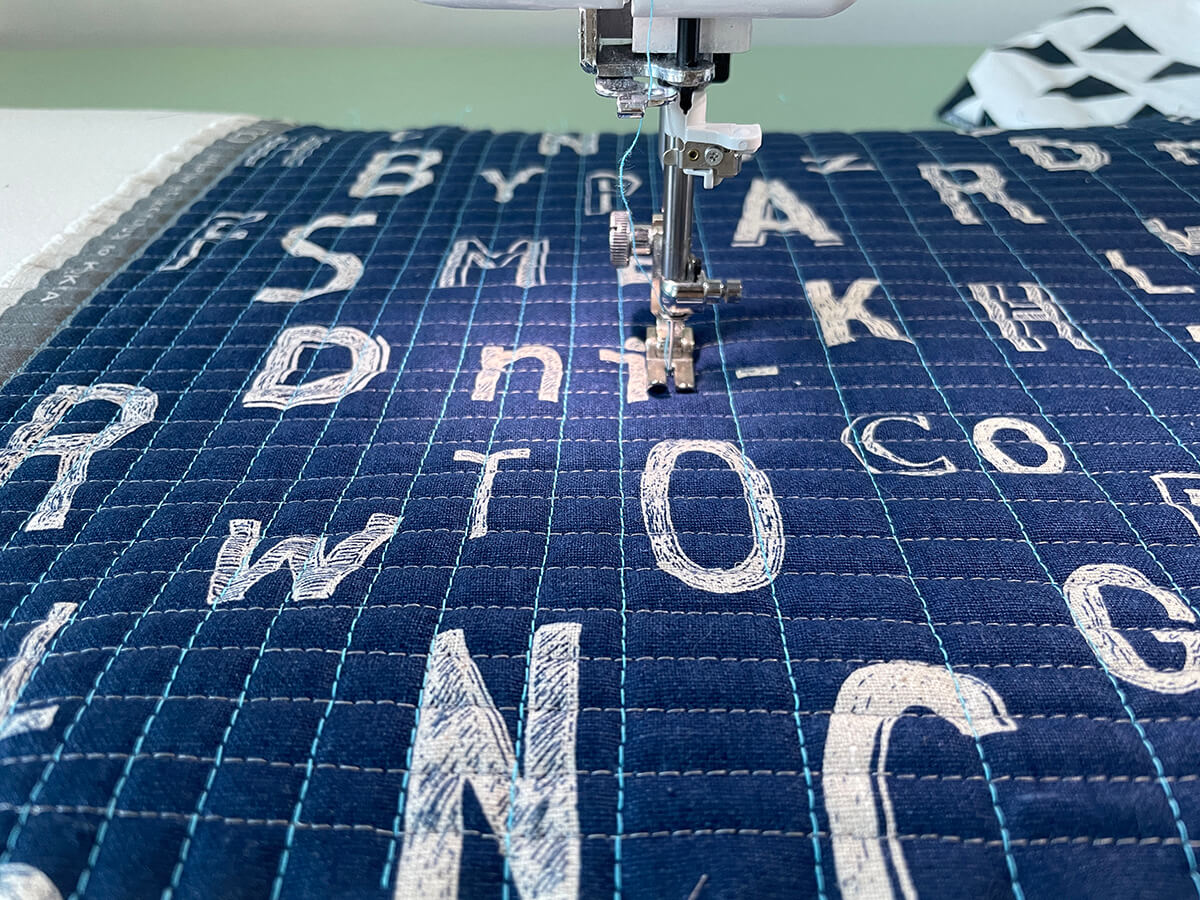
Maybe next time I’ll use only a bright or fluorescent thread. That could be really fun.
Split Pouch Supplies
There are some fun supplies to consider when making the Split Pouch. This week I thought I’d share specific thoughts and some sourcing on some of them.
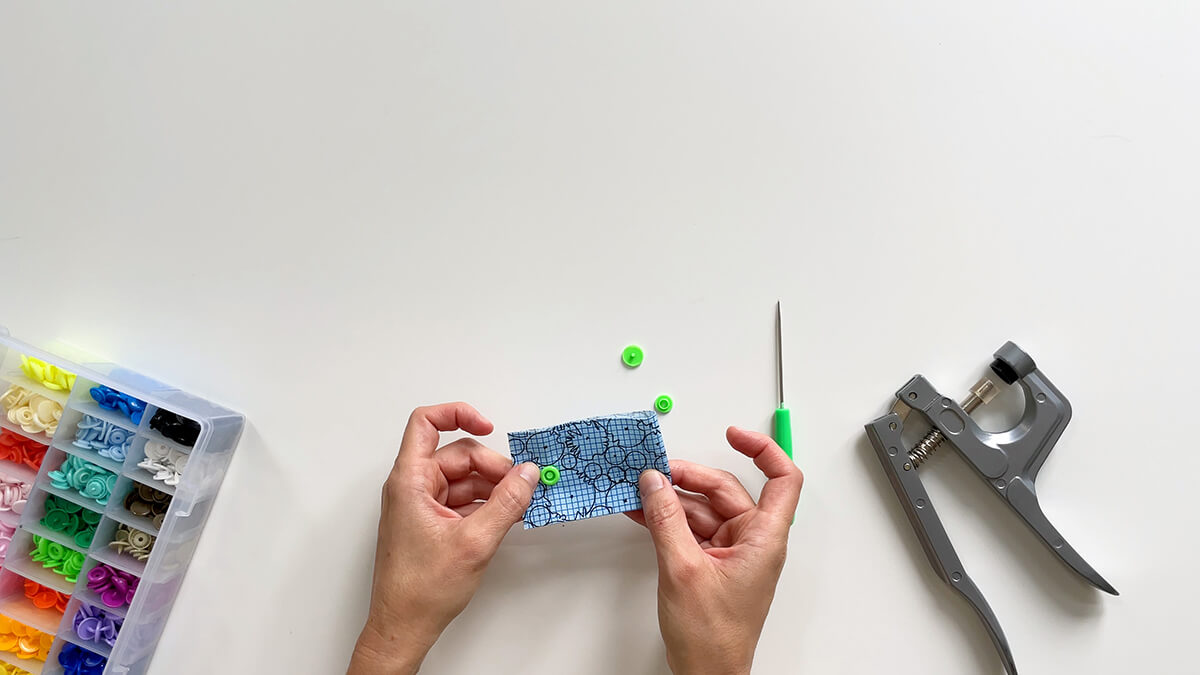
Snaps
Snaps are an important part of the project. I like using these*. They are colorful and easy to install. (See my tutorial here.) It’s been fun seeing other folks getting creative and exploring other types of closures like magnetic snaps.
Zippers
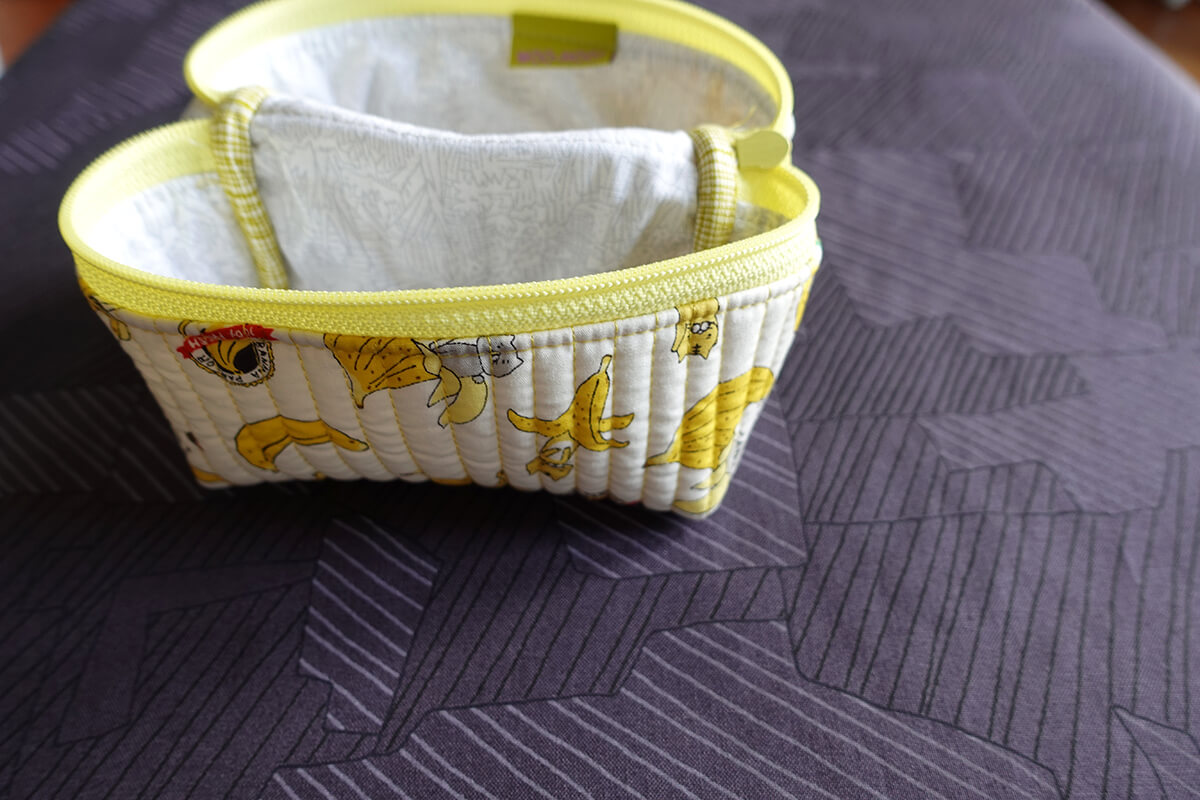
Zippers are important in this project. The zipper keeps the pouch closed, can add color/detailing, and it’s also something that’s very exposed when open and in use. Don’t get me wrong, I love metal zippers for many things, but here I like using nylon or all-purpose zippers. I find them to be less fussy for the installation as well as when using the project–since it needs to open so wide. Plus, the teeth are much more smooth and soft. When the pouch is open, I don’t want anything too scratchy to grab me when I reach into the bag.
Stitch Supply Co. has been a great source for some of the zippers I’ve used. I’m really wanting to try some that are the metallic nylon that I’m seeing some of you all using.
Labels
Labels! Gah, I love all of the cute woven labels that are floating around these days. Kylie and The Machine and Sarah Hearts are two companies that I’ve been collecting woven labels from. In this group of pouches, I added a label to each.
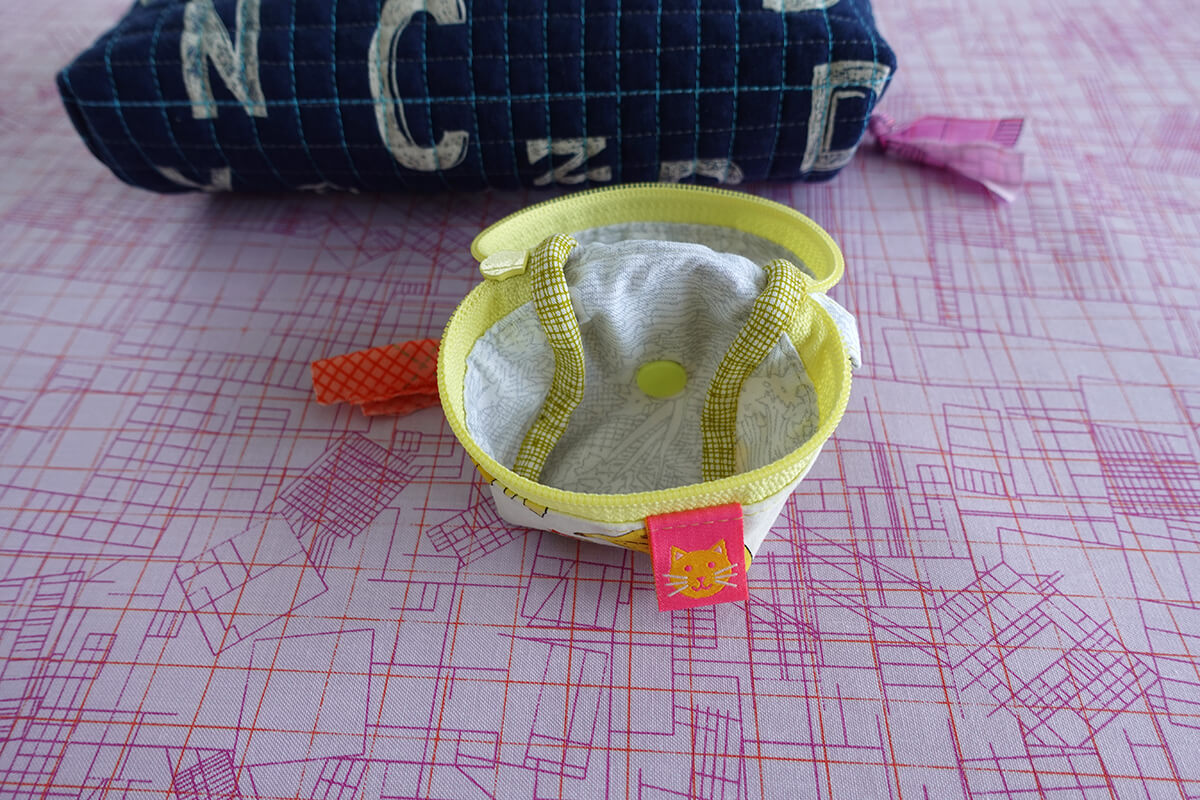
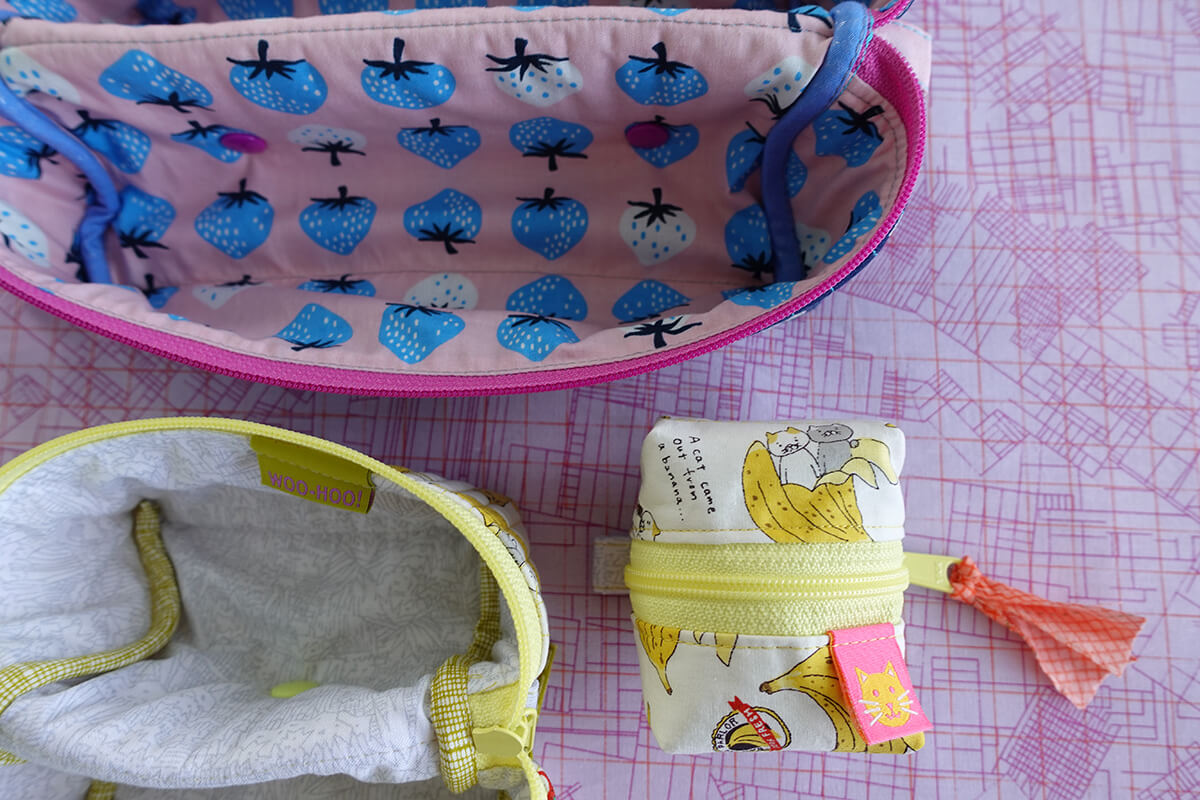
I added this cute cat label to the outside on the Small pouch I made.
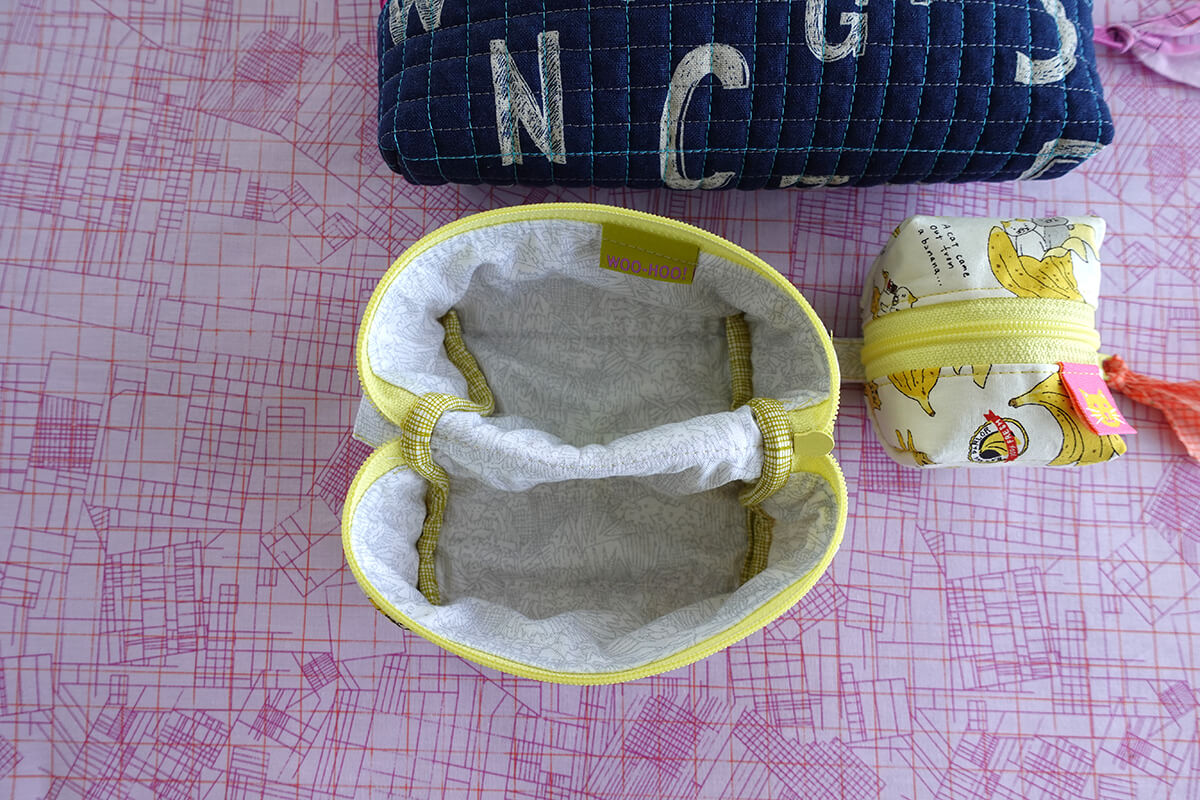
There’s a WOO-HOO on the inside of the Medium pouch.
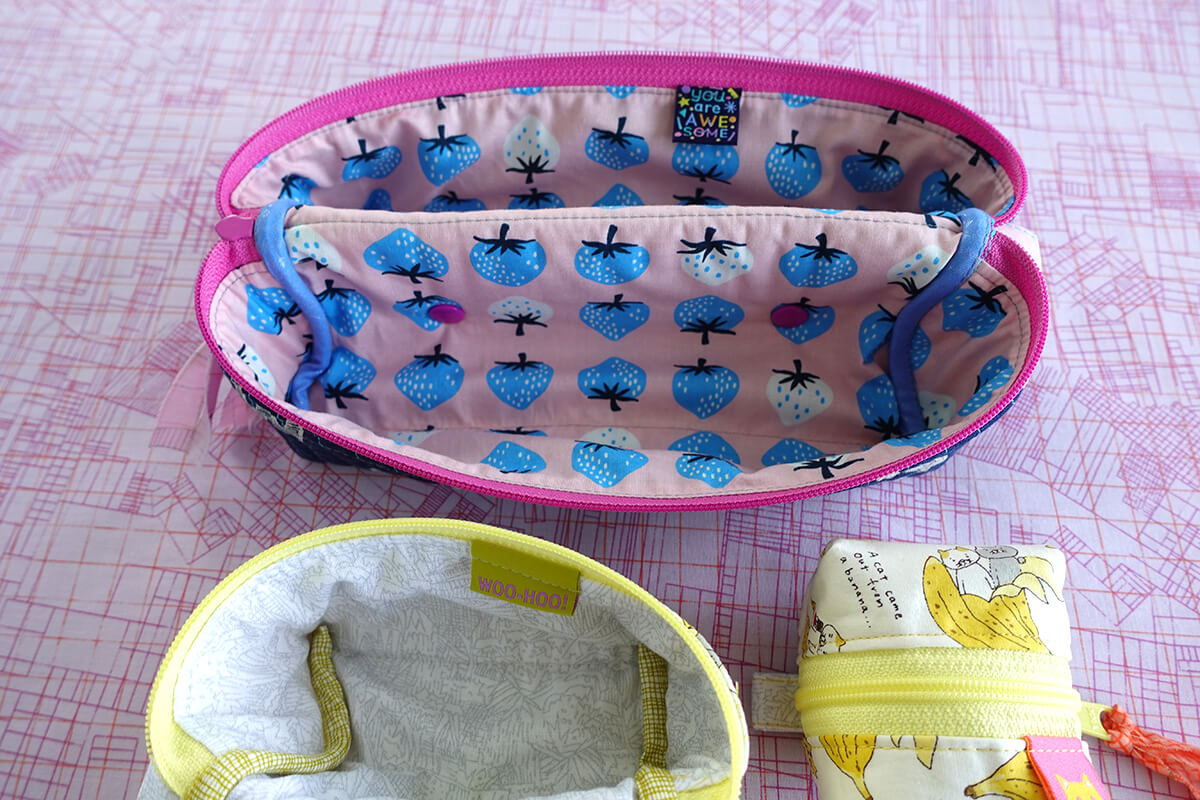
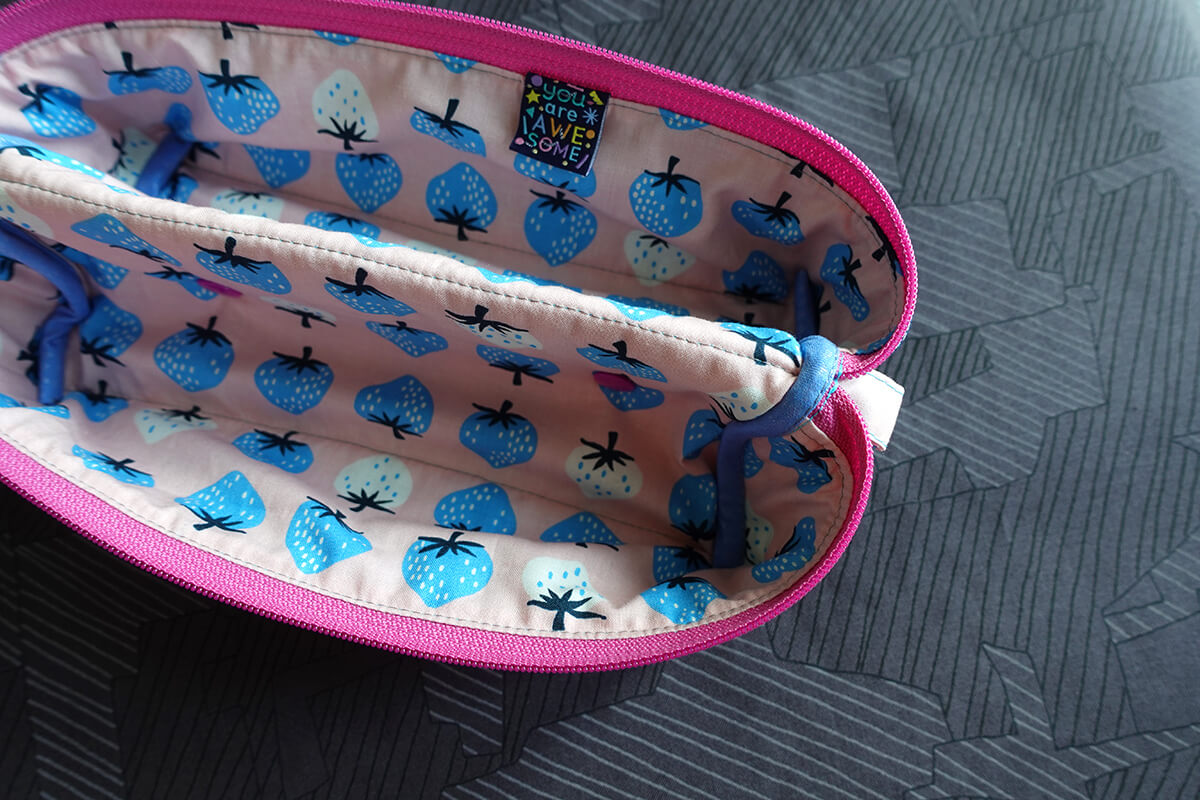
You Are Awesome is on the inside of the Large pouch. I think its a sweet message to open up to.
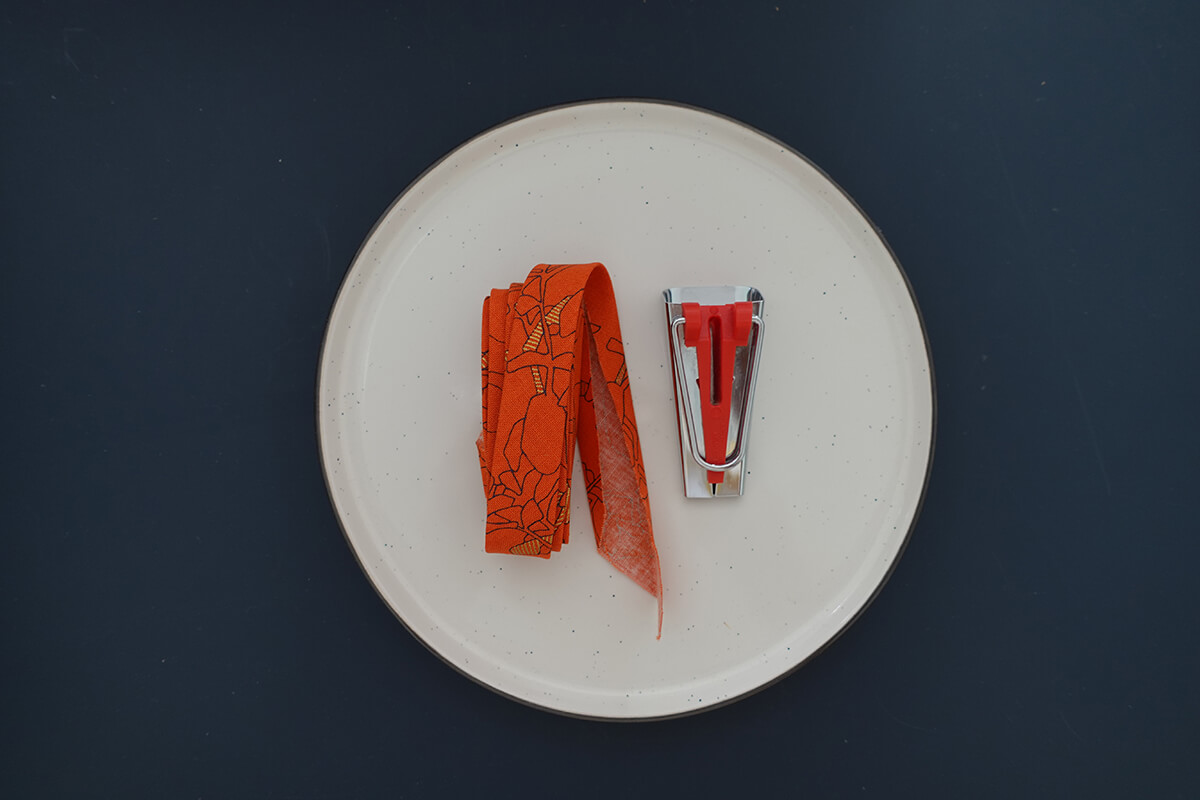
Bias Tape
I love making my own. You’ll need some fabric, the tool and an iron to do it. You can watch my tutorial and see how it comes together.
That’s week 2! Thanks for joining in, and I’ll see you next week.
*affiliate link
Carolyn, this may be a question for next week, but I’ve never quilted with Soft & Stable before. Will I be able to hand-quilt this? If not, do you think I’ll need to switch out my regular foot for a walking foot on my machine?