

Yesterday I mentioned that I liked traveling with a little thread catcher, and so today I’m posting a quick thread catcher tutorial. This is based on one given to me by the sweet owners of the Janie Lou quilt shop in St Louis, Missouri. What I really like about it is that it folds up nice and flat, which makes it easy to bring with me anywhere. Plus, it’s silly how quick and easy it is to put together. I’ll be making many more of these for my sewing buds…
Materials: *NOTE, Mini size is listed in update below.
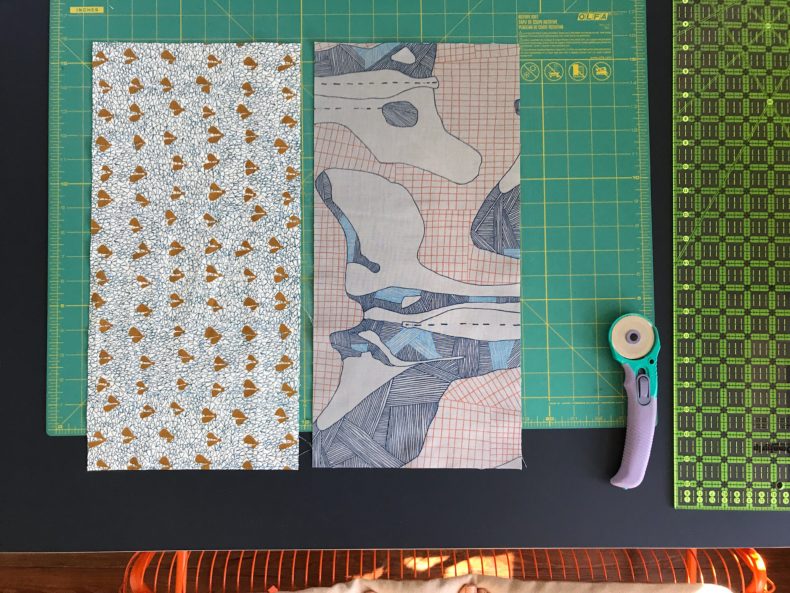
+ Exterior Fabric – cut to 8 1/2″ x 17 1/2″
+ Lining Fabric – cut to 8 1/2″ x 17 1/2″
+ (optional) Interfacing – cut to 8 1/2″ x 17 1/2″ applied to Exterior.
Fabric/Interfacing Note: Neither of the thread catchers shown in this tutorial are interfaced. The one that I was given (above) has a sturdier canvas on the exterior. It’s nice. The one (outlined below) in this tutorial is made from un-interfaced quilting cotton for both the exterior and lining. I was mostly curious to see how it would turn out, and it’s surprisingly structured! I’m very pleased with it and will totally do it this way again. But of course, if you like interfacing, you can always incorporate it into your project.
All seam allowances are 1/4″. While I’m using my serger in this tutorial, you can just as well use your sewing machine. All raw edges will be enclosed, except where noted below.
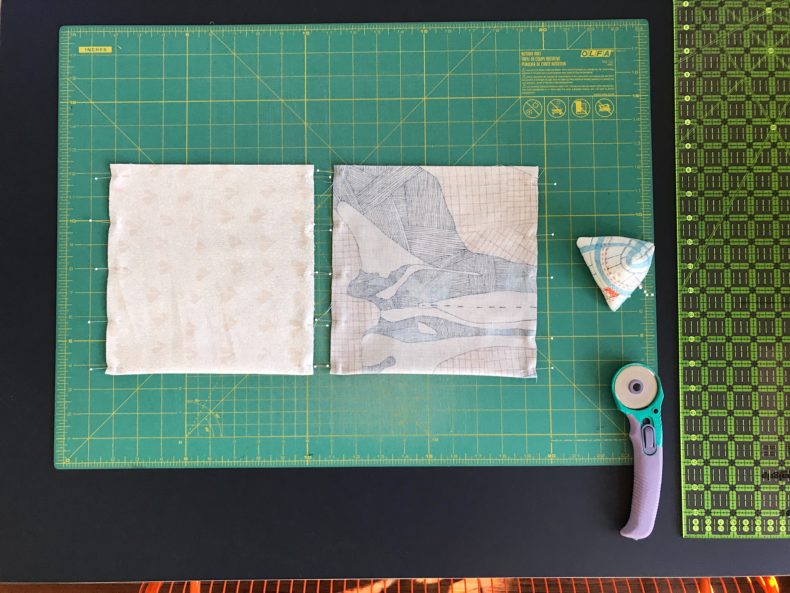
Fold in half (RIGHT sides TOGETHER) so that short edges are aligned. In the photo below, my short sides are at the top, and the fold is on the bottom. Do this and the following for both the exterior and lining panels.
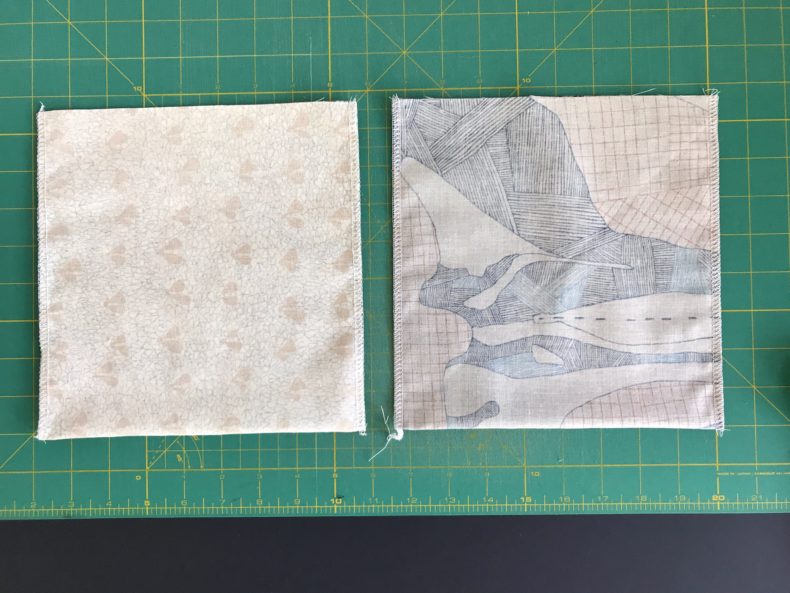
Pin (if desired) and stitch along the sides.
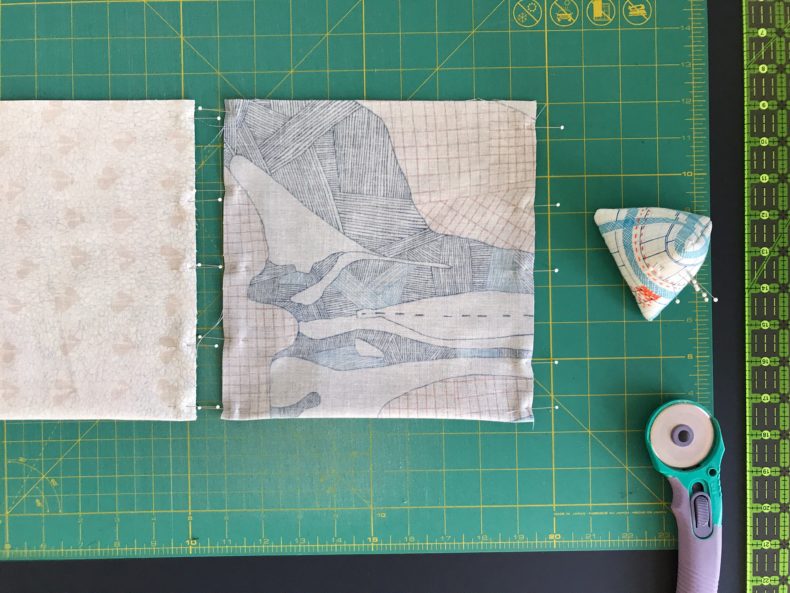
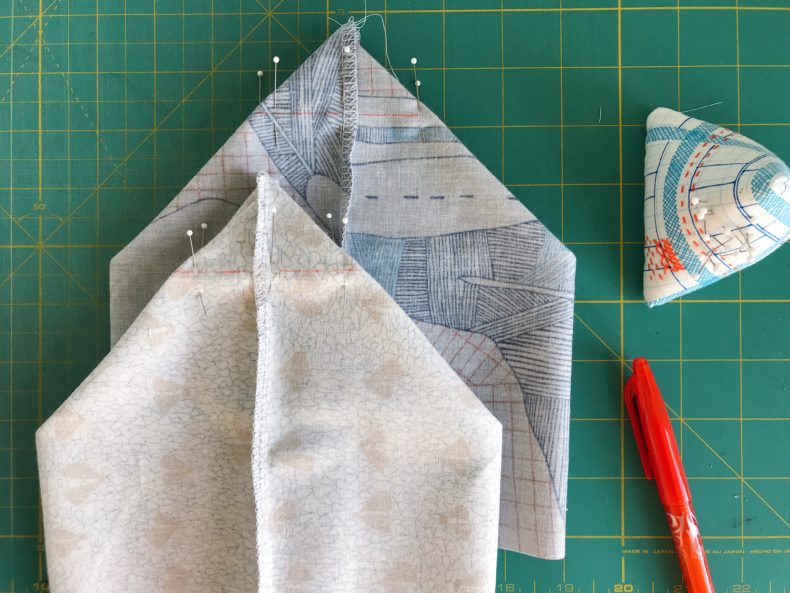
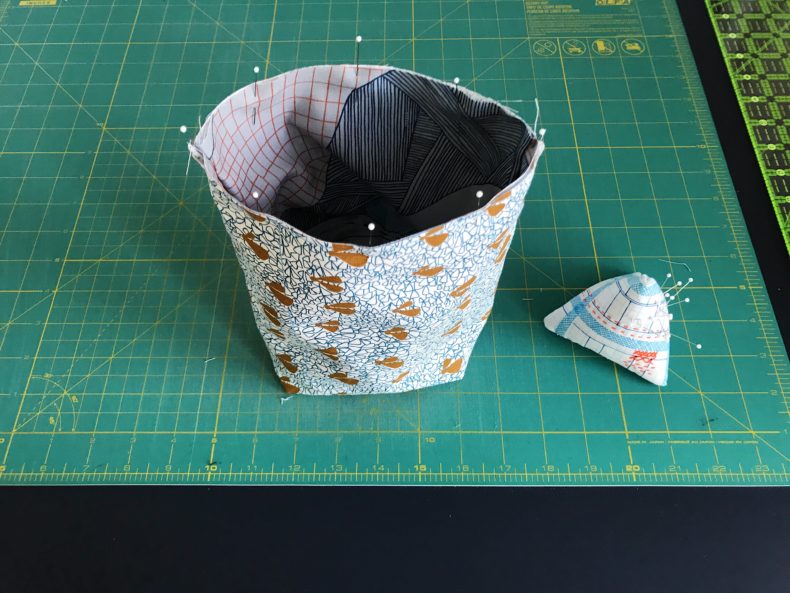
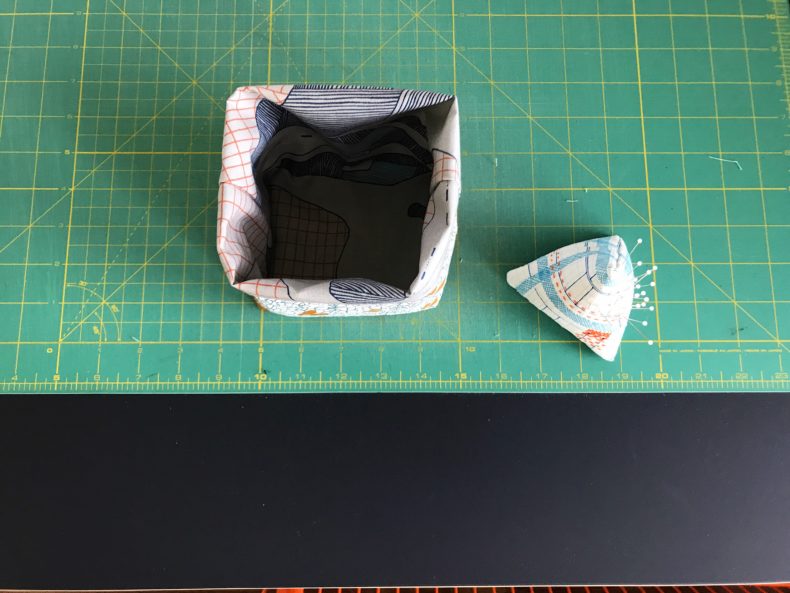
Create a boxed corner by pinching side seam to bottom fold on each side.
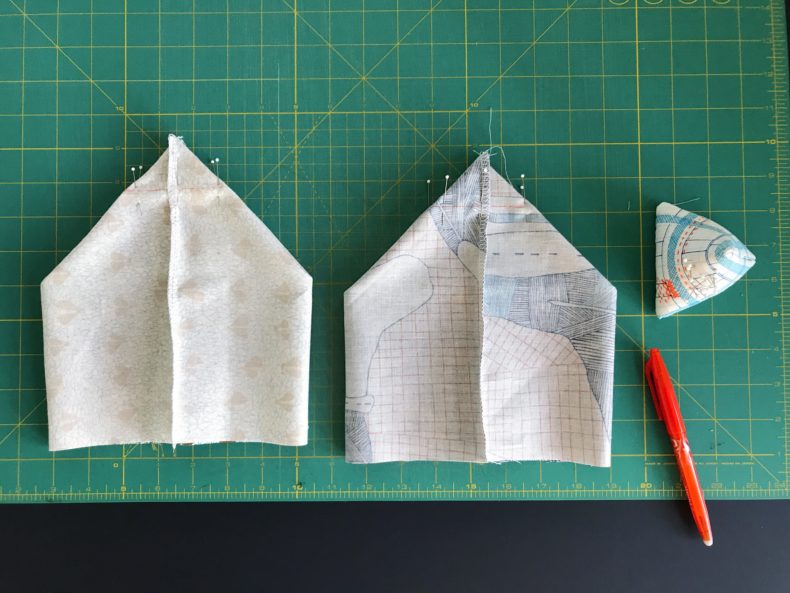
Mark a line 1 3/4″ from pointed edge. Stitch along this line.
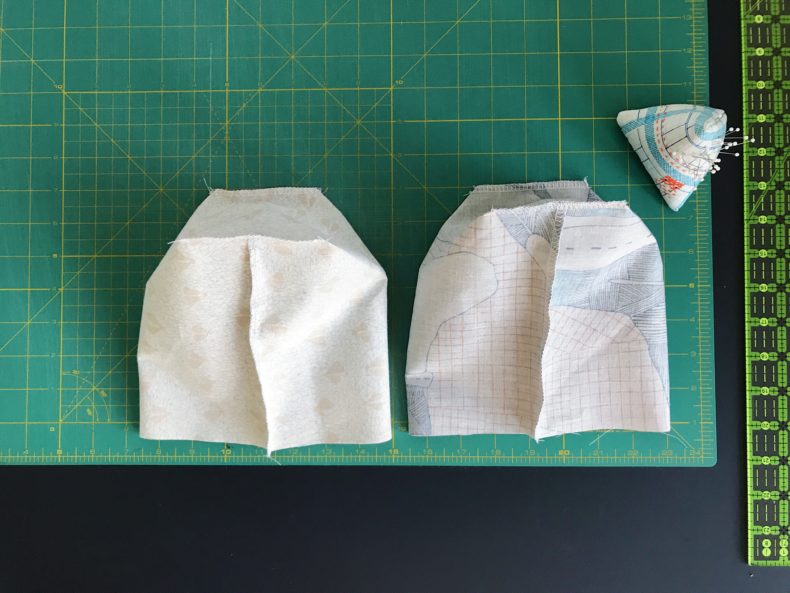
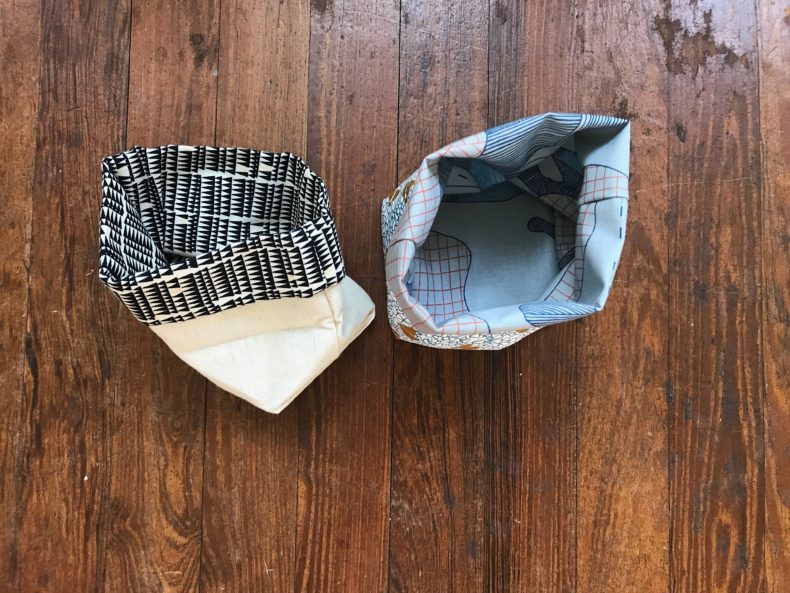
Turn exterior (RIGHT side OUT).
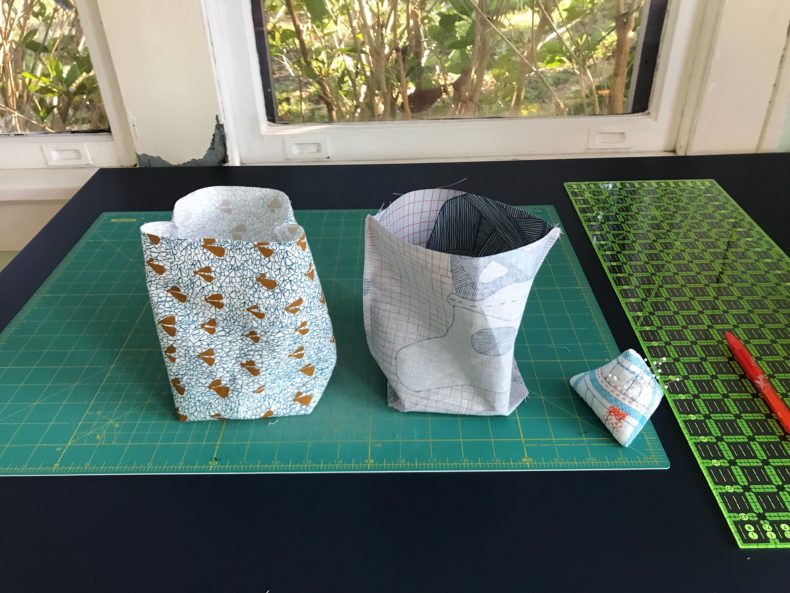
Place lining inside exterior, aligning side seams. Pin in place (if desired). Tip: Alternate the direction of the side seams when you match them up. This will make things less-bulky.
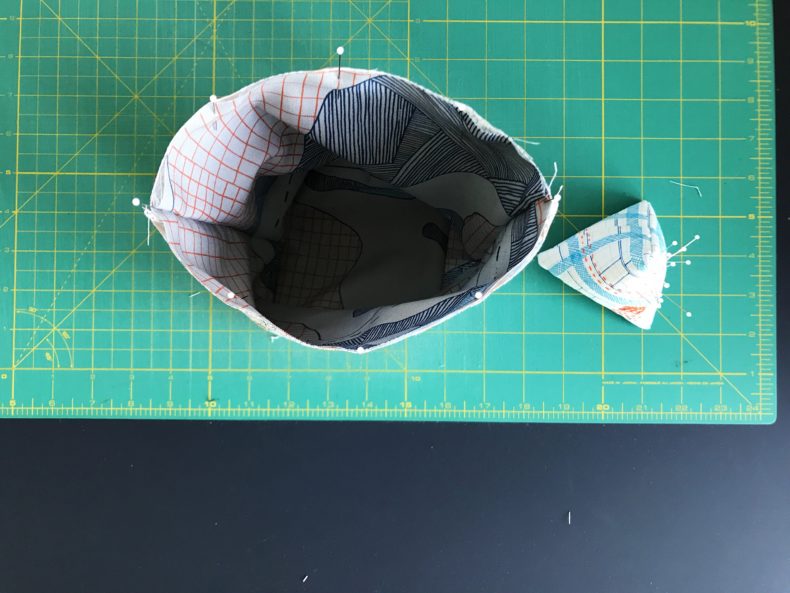
Stitch along top edge. A serger will finish this edge as you stitch, but if you’re using a sewing machine, you can use a zigzag stitch to finish it. Or, if you want to bind it, you can totally do that too, but since the top is folded, it isn’t super critical.
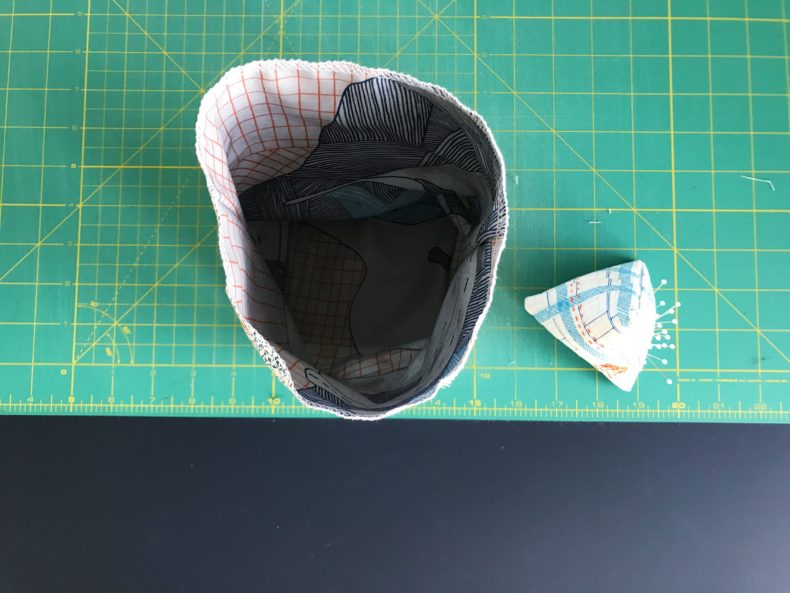
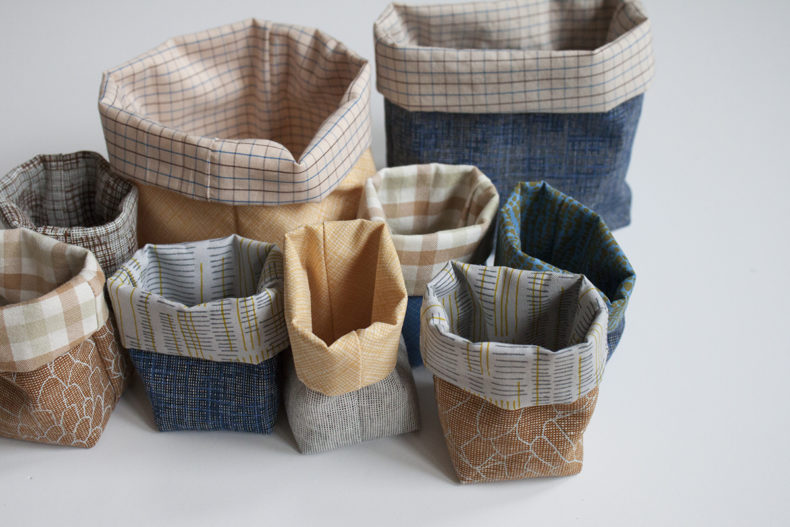
Fold the top down a couple of times, and you’re good to go!
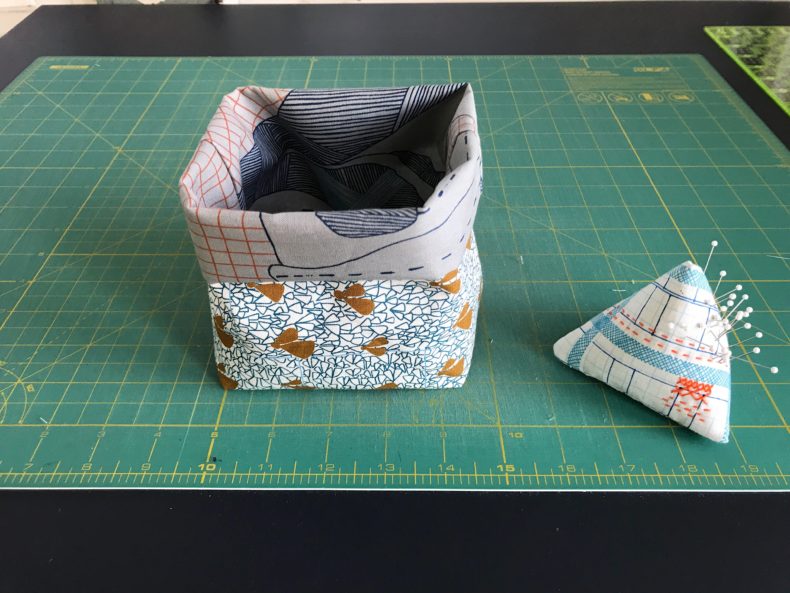
I hope you enjoy yours as much as I’ve enjoyed mine!
Dec 21, 2018 UPDATE – In my newsletter I outlined how to make a mini thread catcher, and so I thought I’d update the directions here as well. If you’d like to make a little mini, follow directions above but cut your Exterior and Lining fabrics to 4 1/2″ x 12″. Mark your boxed corner 1″ from point. There you have it!
Thread catchers are the second project we make with the 8th graders I teach sewing to. The pattern I use is a bit smaller, but I love the size of this one. Will have to make myself a larger one! (Great seeing you this weekend!)
Nice! This would be a perfect project for them. It was great seeing you too!
Thank you for this quick tutorial! I just made one in record time and it’s so cute!
Great! I’m so glad you like it!
Thank you for the pattern, I made a thread catcher this afternoon, love it!
Awesome! I’m so glad you enjoyed it!
Thank you so much for this tutorial. The thread catchers are easy to make and totally enjoyable!
Thanks, Diane! I’m so glad you like them!