
WainwrightAL #2: Tool Updates and Travel.
We’re moving along with week two! I’m seeing some great starts from many of you on instagram, and I’m moving along (quite literally) at QuiltCon in Pasadena. Since this is a traveling week for me and because handwork is super portable, I thought it’d be fun to put a slight travel twist on things. In addition to going over some of my favorite appliqué supplies, I’ll be making note of some of my favorite travel-friendly tips as well!
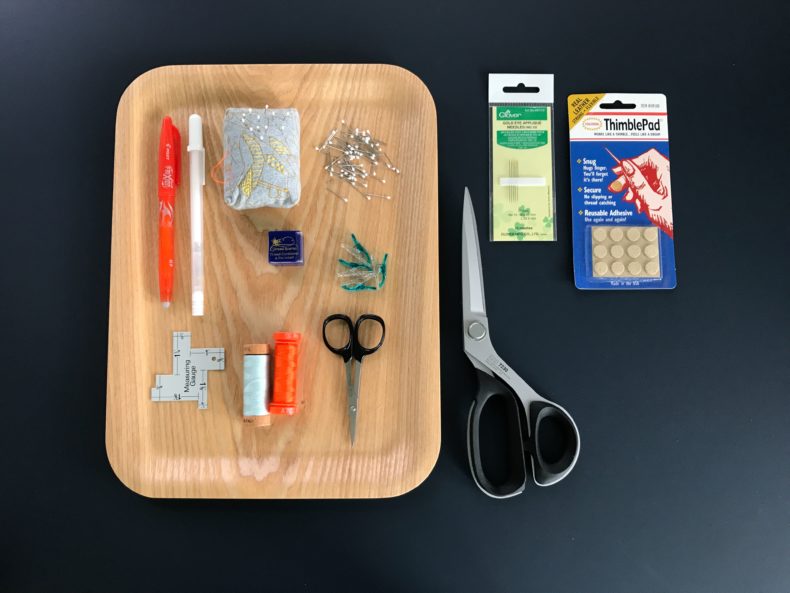
It’s been a little while since I’ve updated my appliqué tools-of-the-trade post, and really, not much has changed. Those are all still my favorite things, but I do have some updates to add in to the mix.
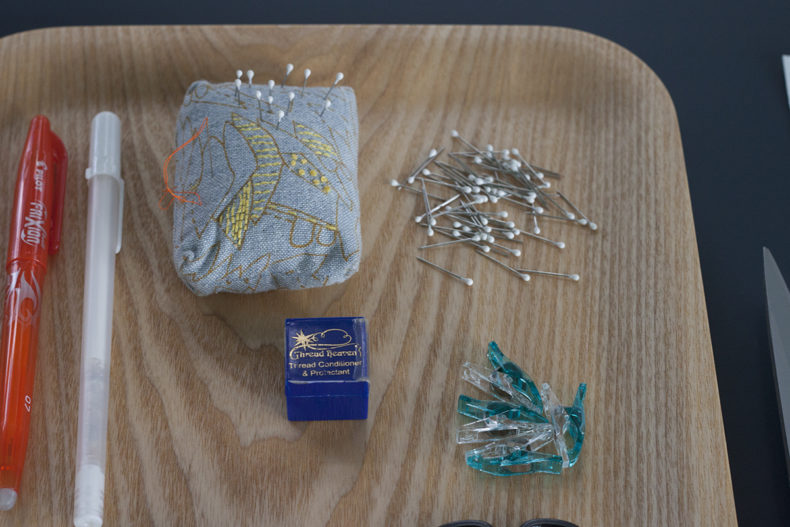
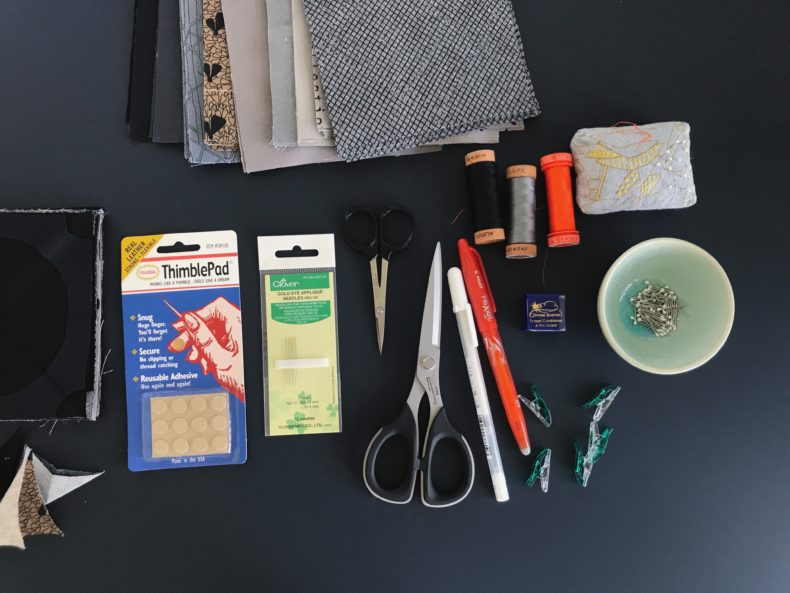
First, clover clips! With many of my appliqué designs being folded and cut multiple layers at a time, these little clips are super handy for holding everything together. There’s even a new set with a thinner profile, which is just perfect.
I also have an update with the thread conditioner. I’ve always liked it, but I’ve recently decided that it makes a bigger difference than I was maybe willing to admit. Full disclosure, I’d mostly gotten lazy and wasn’t using it as much in recent years. I always would have it with me, and I’d use it occasionally, but I’d generally just fallen out of the habit of using it. It’s an extra step–not a hard step, at all–but definitely a step that is easy to skip when you’re wanting to cruise through a project. When I was making my first Wainwright, I was having issues and decided to give it a try. Immediately I noticed a huge difference. It’s not that I didn’t notice a difference before, but I think that because I basically made Wainwright in a straight-shot marathon, it was much more noticeable how much of a difference it made. It makes it glide through the fabric much more easily. Without it, the thread feels like it’s dragging, not in a super obvious way, but definitely in an obvious way if you’re really in tune to the process.
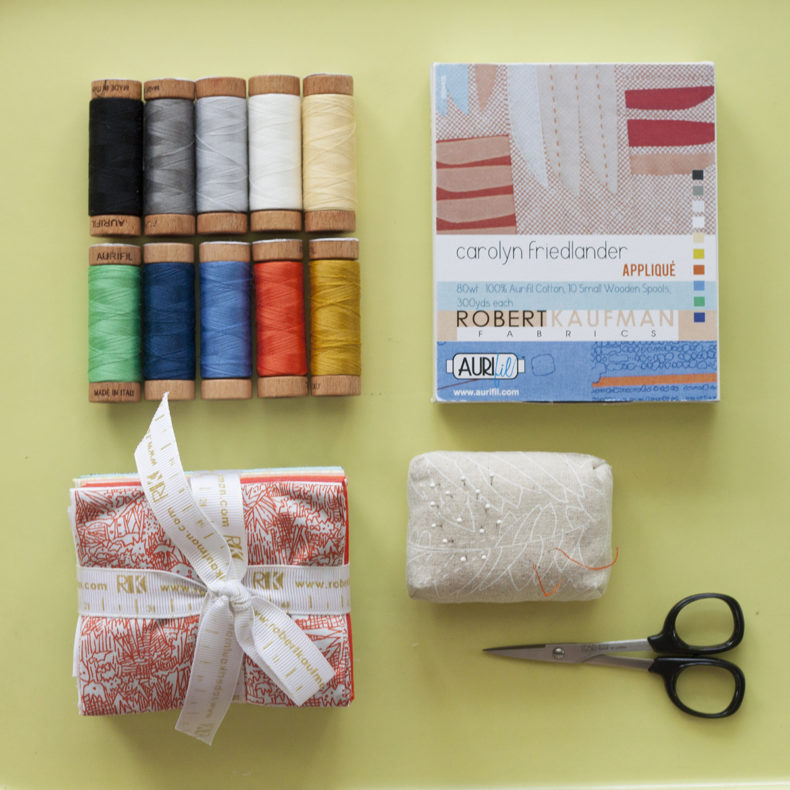
Another big update is thread! Since my last appliqué supply post, some magical thread things have happened. Aurifil released their 80wt cotton thread, and it is my FAVORITE thread to use for hand appliqué. I still use their 50wt cotton to baste, but 80wt is the only thing I use for the appliqué itself.
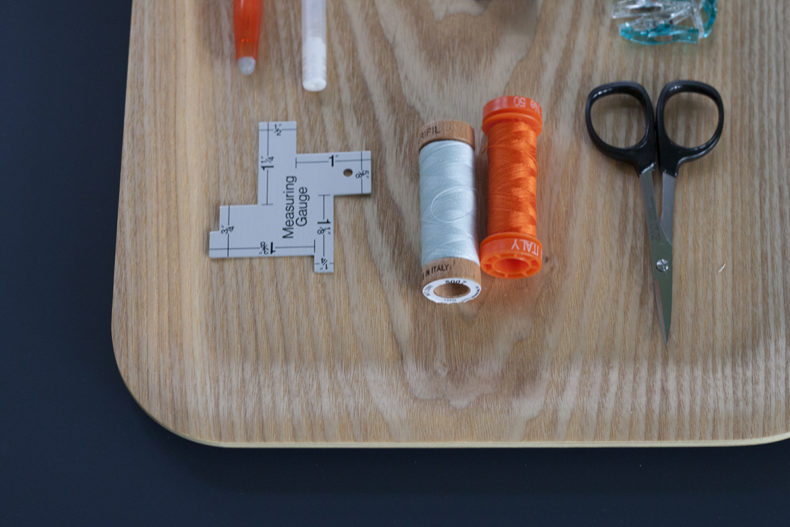
And, I’m delighted to have my own appliqué thread set which I put together to cover pretty much all of the major colors you’ll need–or that was my goal anyway. (And I have some in the shop now too.)
One more new discovery that isn’t pictured is my new Daylight Slimline light. I’ll have to take some good pics once I get my handwork set-up back in order. I started seeing these lights at QuiltCon last year, and I was very intrigued. Unlike most of the sewing lights, they look really sleek. Plus they offer a wide bar of light that you can adjust in all kinds of ways. Eventually, I picked one up, and it sat in the box while I was making my first Wainwright. About halfway in, I realized that I wasn’t seeing things well, and so I opened the box and was immediately kicking myself for not having done so sooner. It is a game changer. It perfectly lit up my project and was easy to orient so that there were no shadows on my work–which was the issue I’d been having with my other lights. Now, I’m a massive convert. It’s worth the investment.
To recap, you can read this post about my favorite appliqué supplies here while keeping in mind the updates mentioned above.
+ Thread for project (such as Aurifil Cotton 50wt for basting and Aurifil Cotton 80wt for appliqué)
+ Appliqué needles (such as Clover Gold Eye Appliqué Needles No. 10)
+ Appliqué pins (such as Clover Appliqué Size 12)
+ Large fabric scissors (such as Kai 7230 9″ tailoring shears, or these other favorites)
+ Small fabric scissors (such as Kai N5100 4″ scissors)
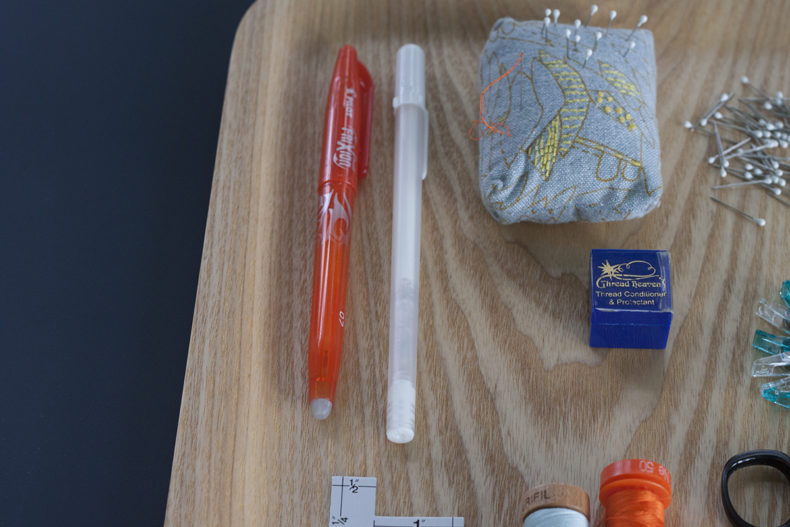
+ Removable marking tool (such as Pilot Frixion pen–always test on fabric before using)
+ Seam gauge (such as Dritz Measuring Gauge)
+ Iron
+ Heavy paper or template plastic (for copying template)
+ Thread Conditioner (such as Thread Heaven or beeswax)
Optional supplies: Thimble (I like the adhesive leather pads), needle threader
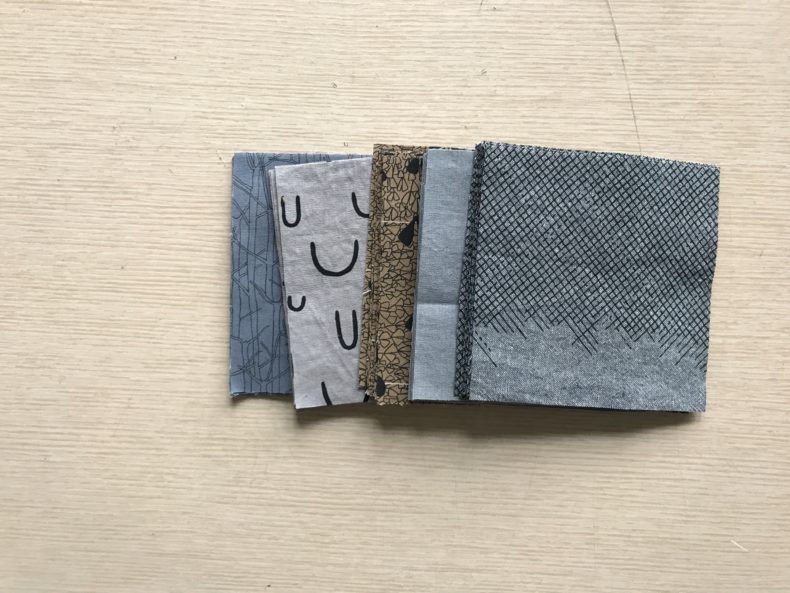
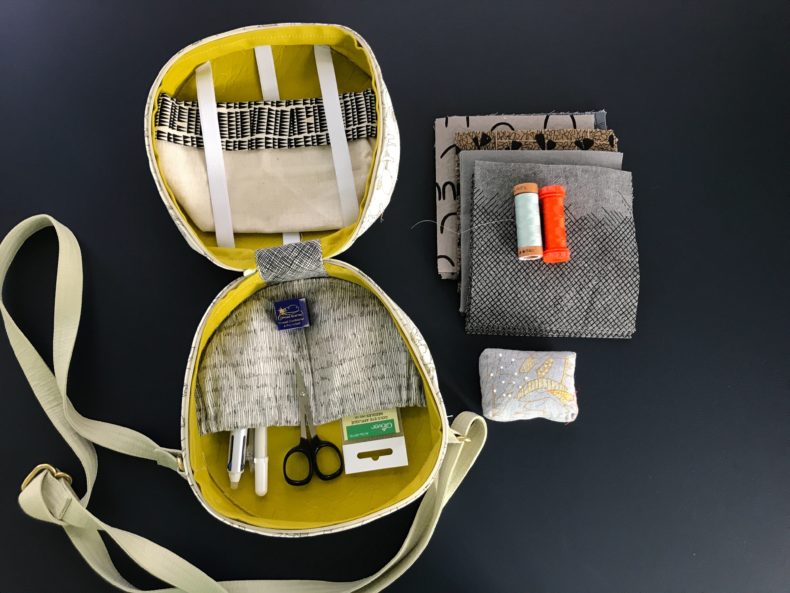
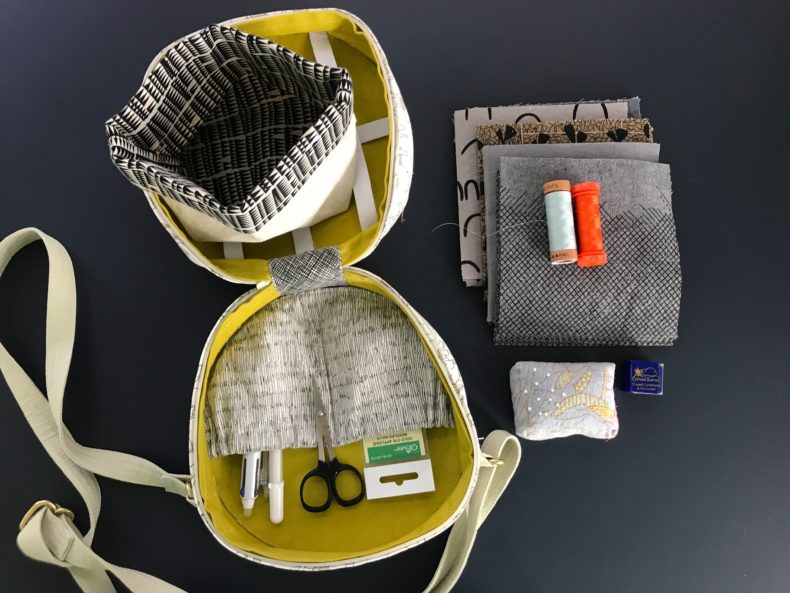
Finally, here’s a look at the fabrics that I’ve pulled…
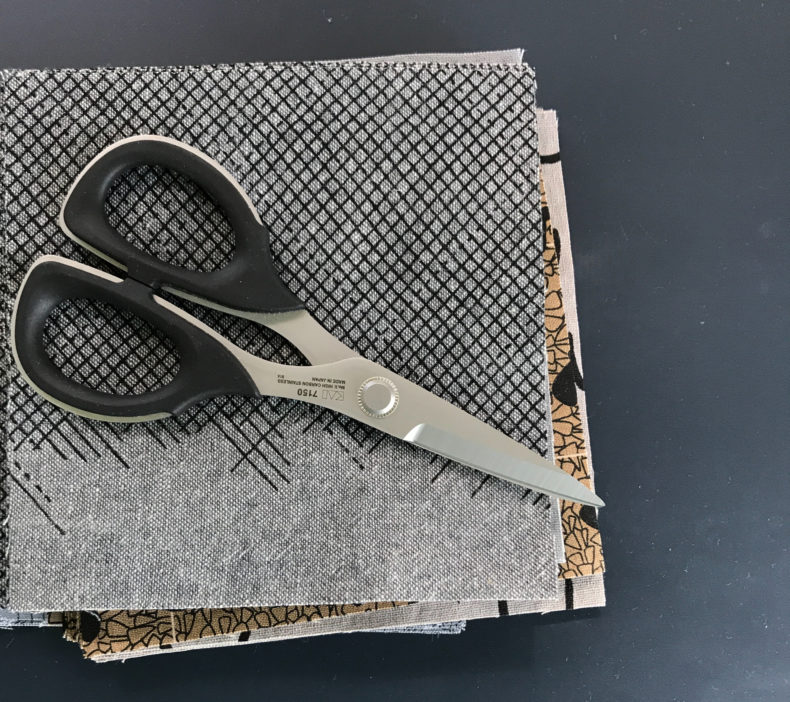
I’m wanting to go grey…so we’ll see! I think I’ll probably add in some solids too. Maybe.
Tips:
+ Fabric tip – Solids vs Prints in appliqué: In general, solids hide less and prints hide more. If you’re new to appliqué, using a print–even a subtle one–can be a little more forgiving than a solid. Of course, if you’re most excited about solids and you’re a newbie, don’t let me stop you!
+ I always travel with my Nest Egg tote, the very first one I made in fact. It’s still going strong, and I really like how I can zip it up and throw it into my backpack. While on the plane, I take it out, and open it up on my tray table and work away.
+ Also handy when traveling is a fold-up thread catcher. The one I use was a gift, but I put together a quick tutorial for you that will be coming out tomorrow. Stay tuned…
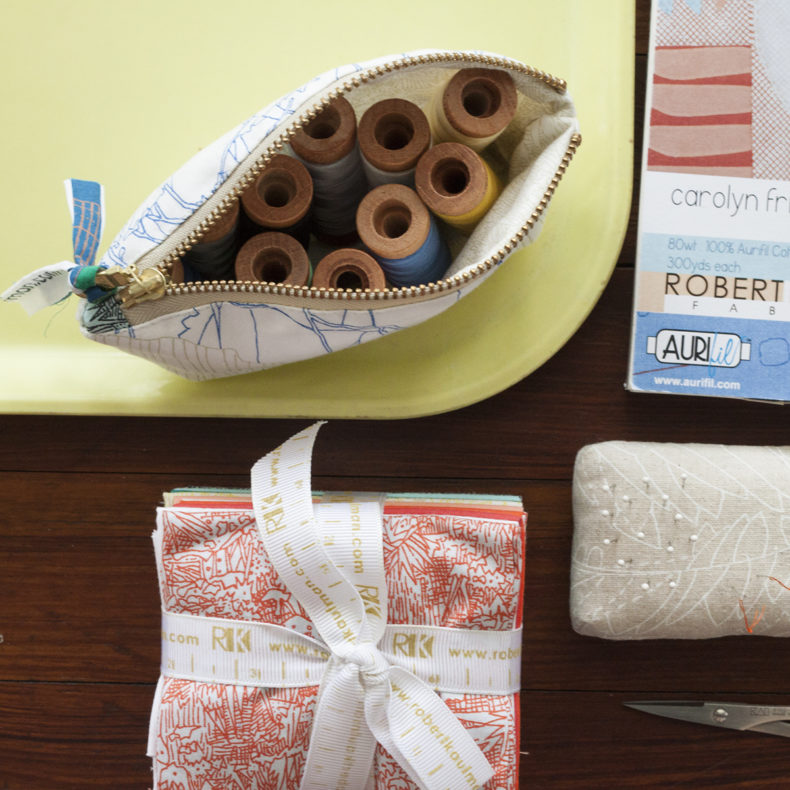
+ The Aurifil smaller spools are my preferred travel-handwork thread, and the smaller version of the Petal Pouch by Noodlehead fits them perfectly.
+ This tip skips ahead a little bit, but I know that many of you have already started your appliquéing, and so I hope it will be helpful. Inner points in appliqué can be tricky to turn when you’re just starting out. This is easily the step/shape I demonstrate most in workshops, and while it is helpful to see it in action, it’s also a case of practice really being the key to making it easier. I promise! This is also why I like designs like this, because they can give you great practice in tackling such shapes. After doing several of these, you’ll no doubt see improvement. It is helpful to see this step in action, and so I’ll highlight my Appliqué Quilt Top class on Creative Bug–which you can find here. This block has many tricky inner points, which makes it a great one to watch for seeing how to do it. Hope that helps!
Leave a Reply