cf Mini QAL #6: Fussy and/or Directional Placement.
Did you have fun creating a gradation?
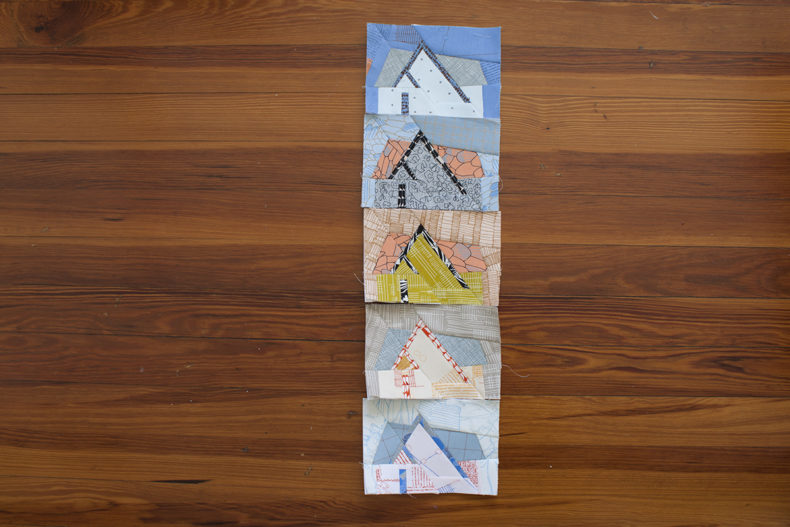
I created a few more blocks to add to my Davie pile from last week, and I like how a gradation adds a bit of harmony and composure to the group.
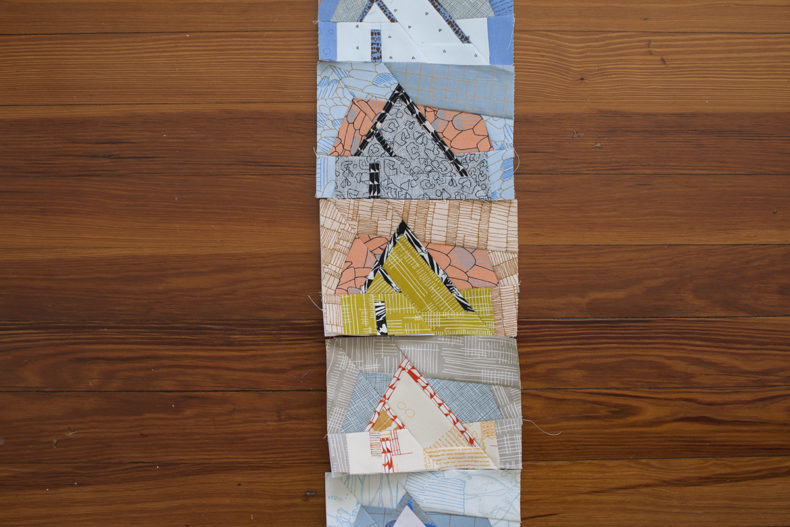
As for the colors, I expanded on some that I started last week and went with my gut on what to put together next. I made sure to lay out each block as I worked to see how it was shaping up.
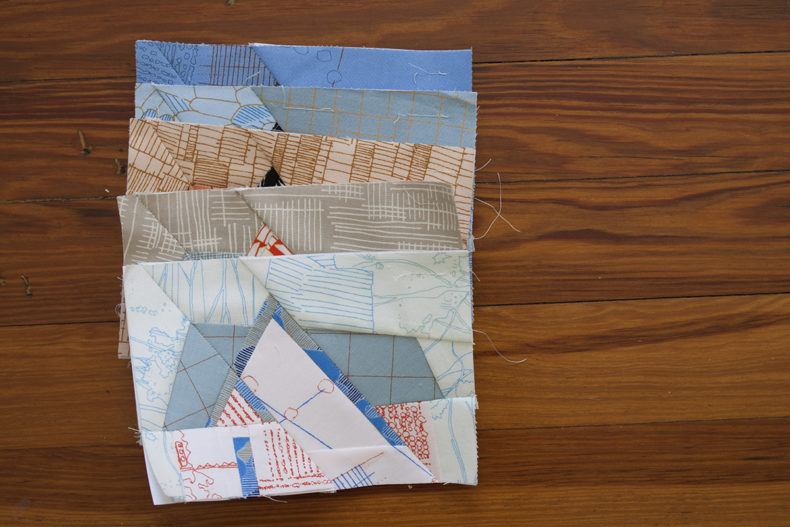
On to the next challenge, are you ready?
This week, we’re going to explore getting fussy and/or directional with your placement.
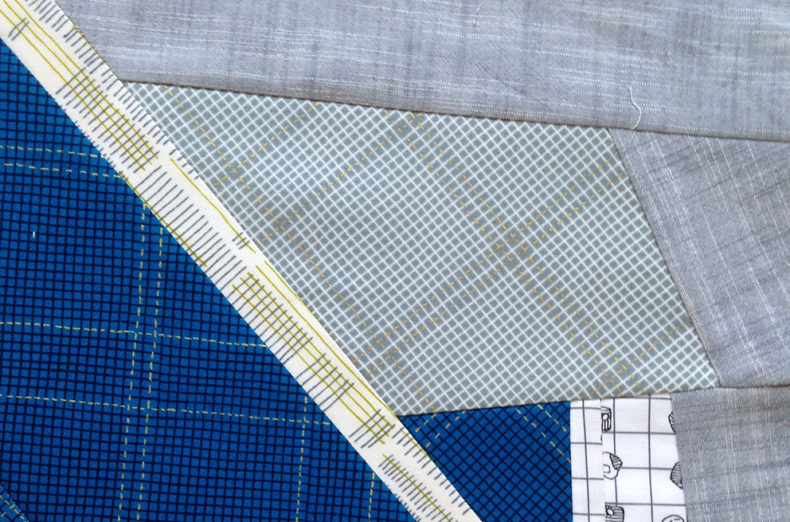
What’s fussy and what’s directional placement? I think of fussy as any way you get picky with your fabric placement. Maybe it’s putting a cute cat into a certain position on your block, or maybe it’s making sure that something lines up just the way you want it. Directionality comes into play with directional prints–think stripes, checks and any motifs that are best read in one way or have an up/down/side to them. In this case, you may decide that you want the direction of the fabric to be reflected in a specific way in the final project.
Getting a little (or a lot) fussy is all a matter of preference and skill to some degree–so don’t stress! If you’re new to it, a good trick is to know the good places to start and how to grow your skills from there. Also keep in mind that like most anything, it gets better with practice and as you start recognizing opportunities.
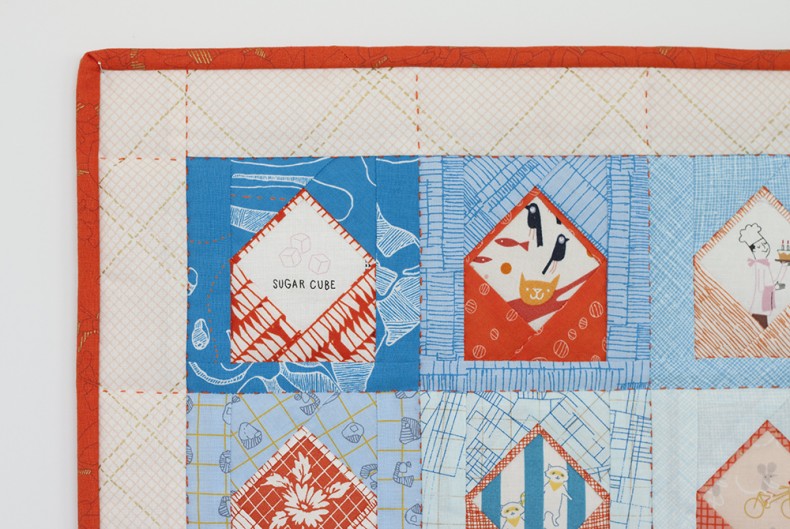
When paper piecing, the first piece on the template is always the easiest place to get intentional, and my Envelopes project (especially the version above) is a great example to start with. The inside liner is the first piece, and you can see how I’ve added special motifs to each one. Because this is the first piece, you’re able to place your fabric however you want.
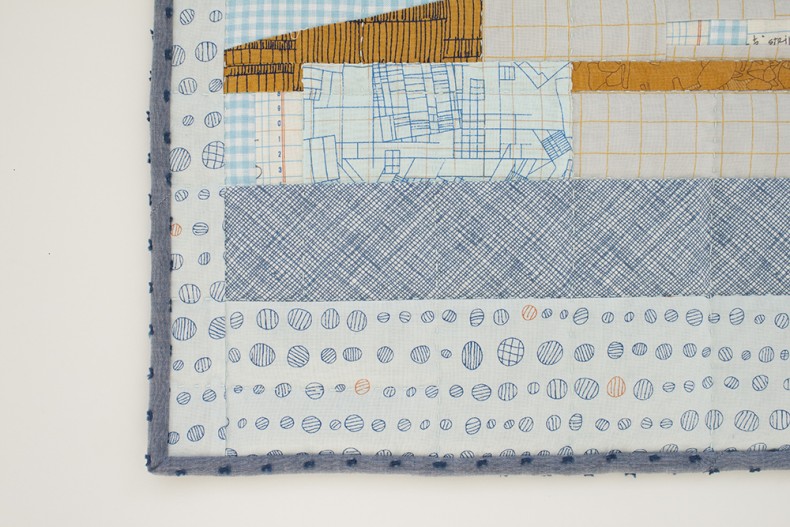
Another relatively easy place to consider fabric placement is in your border. In my Austin House (above) you can see that I cut my border fabric strips lengthwise for the vertical piece and widthwise for the horizontal piece so the dots on the fabric are running in the quilt as they do on the fabric. Matched up or not, keeping a directional fabric directional in your borders is relatively easy and always a fun place to start.
((Tip: If you’re working on Lusk version C, the side panels would be a great place to play with this idea! Simply cut them together and they’ll match up wonderfully.))
To take directionality up another notch, take a look at this other version of Austin and how I kept the gingham background fabric going up/down. This may look totally normal, but without paying attention to the directional placement of the fabric the gingham would be going a many different directions.
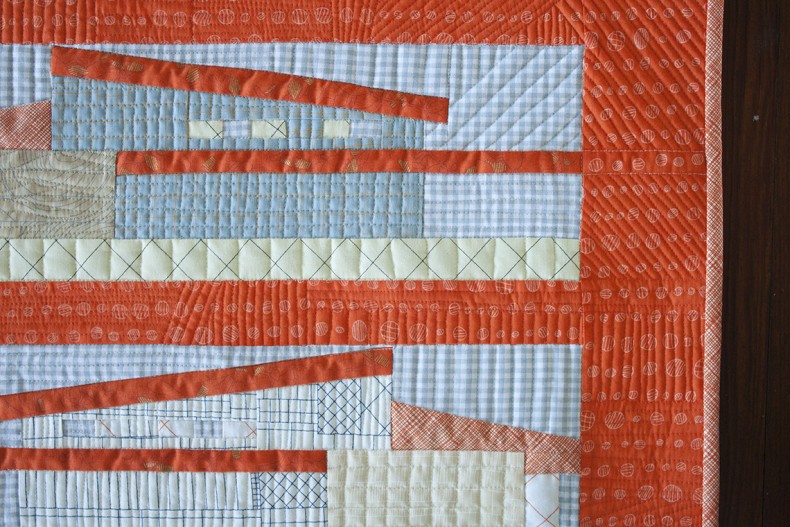
I like this example because it shows how directional placement can unite areas seamlessly. Of course this kind of means that the hard work you put into it isn’t noticeable. But to me, it’s not only entertaining to get things like this to work out when you’re sewing, but it’s also a fun detail to have working for you in the end.
Here’s another example in the same vein.
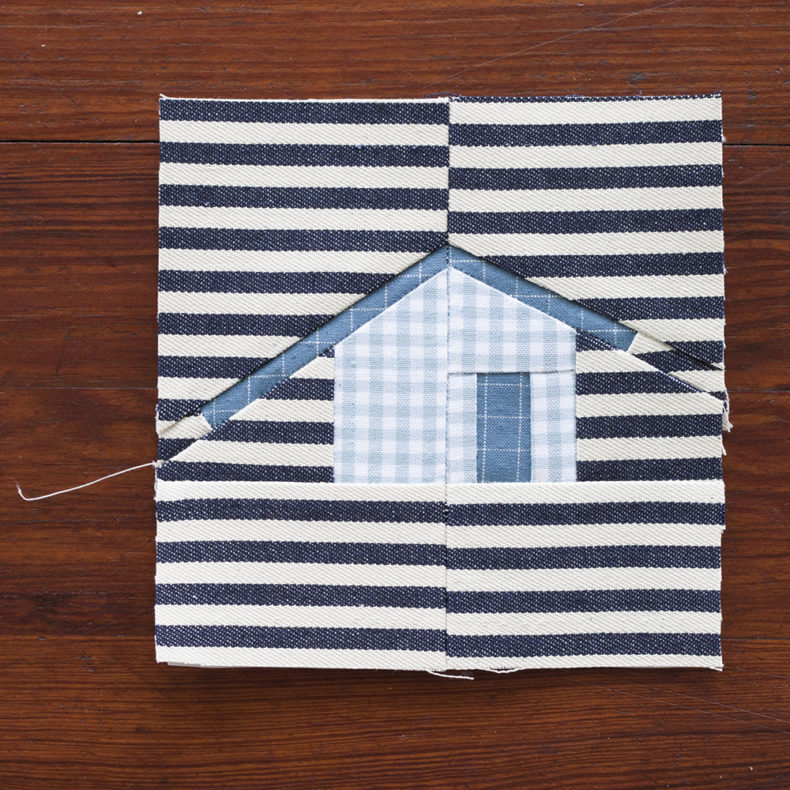
Of course you could probably take it a bit further and match up the top background a bit better, and if we’re getting super picky, my bottom stripes are a hair off, but you get the point. This single block from my Outhouse pattern gives you all kinds of opportunity to play with your fabric.
((Tip: An easy first attempt for this block could be to get something fussy in the door. That’s the first section on that part of the block, and a wonderful place to slip in a little critter or something else fun.))
You ready? I can’t wait to see what you come up with!
Tips:
+ I find that using a light box is helpful when paper piecing in general and especially when getting fussy with your fabrics. I like using the Daylight Wafer 1 with a clear cutting mat on top.
+ Being fussy and/or attentive to directional fabrics can be approached in a range from hard-core to more subtle. Pick your pleasure, and don’t get too stressed about it. I always find it entertaining to see if I can get things to match up or positioned in a specific way. When it works, yay! When it doesn’t work, no biggie. You took a risk, and I’ll bet you were able to learn something that you can apply to your next attempt.
+ Further reading: The Fussy Cut Sampler by Nichole Ramirez and Elisabeth Woo (Hardy). This book doesn’t get into paper piecing and fussy cutting specifically, but it is certainly an excellent resource for fussy cutting tips in general and inspiration.

Leave a Reply