cf Mini QAL #5: Gradation.
How was last week?
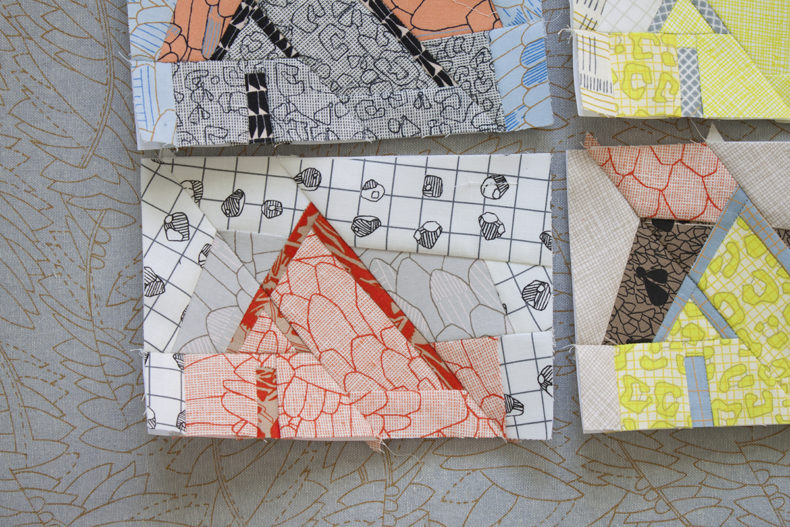
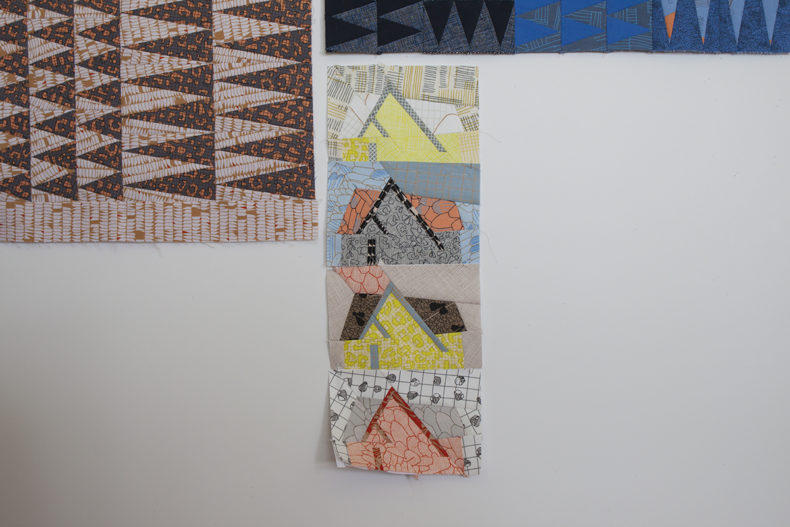
Here’s what I made.
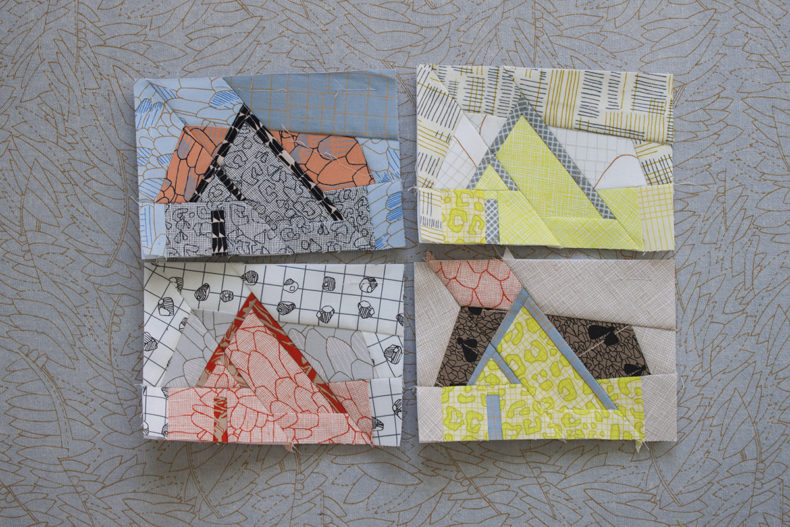
This week, my focus was on Davie. With last week’s challenge being about all colors, I tried not to over think my fabric and color choices, which is easy to do when anything is an option. Instead I went with my gut as I started looking through fabric. I pulled several different things, and laid them out loosely focusing on groupings of 4 since the Davie blocks require that many fabrics for each of the block sections.
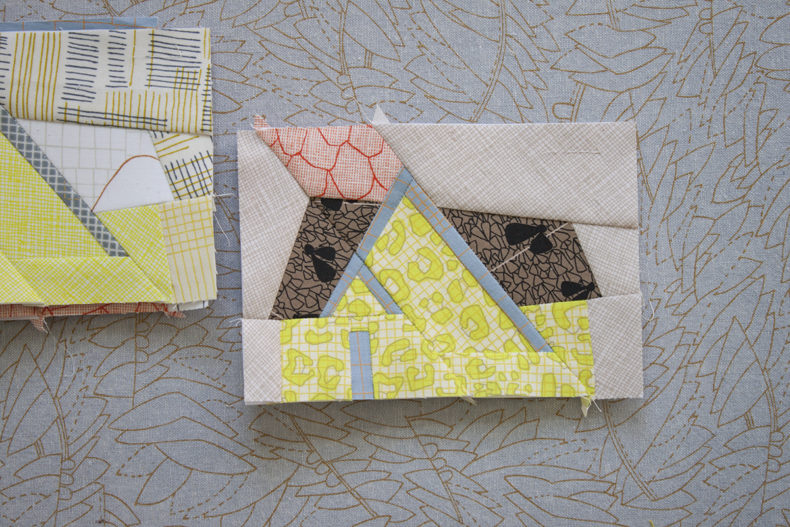
Even though my goal was to make 4 blocks, I didn’t pick all 4 groupings at the beginning–although you totally could. Instead, I made the first block with the first 4 fabrics that I liked, which was the bright yellow house with a brown roof in the middle. My subsequent block selections grew from there based on how I was seeing each block shape up.
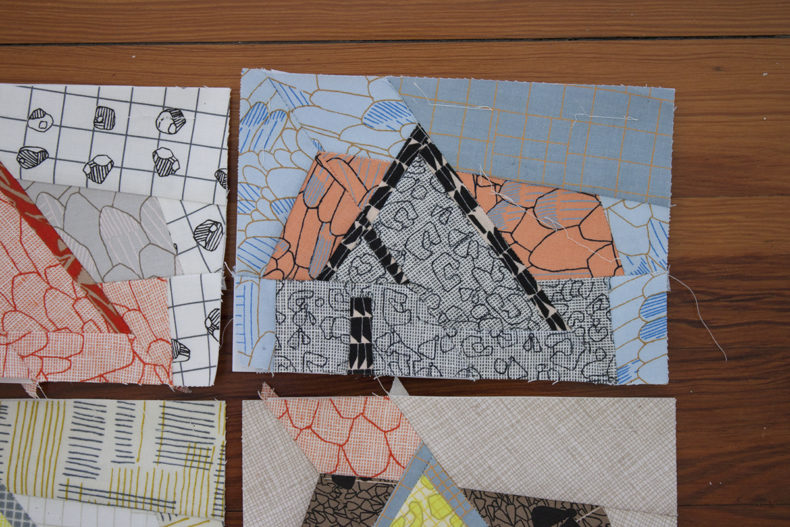
Also, I’ve been wanting to play a bit with mixing up the background sections in this block, and so I inserted a little accent of something here and there in pretty much all of the blocks. I think it’s kind of fun!
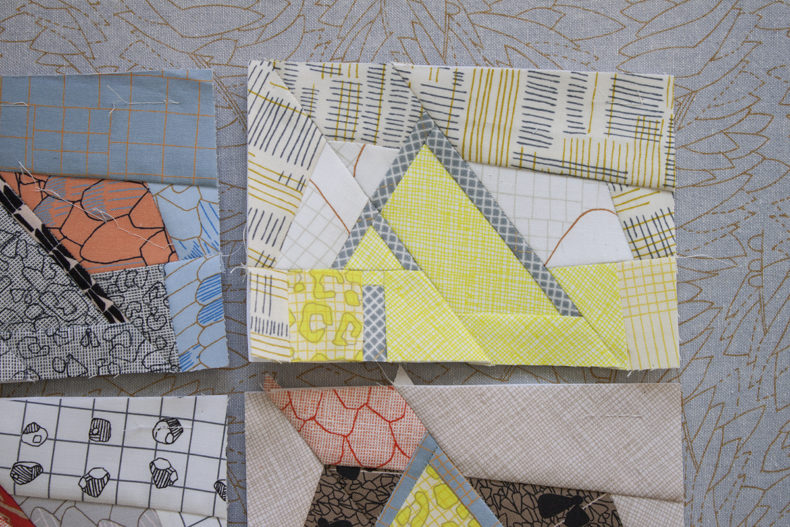
This was a really fun week, and I’m actually looking to build from it in moving forward with the next challenge.
Our next challenge focuses on Gradation. Gradations can be lots of fun to put together and incredibly impactful. Here are some examples to consider.
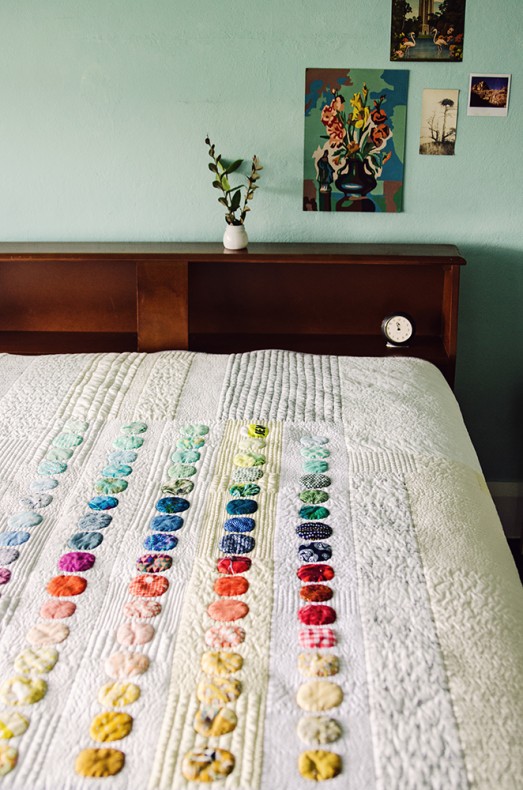
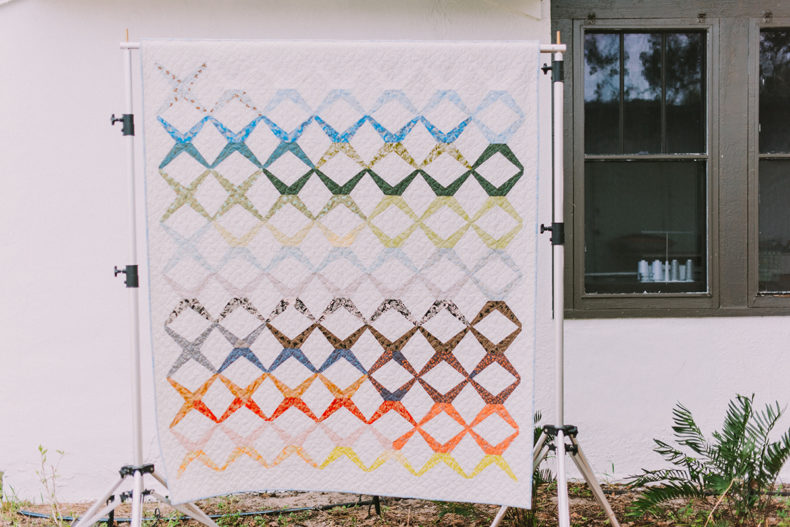
The Aerial Grove project from my book is a good one for employing a gradation. I love projects with little bits of a lot of different things, and this one captures that idea and uses gradation to organize those colors for maximum impact. Above is the version in the book, and below is a version using only Kona solids.
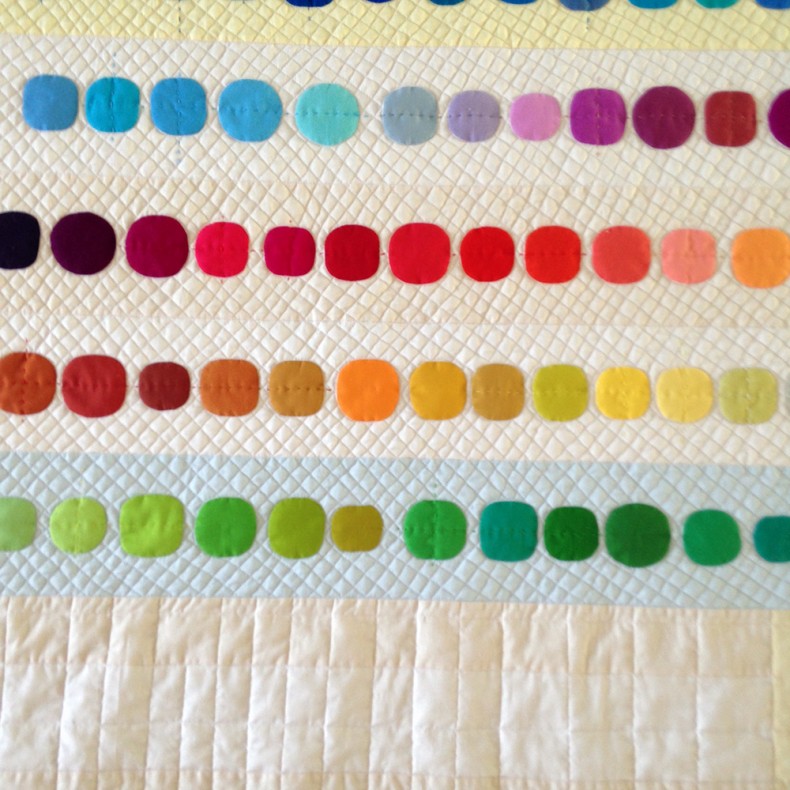
I’ve made so many versions of this project mostly because I love picking out the colors and figuring out how to arrange them.
Ebb is similar in that it also is a great way to show many different colors and how they can transition in fun ways.
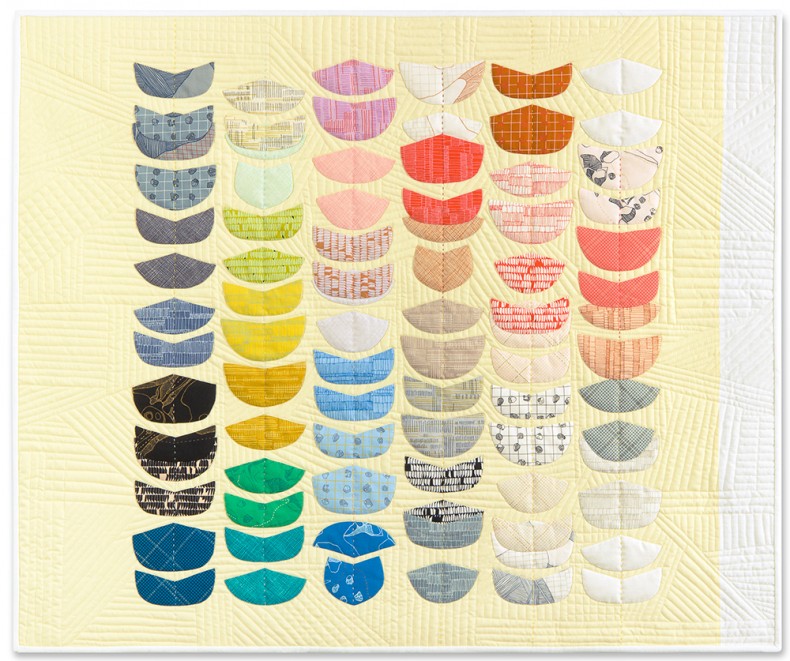
This recent version of Sessoms also creates a gradation from all of the fabrics in Gleaned.
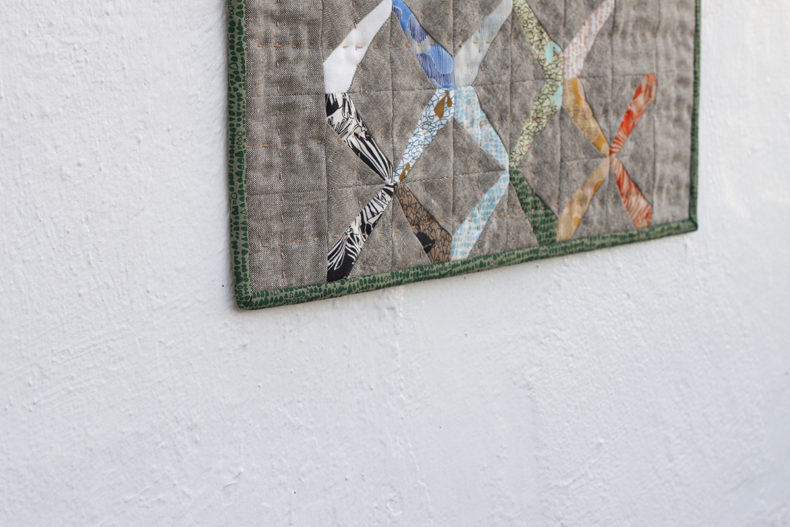
And here’s a new one that you haven’t seen yet. How about this Lusk mini that I also made in Gleaned?
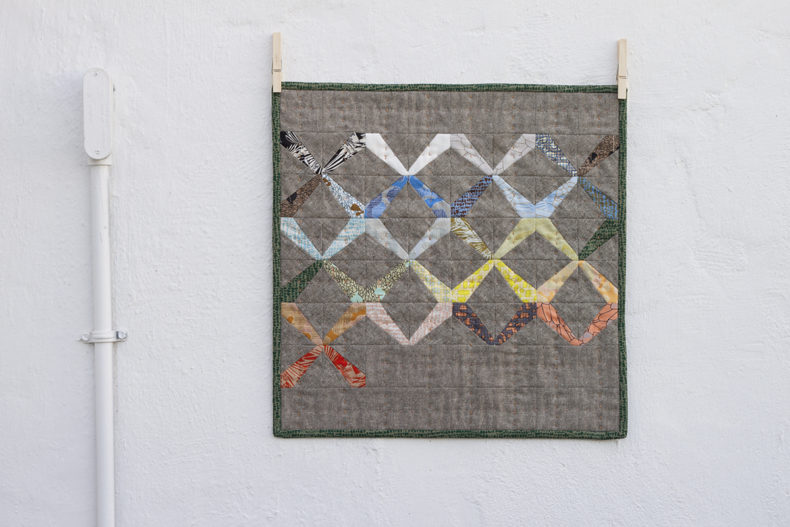
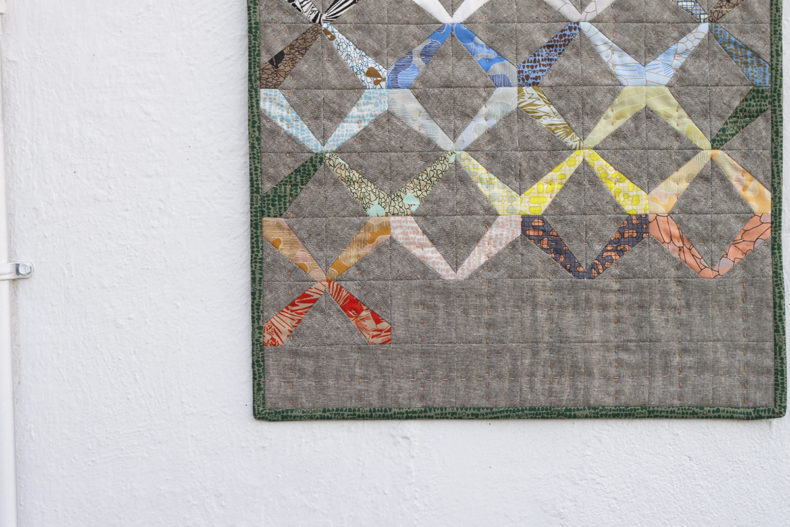
I had a mini-charm pack of Gleaned that I decided to turn it into a mini. I paired the fabrics in the collection with Olive Essex Yarn Dyed. To make the gradation, I simply worked the blocks in order from the mini-charm pack. That’s a tip–if you have trouble arranging your fabrics, try working from a precut, because they’re usually arranged in a pleasing gradation of some sort.
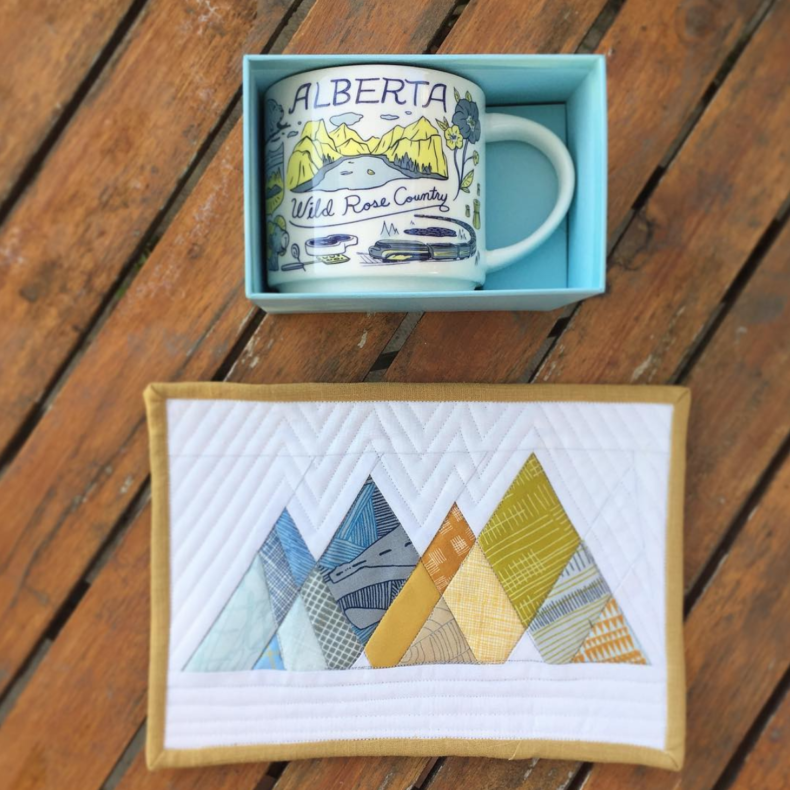
Creating a gradation doesn’t necessarily mean you have to create a rainbow from red to purple. You can also think of a gradation as a way to tell a story, from light to dark, from blue to yellow–from anything you want! Here’s one more example that I crowdsourced from @bastingbeauty. It’s just too pretty not to share. I love the creativity of not only the design but of also the fabric use and way it transitions! It also gives you a bit of a transparency effect too.
This week, have fun figuring out a gradation–in whatever way you’d like!
Tips:
+ Not good with creating a gradation? Buy a precut and use it in order. OR, stalk a precut that you find attractive and take notes on which colors are being used and which order they are being used in. You can do it.
+ Gradations do not have to be a full spectrum and in rainbow order. If the standard isn’t speaking to you, come up with your own color story and define your own limits.
+ On a technical note, I’m sure you’ve noticed that these little seams can be get a little bulky. This is why I usually try pressing them flat in order to even out the bulk as much as possible. While first working on Davie, I realized that using a seam roller to open out the seam first, made it much easier to iron open and achieve a good press. I’m glad to see some of you noticing this handy trick too!

LOVE ,LOVE YOUR CREATIVITY
thank you!