
Hunt QAL #6 Check In.
We’re halfway there! I cannot believe it, and I’m happy (and surprised) with my progress and hope that you are making good progress too.
My goals this month were fairly loose. I only finished appliquéing 1 block over the last month, and I have the appliqué on another one underway.
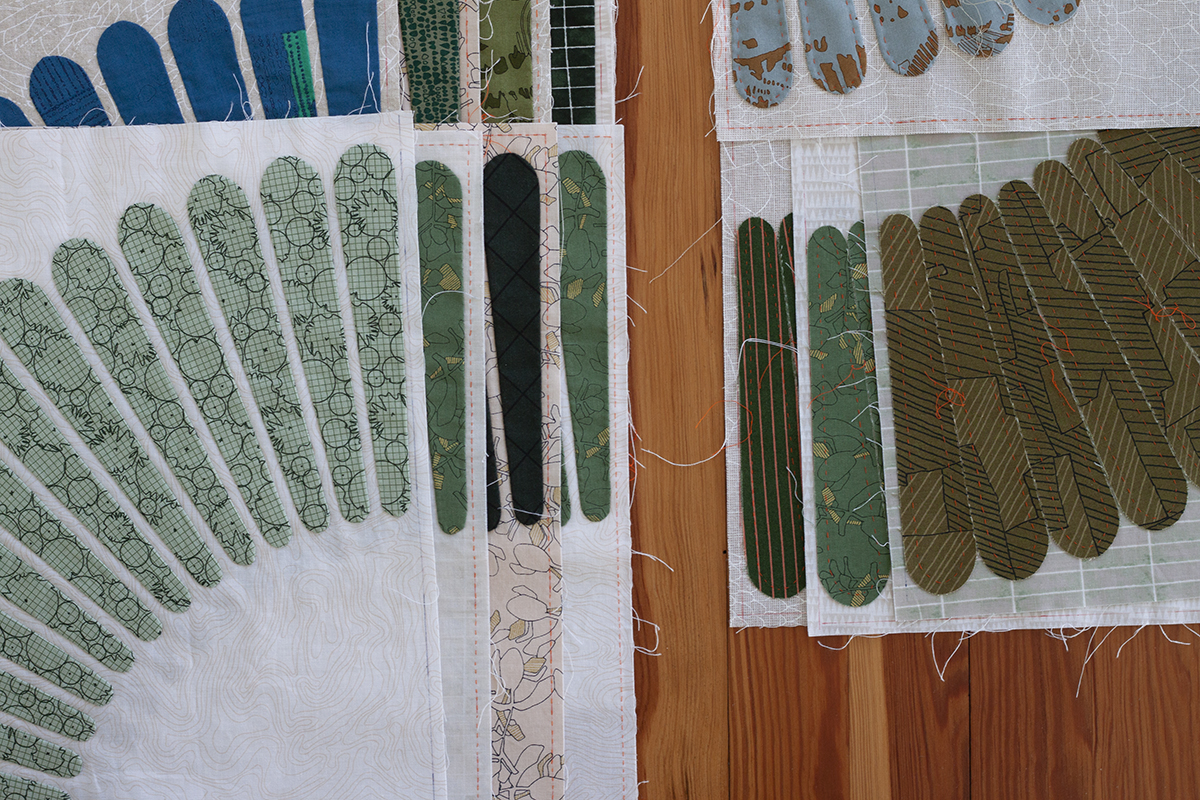
To tally things up at this 6-month point, I have 9 blocks fully completed, 1 block being appliquéd, 3 fully basted blocks and several background panels cut out and ready to get set up. I need to figure out the appliqué fabrics for the final blocks, which I’m sure I’ll map out all together. It’s easier for me to work in that way, and I hope to do that before the next check in.

I did have one strategic revelation this month. If you’ve taken a class from me, you know that I love thinking about strategic sewing. I tend to plan out how I baste and appliqué each block so that it’s an efficient use of thread, steps and time. If it makes sense, I start/stop in certain areas, I may leave basting thread to be continuous between nearby sections or I may make use of other tactics. They are small things that over the course of a project can make a difference. Of course whatever works if it gets you to the finish line, but this stuff is fun for me to think about while I’m working through a project.
With every Hunt I’ve made, I’ve appliquéd each piece separately. This is such an obvious approach, that it’s taken me this long to realize that there is an alternative. Working individually isn’t only logical, but it is definitely the way to go if there are a bunch of different colors and you need to change thread for each of them. I can’t think of another way to do it in that case. However, when all of the pieces are the same color, like I have here, it’s different. I realized that I could work multiple shapes continuously instead of stopping to cut and reset a new length of thread at each shape.
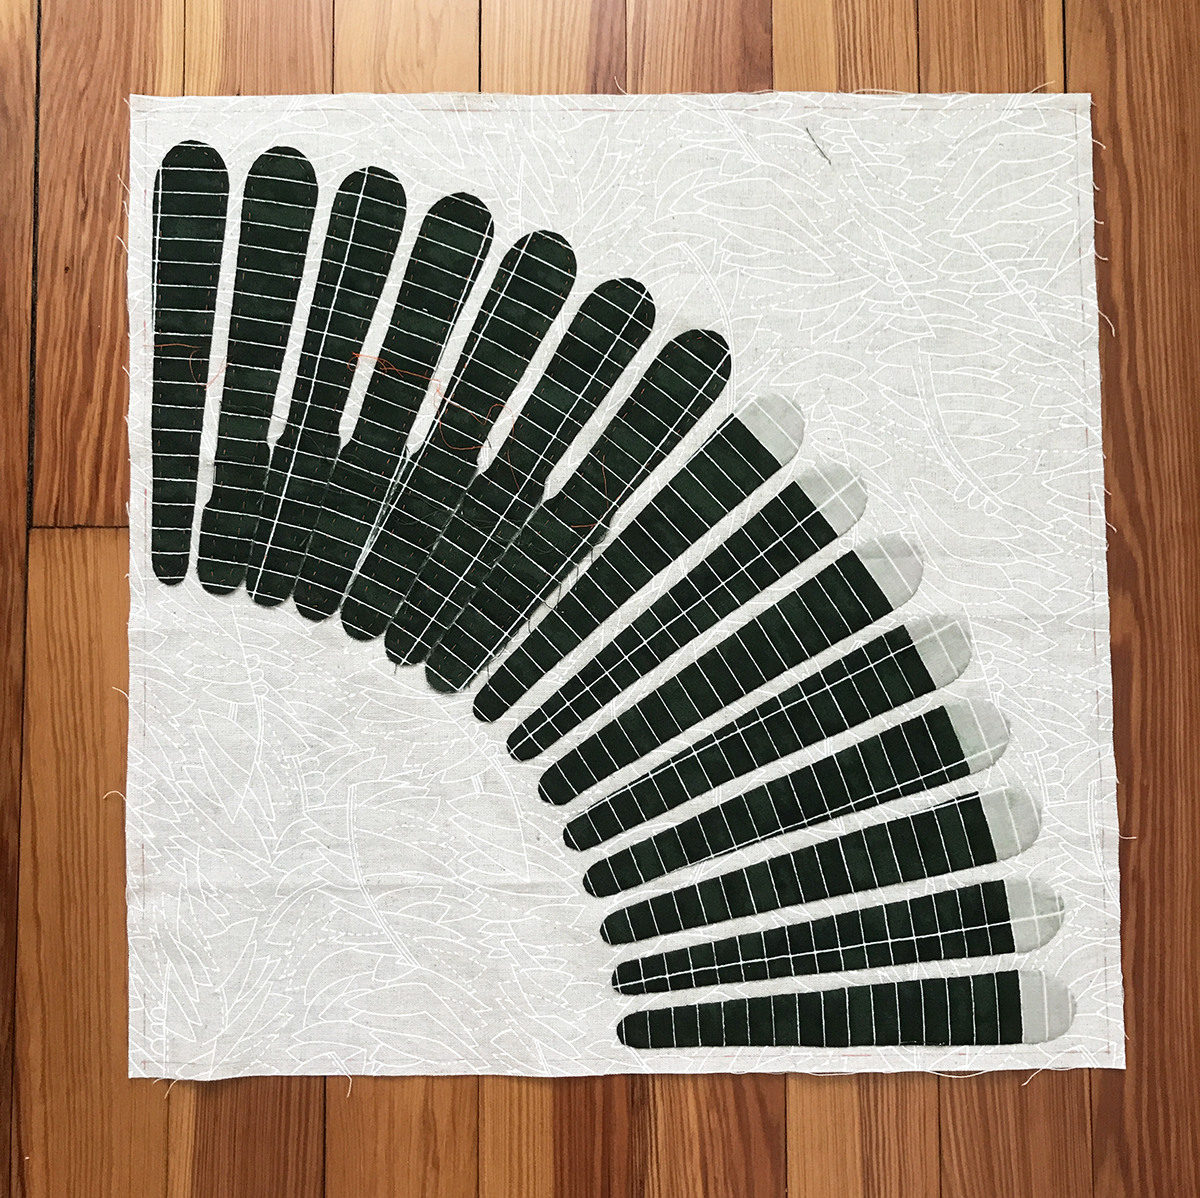
If you take a look at the block below, the shapes on the left are only appliquéd at the top. This is because I am working continuously along the tops, easily flowing from shape to shape. I am making my thread jumps from the back, which are not seen from the front. (Note: to do this knot at the back of each shape without cutting the thread, jump to the next shape, knot on the back to secure and pull the thread to the front. Don’t cut the thread, don’t reset.)
This makes for a more continuous flow and importantly, you can now use a full length of thread before stopping, recutting and resetting up. I discovered this on this block, because I needed to use a gray thread on the gray tops and the green thread at the bottom. It seemed silly to stop and start at each little top, and so I worked them continuously in this way. It seemed to go faster because I could use each strand of thread longer, and so I knew I wanted to try it for the other pieces. I think it helps, and I’m continuing to try it out. Let me know what you think, if you’re into the nerdy details!
Aside from that revelation, it was fun to finish this block and to see the way the print works in this context.
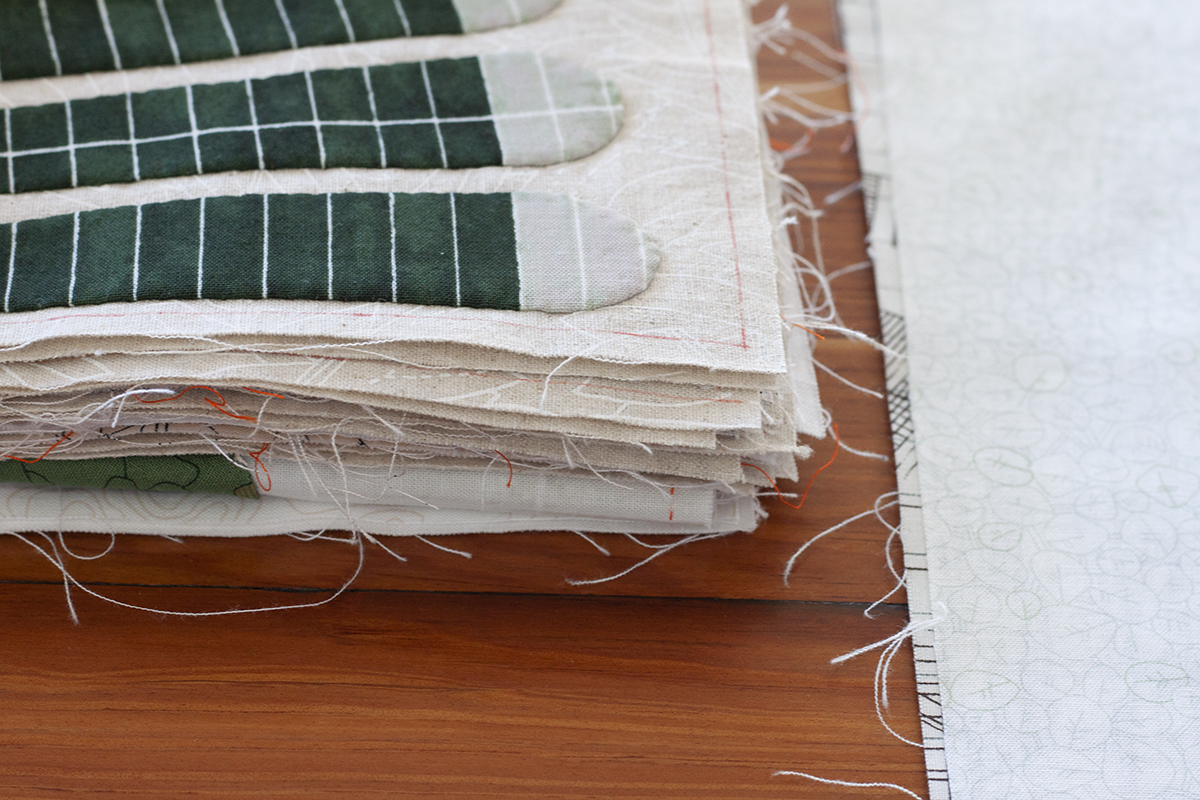
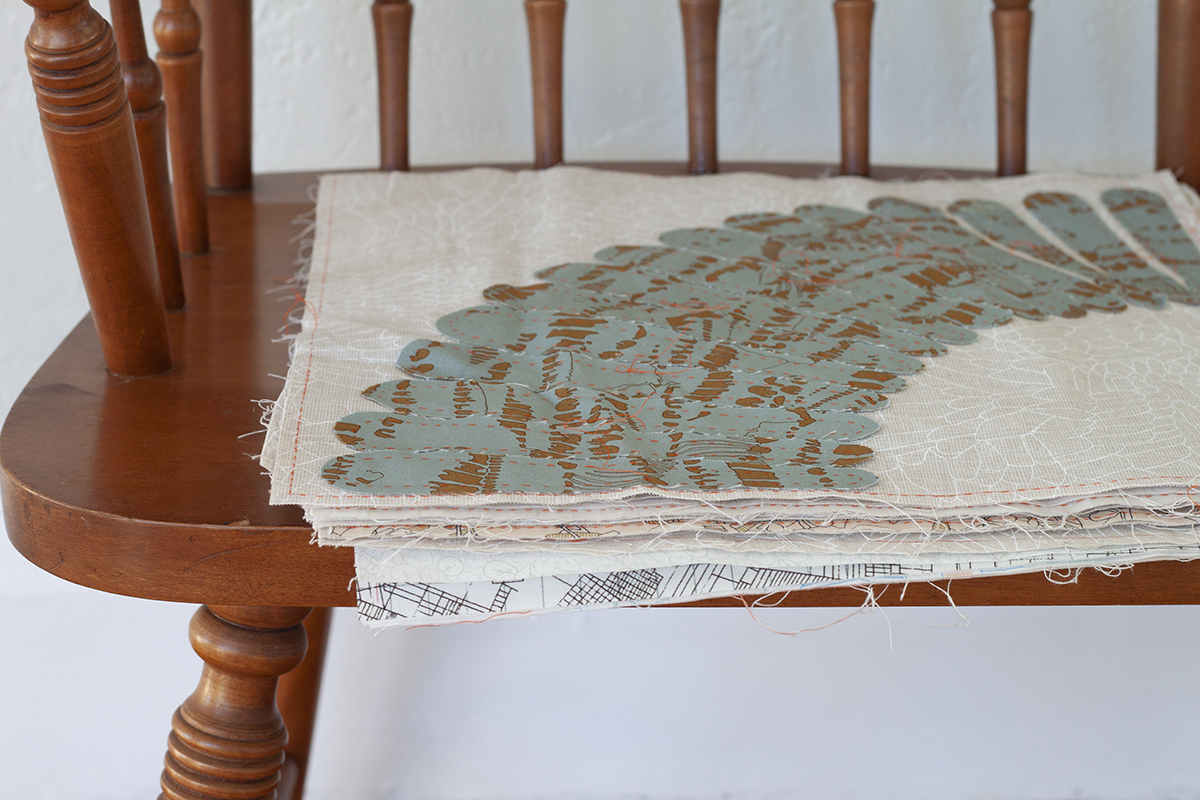
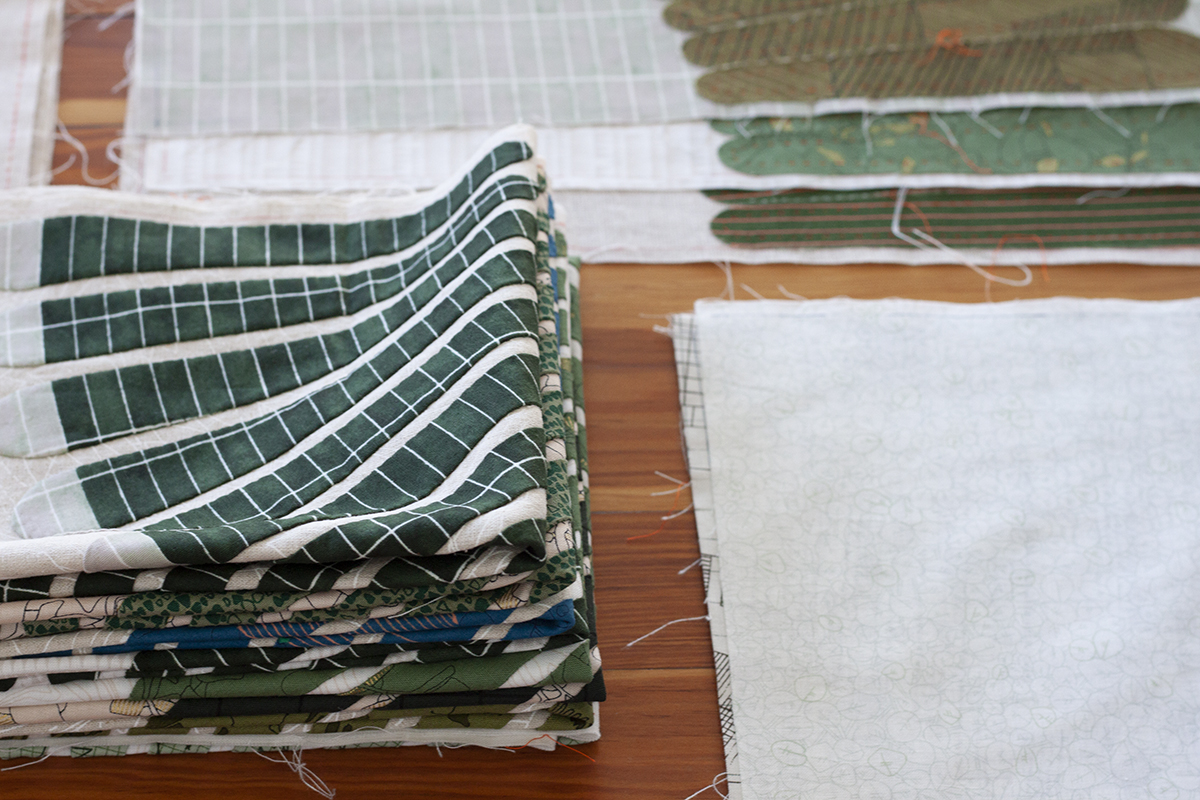
I’ve been storing my blocks in a flat stack on a dresser, but I do pull them out monthly to take a pic. It’s nice to see the finished stack getting larger.

I’ve decided that over the next 3 months, I’d like to try to get all of my blocks finished, and I’ve updated my calendar to reflect that. This way I can spend the final 3 months assembling my quilt top, quilting and binding this project. That’s the plan anyway! It helps to verbalize it, right?
pattern: Hunt quilt
fabrics: (so many!) jetty, collection CF, instead, harriot, gleaned, euclid, friedlander lawn…
Leave a Reply