I have a new pattern! My Cliff Quilt Pattern is officially here and ready for you.
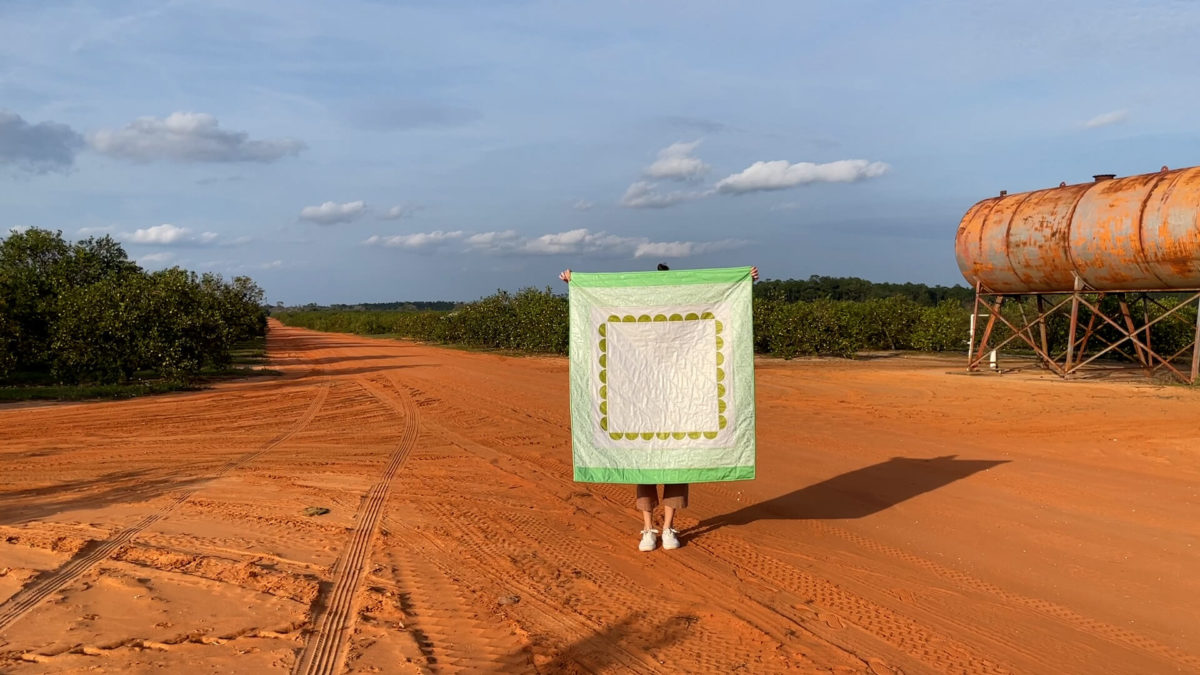
The Design
I love a customizable project, and this one is just that. Cliff is an easily adaptable design that combines basic piecing and appliqué. It’s an engaging exploration of curved and straight shapes. I had rows and rows of scallops in my mind, and so here we are.
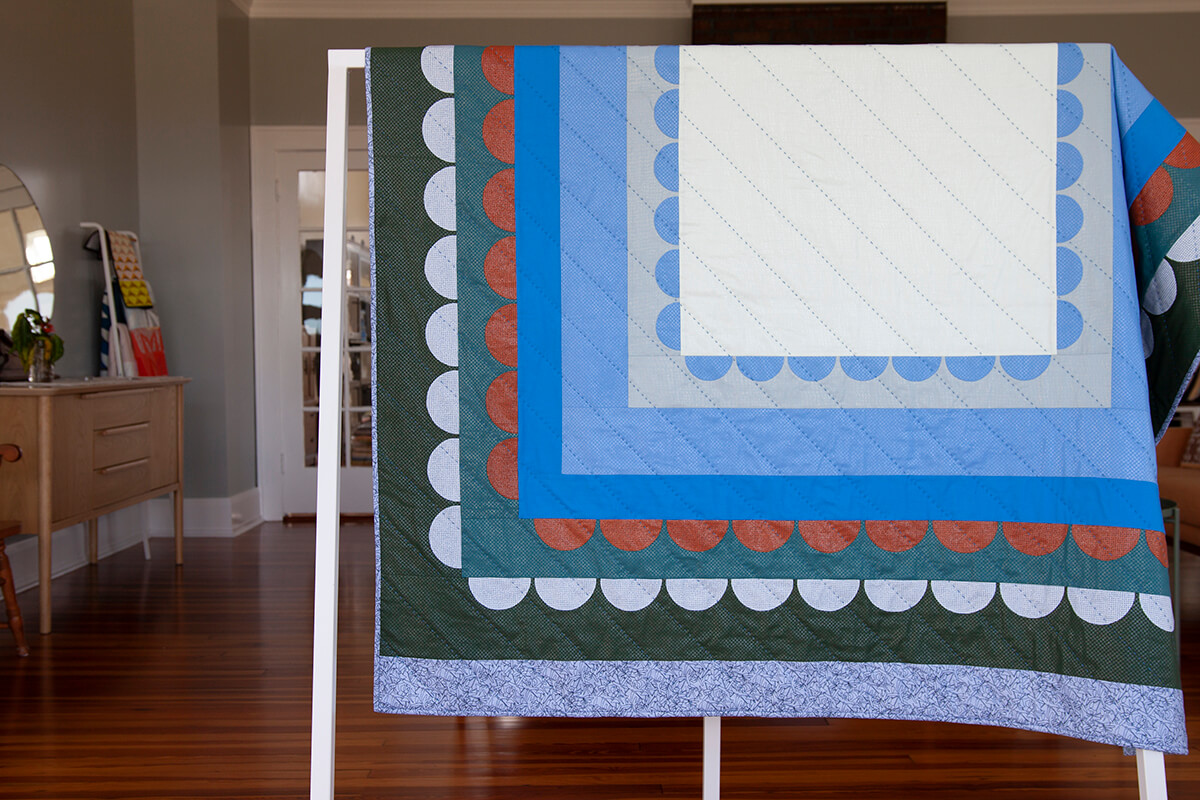
The design features a series of rectangular sections that radiate out from the center. It’s a simple idea, and I love how it gives you the opportunity to create a color and fabric story across the different sections. Then you get to think about layering the scalloped shapes on to any of the sections that you choose. Let me tell you, this is a fun project to lay out! There’s always a high degree of instant gratification when cutting out appliqué shapes for a project, and this one is no different.
The Appliqué
The gentle appliqué shapes are simple and therefore perfect for anyone wanting to give hand appliqué a try. Of course if you are a seasoned appliquér, I feel like there’s a lot to offer as well. (TBH, I wouldn’t be making it if it weren’t…)
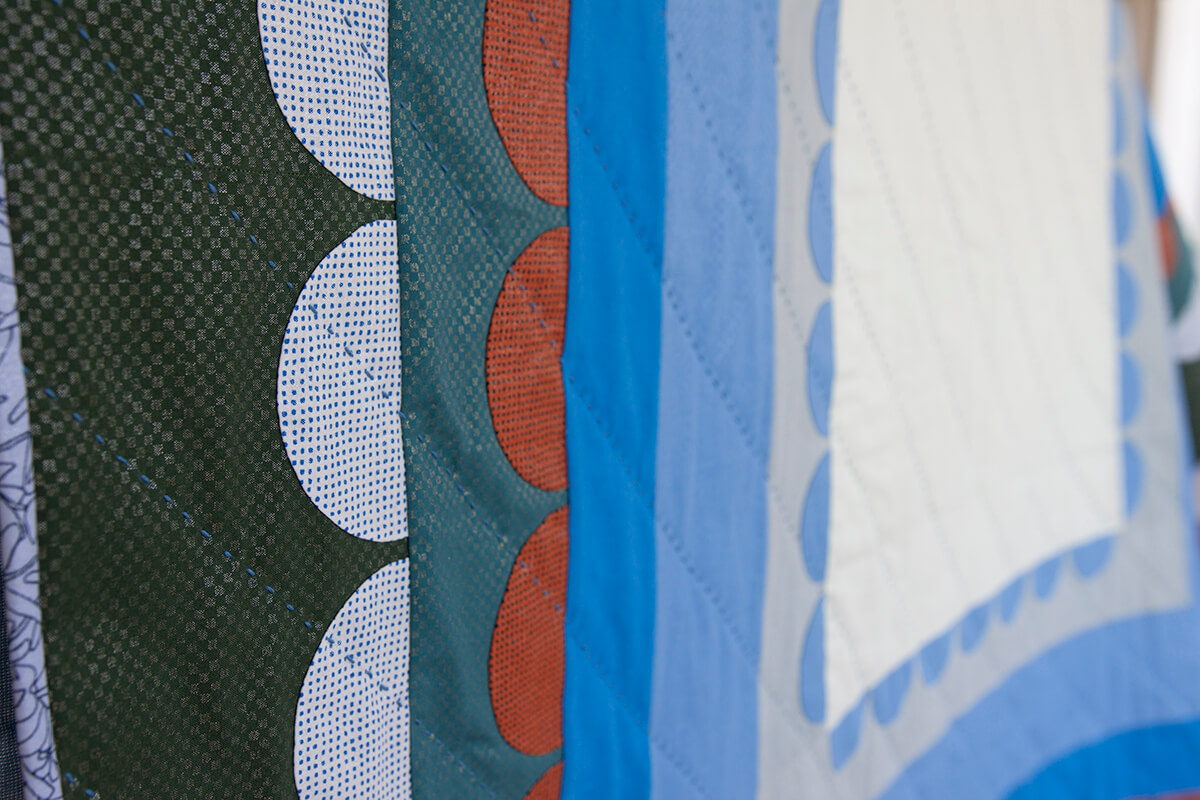
I love working my way through gentle shapes in beautiful colors and prints. I don’t believe that every project needs to push your skills to the edge, and I fully embrace projects that can make you feel good.
The Piecing
From a piecing standpoint, we have some basic piecing to create the rectangular home for our appliqué shapes. Heads up, the design is built from the center out, so you’ll want to pay close attention to your seam allowance. (I love using this to keep things consistent.)
I’ve enjoyed making my Ray quilt so many times (I’m up to four now, I think) that I wanted to marry a similar approach to an added element of appliqué. The nice thing is that you can add appliqué to any of the pieced sections or to none at all! One Cliff project that I have in mind would be to make one without any added appliqué at all…sounds fun, right?
The Fabrics
It’s all about Languid in the two Cliff quilts that I’ve made so far, but I do not plan to stop here!
The first version is made using the Throw size, and I focused on making a color journey from the inside out. I stacked colors for my background (pieced) sections from light to dark in shades of blue to green. I let the border fabric go a bit rogue, which I like to do.
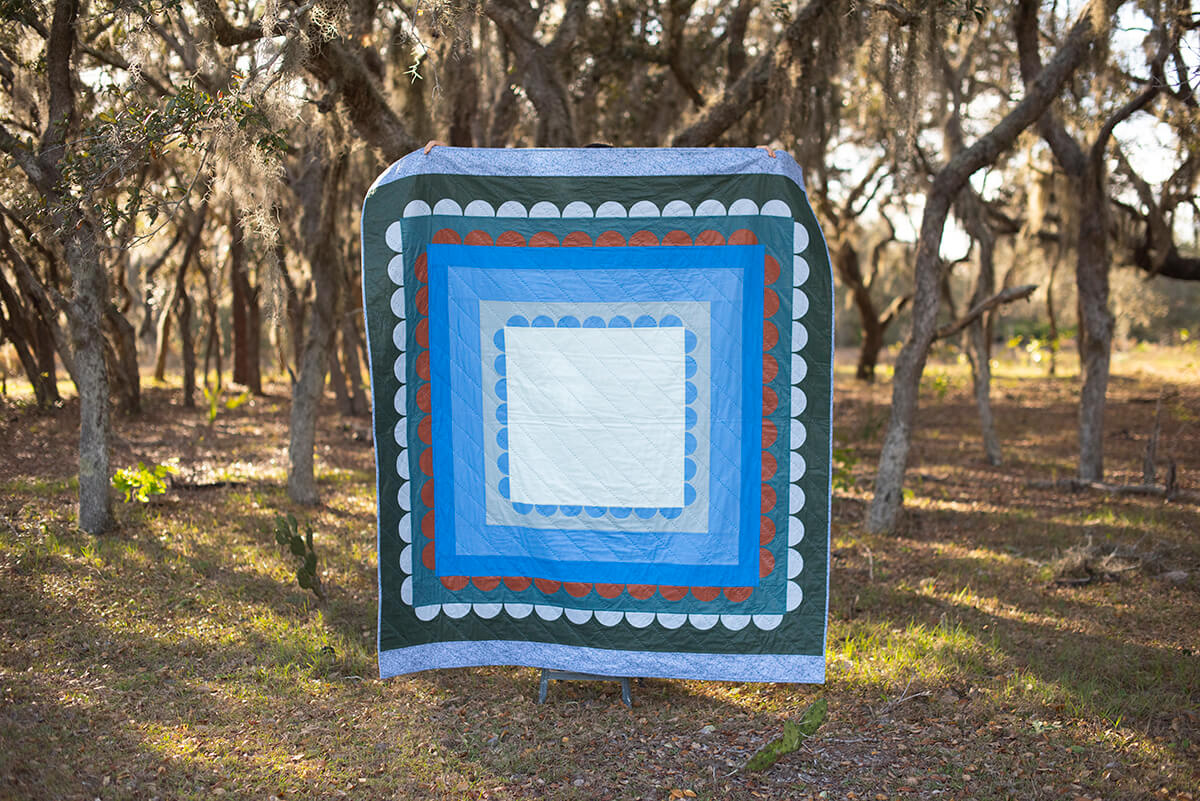
I wanted the appliqué shapes to pop, so I made fabric and color choices that stood out. And, you can have fun with it too. The innermost blue appliqué fabric matches the fabric in the background section next to it. I like creating little connections here and there.
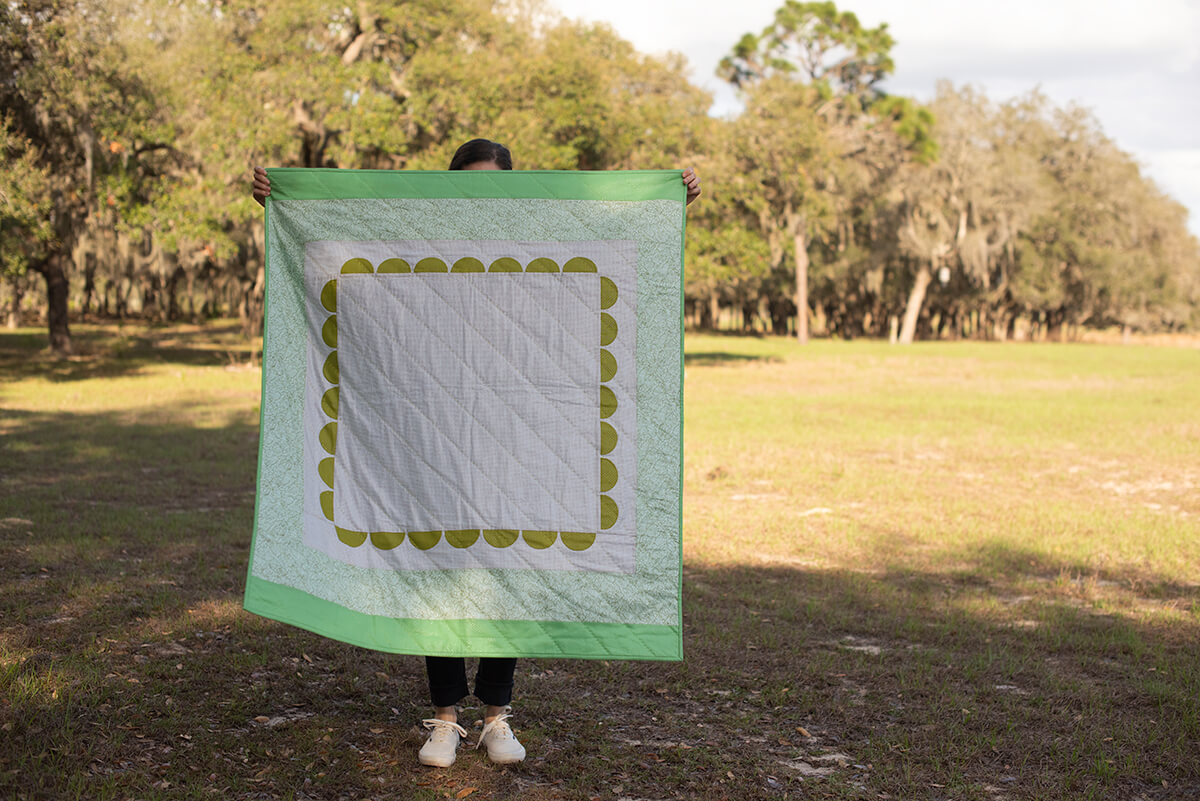
The second version is the Wall size–or it’d be a great Baby quilt too.
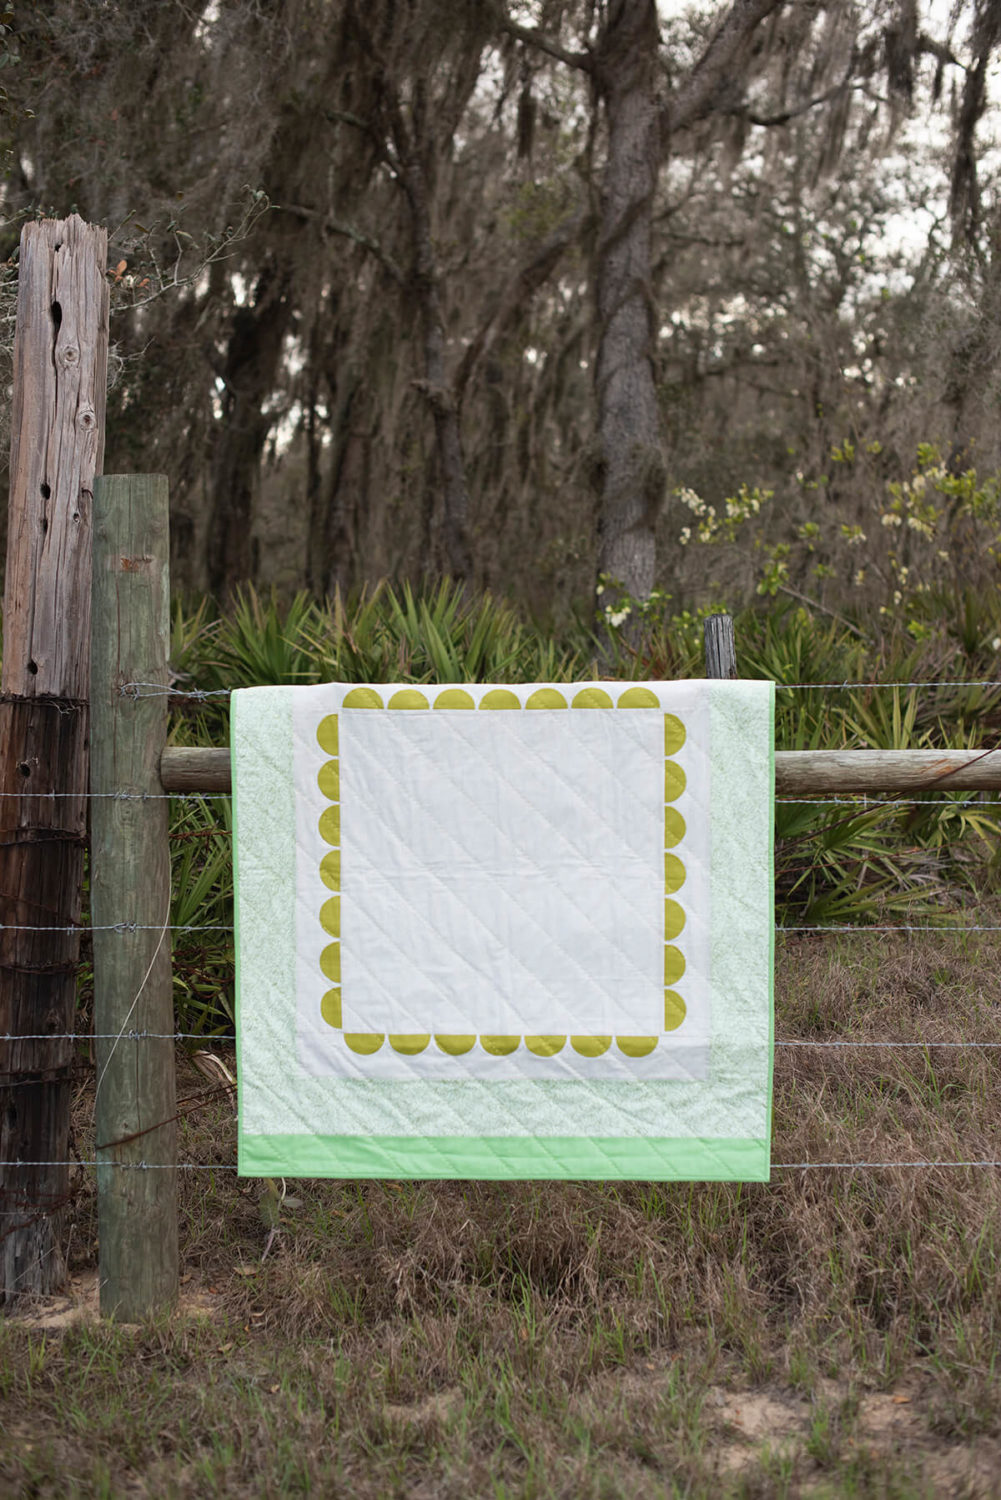
This version is made from fewer fabrics, including the same fabrics in the first and second background sections. To me, this makes the appliqué float in the center–an effect I enjoy.
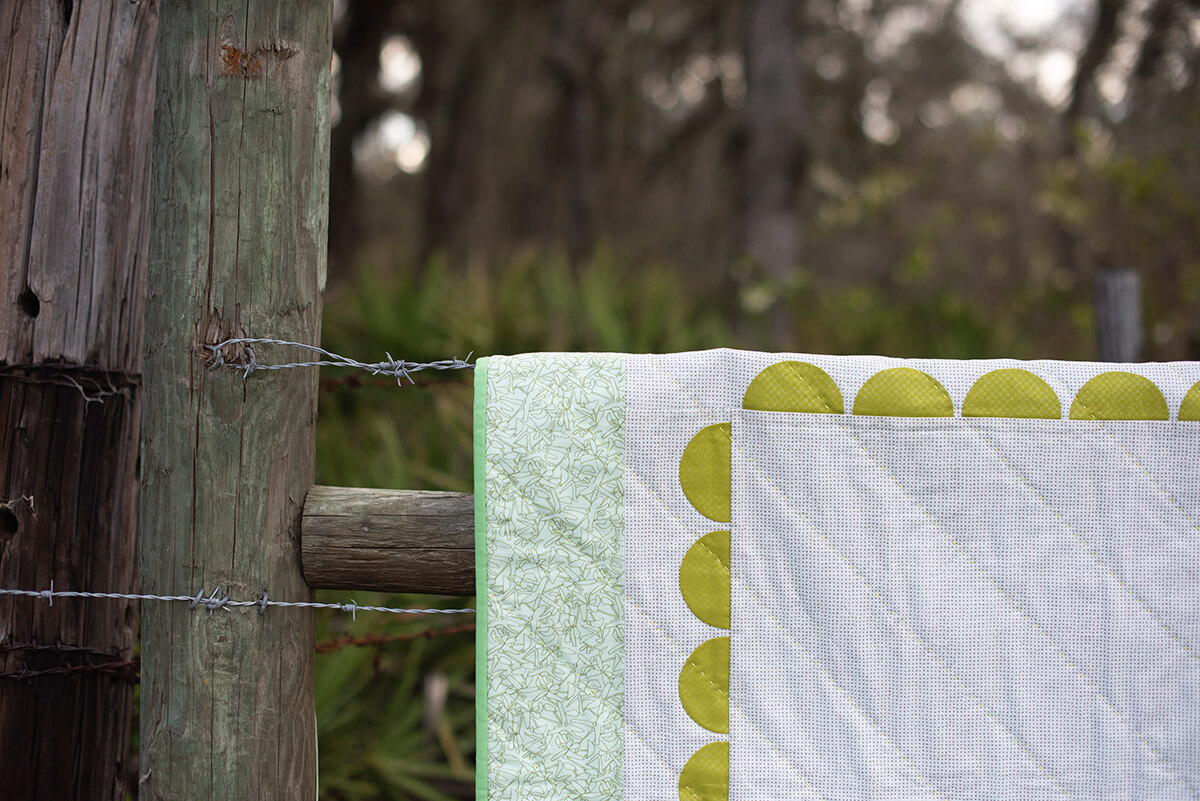
For both of these projects I matched my binding fabric to the final background selection. Binding can be great to consider as a visual edge or frame to your project.
The Templates
Yes, there are acrylic templates! You can totally trace + cut these shapes with scissors, or you can use a small rotary cutter to zip around the smooth and gentle curves. I can be a scissors-gal in some projects and a rotary-cutter-gal in others. Since I personally like using the rotary cutter with this one, I thought it’d be helpful to provide that option for others who might work the same.
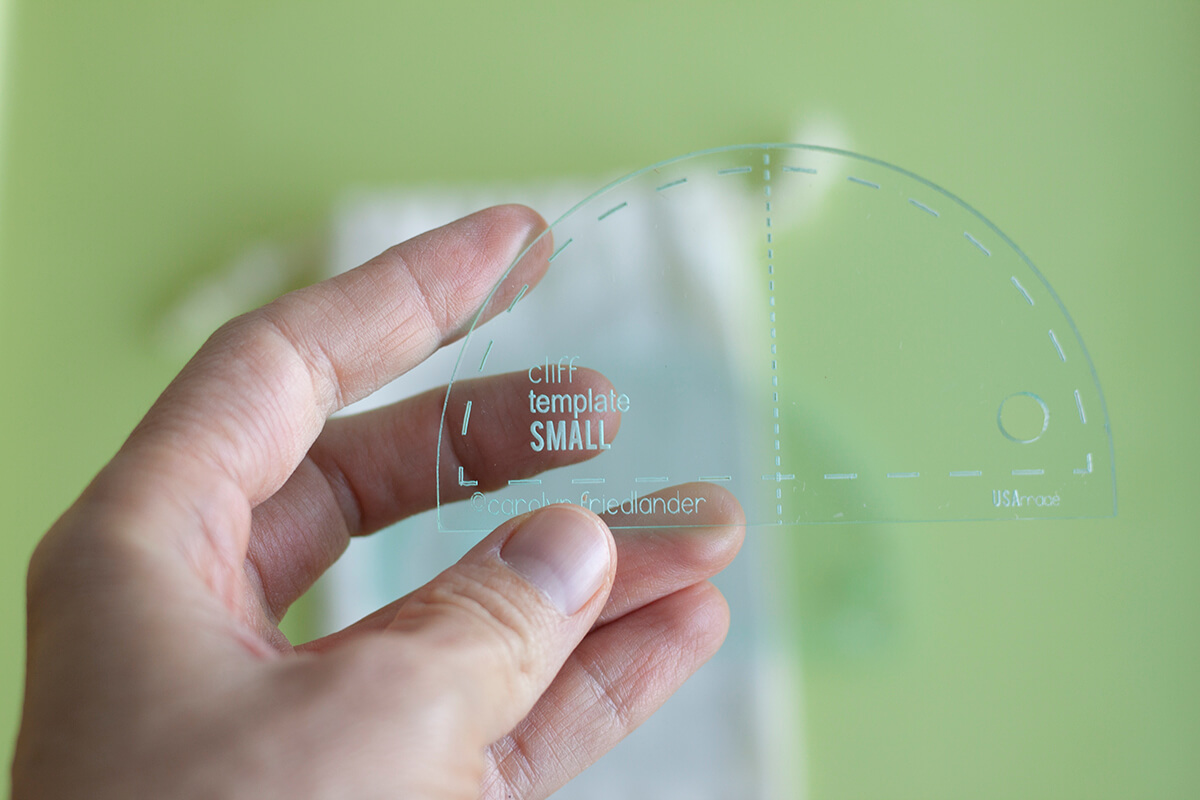
Of course, the pattern does include printed templates that you can transfer on to template plastic as well. The optional acrylic template sets are just that, optional.
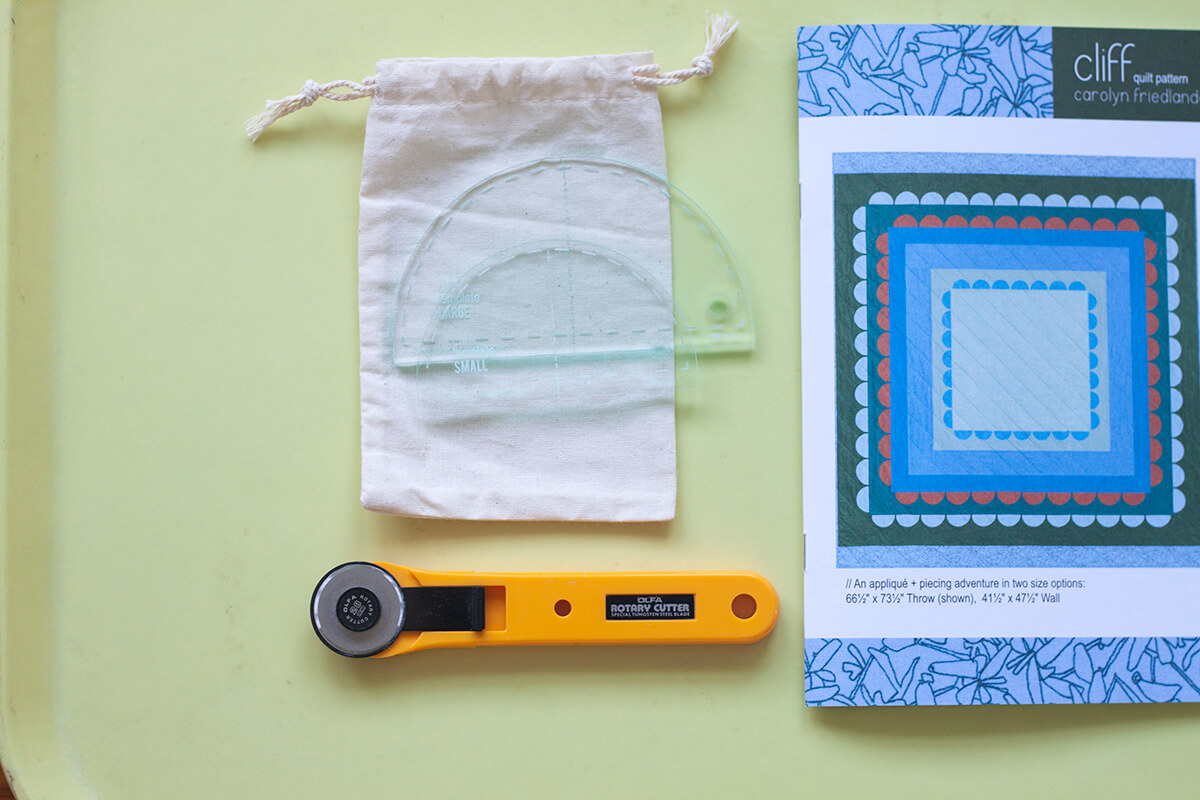
As a special bonus, use coupon code “helloCLIFF” at checkout and receive 20% the template set when you buy the pattern. Discount is good through Monday, April 18, 2022 at 11:30pm EST.
(PSST, I have a new BOW acrylic template set in the shop too. Buy it and the pattern and the same coupon code will give you 20% off that template set too.)
Project Details
Pattern/Templates: Cliff Quilt Pattern, Cliff Acrylic Template Set
Fabric: Languid
Resources: Appliqué Tools, Thread Tips and Tricks

Leave a Reply