
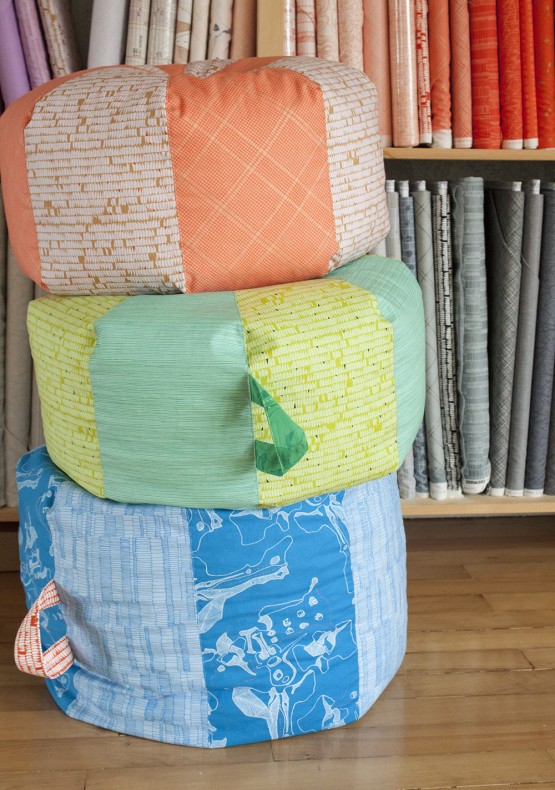
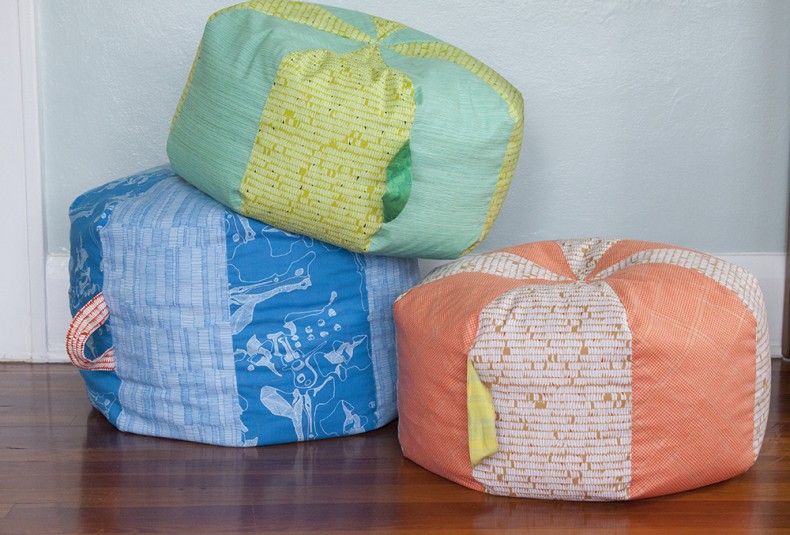
Furniture or projectile? I think that’s part of the fun of the pouf. Or at least, that’s the way I saw it Christmas morning as my 5-year-old nephew launched his new pouf across the room before going in for a very excited landing on it himself. The Carkai poufs that I made for him, his 2-year-old brother (my other nephew) and their 1-year-old cousin (my niece) were a hit (ha!) to say the least.
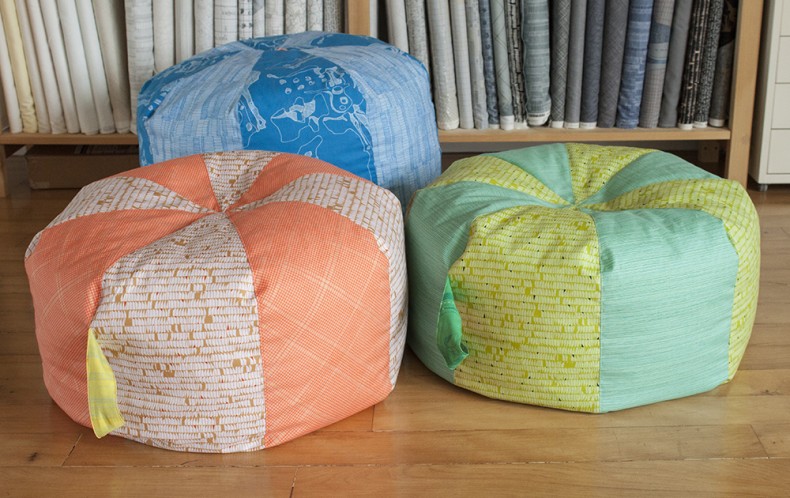
A pouf for each was a great excuse to share my new fabric (plus a couple of pieces from my previous lines) with them, make something handmade for the holidays, and gift something they’d actually use and love. Plus, as far as projects go, this was relatively quick and easy.
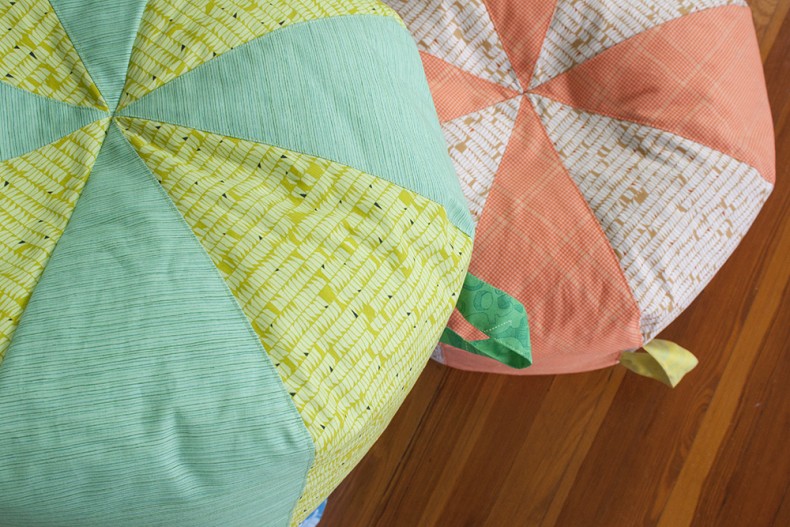
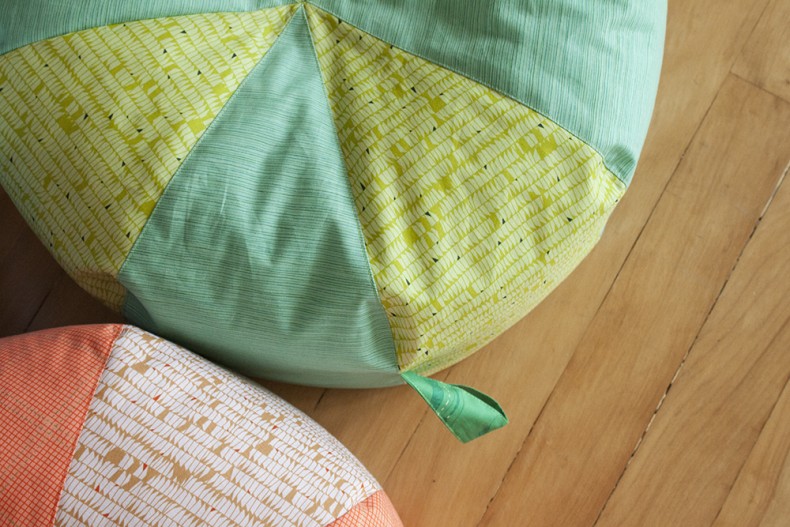
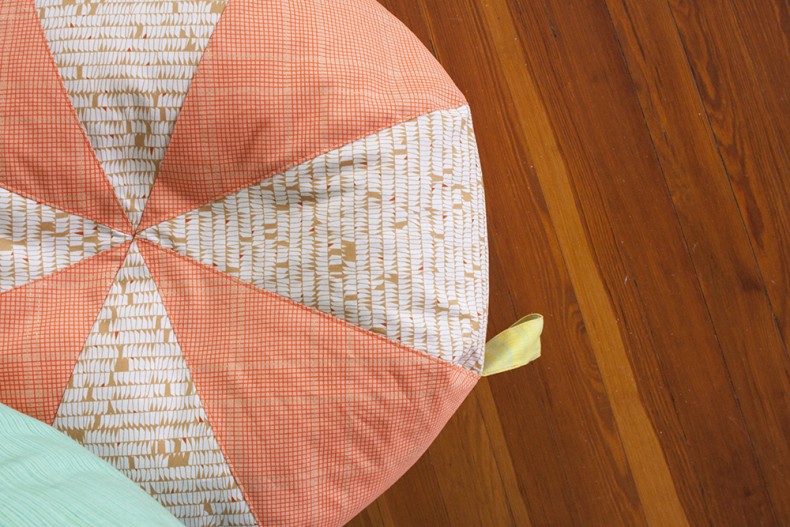
After getting the idea, I spent about 5 mins hunting for a tutorial or pattern on pinterest. There are so. many. This is the one that I decided to go with. It’s the general shape I wanted with easy piecing, but I also decided to add a handle after seeing that a few times on pinterest.
Big warning on the tutorial, I made several changes to it because of durability, size and just to make it work out.
#1. The tutorial suggests pressing seams open. I did not do this. An open seam is the weakest seam option, and when the object you’re making will stress those seams, pressing to one side and top stitching makes more sense.
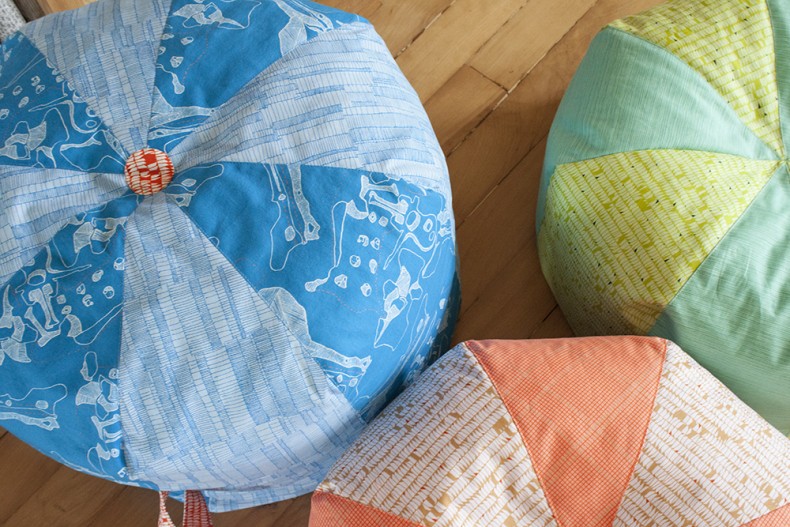
#2. Sew the pieces together with a 3/8″ seam allowance. This reduces the overall size, increases the seam allowance, and makes the piecing work out better than the recommended 1/4″ seam allowance. For the first one that I made (the blue one), I followed the instructions and used the 1/4″ seam allowances and my pieces did not match up correctly. This is why I had to add the circles in the center to close things up. Not terrible, just not necessary if you sew a larger seam.
#3. After making the first one at full-scale, I reduced the length of the straight section on the pattern piece to about 9″ between the triangular bits. This made for a much better size.
Also, if you’re planning to make these, you’ll need filling and may want to plan ahead…which I didn’t. I had some shredded foam on hand that halfway filled the first one, and then I had to figure out how to fill the rest of them. While the shredded foam has a nice weight to it, it was a big mess and not super easy to use, so I wanted to explore other options to finish up. This is what I’ll use in the future and what I would have used if Amazon hadn’t been out of stock when I needed it. What I ended up doing was buying a big beanbag chair at my local big box store. It seemed to be filled with the same stuff that you can buy on Amazon and was enough to finish up the first pouf that was already partially full as well as the other two. Win.
Another bonus of gifting a pouf is that they require impressively large boxes to wrap them in (again, plan ahead and start saving big boxes). This added allure and excitement to the experience.

These are so cool!
What a great idea. They look like they’d be fun to play with.
such a great idea!
Hugely useful instructions!
I love love love your poufs. And will be making them soon. I have a questions. In the instructions tutorial she said to stuff with old sheets and towels then fiberfill. Did you do towels Etc, or just beanbag beads? Is the fabric quilting weight or home dec weight? Thanks. Sue…I can’t wait to start these!!!
These are great! The tutorial says 2 yards of fabric–would you say you used a yard of each for yours?
Kim: I never got a reply to my inquiry, but I went ahead and made four of them last week.
I used polar fleece and it worked great! Using Kim’s suggestion of shortening the center to 9 inches I was able to get each one out of just a yard of fleece. As long as it doesn’t have directional fabric, that took more yardage to get the words and logos going the right way. I also added a zipper which I saw in another pouf post. It was really helpful, because the bean bag pellets which I got from Amazon are so static electric it was crazy. With the zipper I didn’t have to hand stitch the opening with flying sticky beads! I plan to sew the zipper pull down so kids cannot open it and make a staticy mess. I also used Kim’s suggestion of pressing the seams to one side and top stitching for extra strength in the seam area.
I want to make a few of these for my classroom but want them large enough for 14 year olds to lounge on. Can anyone give me a measurement that would work? I have no clue!
Hi Melissa, I don’t know what size you’re thinking, but the pouf pattern in the original tutorial is larger than what I made. My adjustments are described in this post. Good luck! 🙂
Hi, I absolutely love the kids Pouf ❤️ I would like to make one for my granddaughter. I am new to sewing and being crafty …
What kind of sewing machine would you recommend I purchase? (I never used one)
What type of thread do you recommend?
Hi Sabrina! I’m so glad you’re getting into sewing. As for which machine to get, that’s a great question that really depends on the type of sewing you plan to do and which dealer (if any) you have near by. Certainly an entry-level machine is a great place to start, and I’d suggest purchasing one from a local quilt shop if you have one. Local quilt shops (as opposed to big box stores and buying online) can provide you with excellent customer service on which machine will suit your needs, help you learn to use your new machine and keep it serviced as needed in the future too. I cannot stress what a value a good quilt shop can be. There are many great brands. I use Janome, and they definitely have a full range of options. Good luck finding your new machine and happy sewing!