
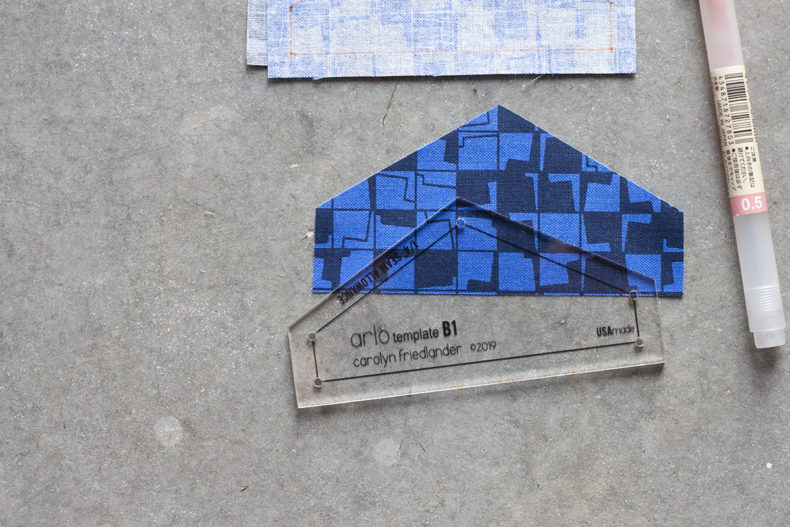
I thought it’d be fun to put together a little post on using the Arlo templates. They are a completely optional add-on to the project–all shapes needed are included on paper in the pattern–but I find the acrylic option to make things much easier.
First off, there are two different sets to choose from–1/4″ and 3/8″. Either option will work to make the project; it basically comes down to a matter of personal preference and how you plan to sew it together as to which option to pick.
Since there is some flexibility as to how to sew the the project together–be it by machine, by hand or by using English Paper Piecing (EPP)–you might have a preference on your seam allowance as well. For that reason, I created the 2 template options as well as wrote the pattern requirements on the pattern for both options.
Which to choose? If you’re normally a machine piecer and you’re comfortable with a 1/4″ seam allowance, I’d go with the 1/4″ option. In fact, that’s what I like to use when I’m doing this project. But, if you’re a hand piecer with a 3/8″ preference, or you like to set up your EPP this way, or if you just prefer a slightly larger seam allowance, then you’d be more happy with the 3/8″ option.
Both template set options have all of the pieces you need, are super sturdy and have the relevant reference lines and drilled holes to help you put together your project.
Once you have your set picked out, here are some tips for how I like to use them.
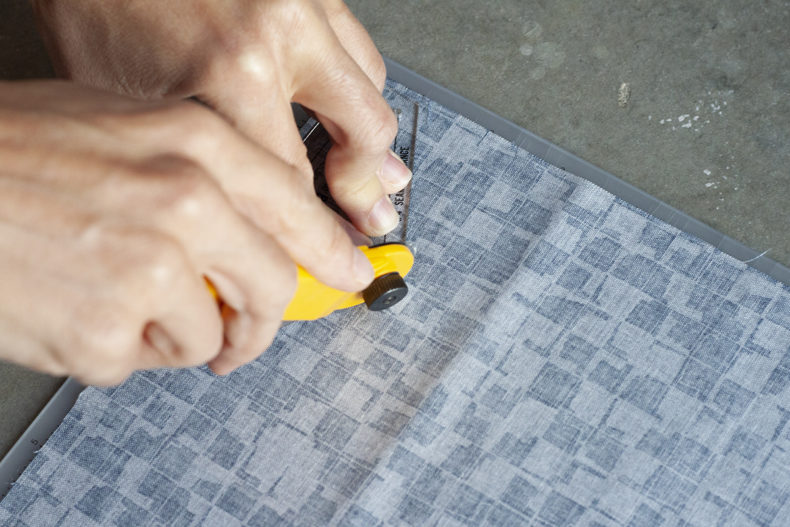
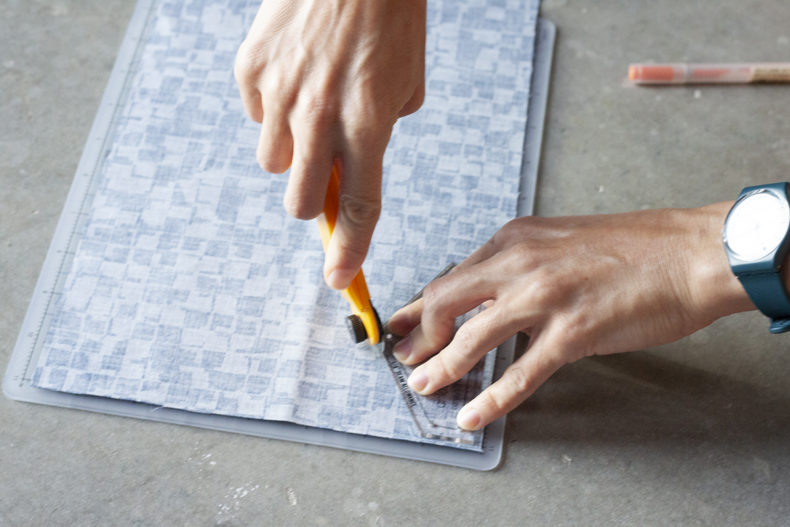
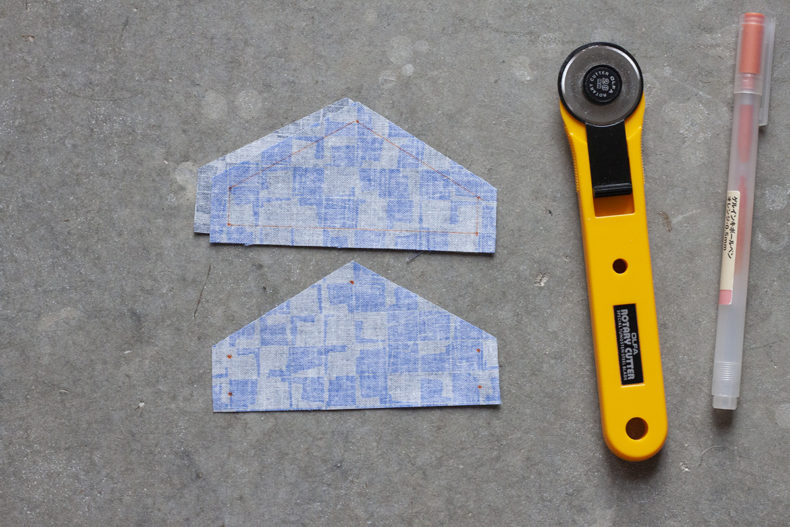
You can use the templates to trace out all of your shapes before cutting them out, or you can use them to mark and cut as you go. Feel free to try both ways and see which way you like best. If I’m cutting around the template, I’ll either move my mat toward an edge of my cutting table so I can cut from a few sides without repositioning, or I find using a rotating cutting mat to be handy too.
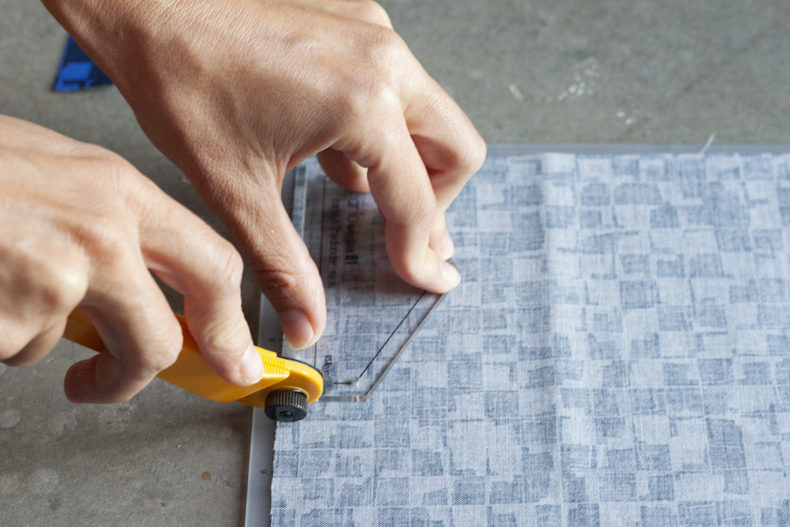
Cut around all sides. Larger rotary cutters can work, but I like using a 28mm cutter with this project because it cuts to just what you need cut.
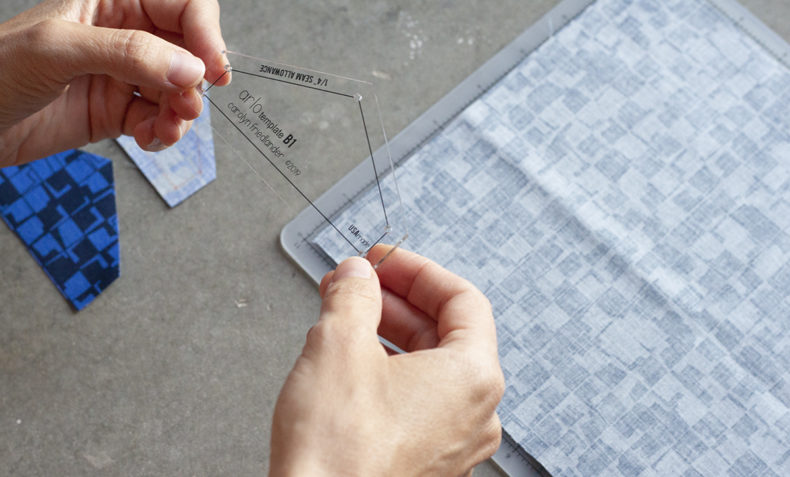
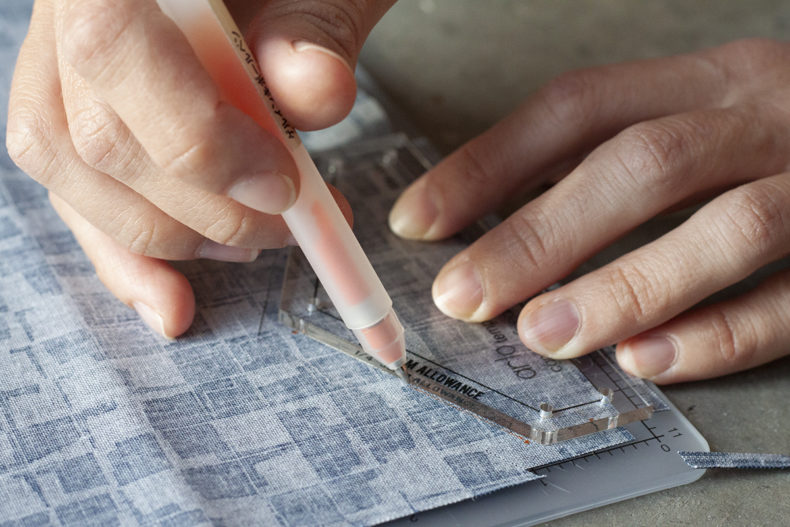
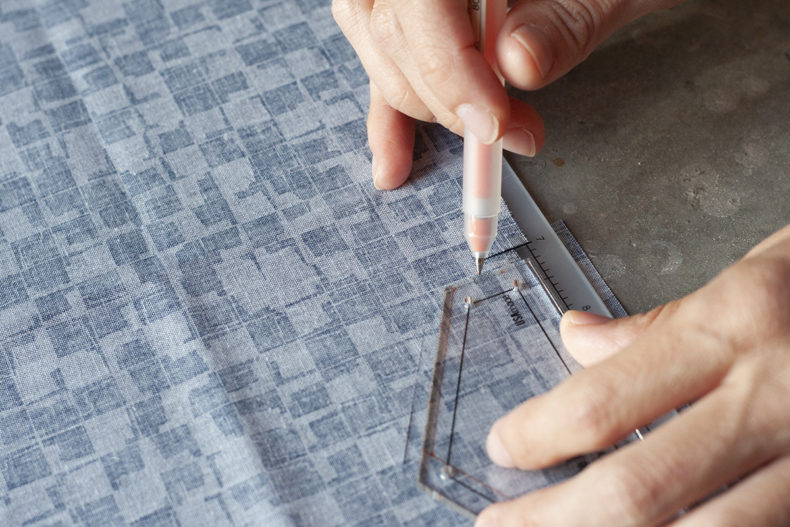
After cutting all of the sides, you can mark your points at the holes. (Take note that I’m doing this on the Wrong Side of the fabric.)
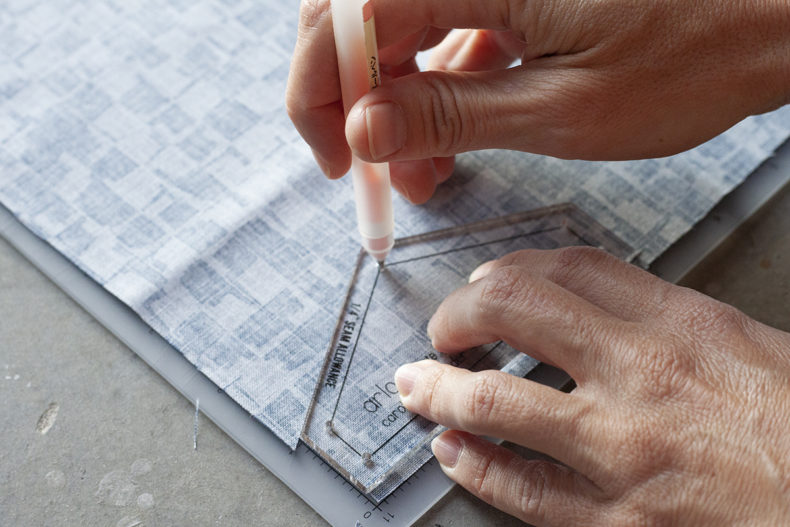

I like having a seam allowance marked, so after marking where the holes are, I’ll slide the straight edge of the template down and connect all of the dots. This is totally optional and depends on your personal preference.
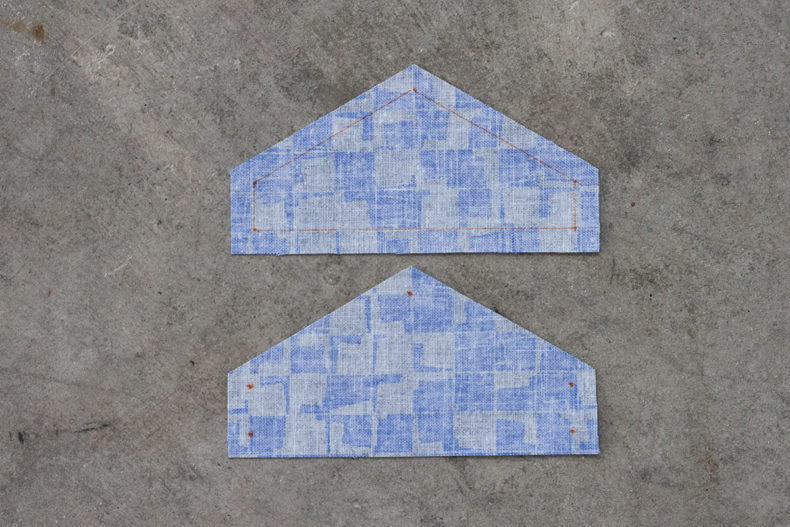
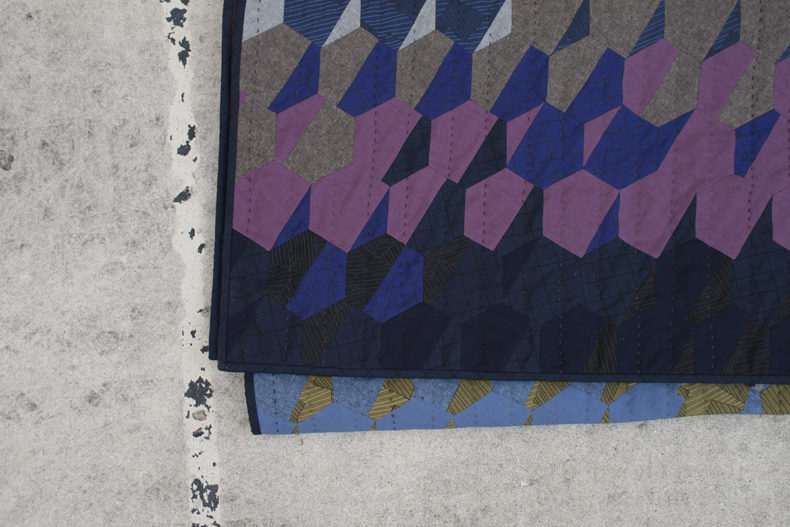
Now you have nicely cut and marked pieces ready to go.
The issue of marking tools is an important one. Actually, I think the issue of marking tools is always important. For Arlo, it’s important to consider two things: You’re marking the wrong side of the fabric, and depending on how you sew it, you might be ironing the pieces (and still be needing the markings).
I tried many different marking tools when I was working on my project, and here are some of what I found to work.
First, I have a big disclaimer; Because I was using all dark fabrics, it didn’t matter to me if any of the markings were removable. On dark fabric, and with marking the wrong side, you’d never see the markings.
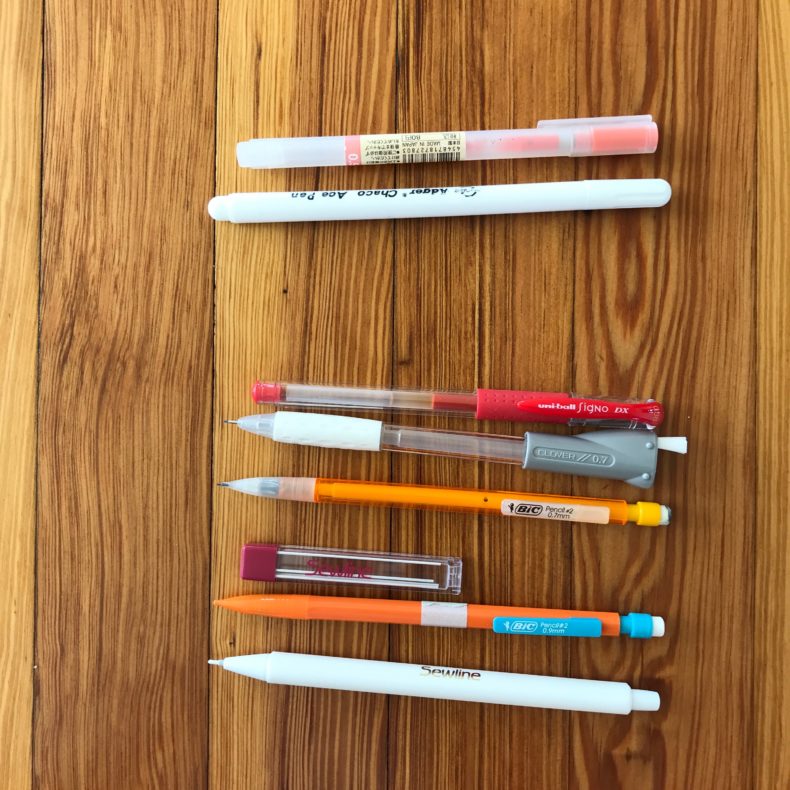
The next thing is that I knew I’d be ironing the pieces while still wanting the markings. For this reason I didn’t want to use any marking tool that can be removed by heat or time. With those conditions, here are some options that I found to work. (From top to bottom in the above picture.)
Muji Gel Ink 0.5mm pens are one of my favorites. There are many color options, and they glide across the fabric nicely. (Note: These are not removable.)
These white felt pens were also my favorite. The ink showed up really nicely on dark fabrics, and the markings were clear and easy to trace on the fabric. They say that they are water soluble, but I haven’t tested that.
I did all of my marking for Arlo with these first two pens, but here are some others that I’ve found to work as well.
Uni-Ball Signo DX 0.38mm – Another ink pen option with a lot of colors to choose from. These are finer than the Muji ones. (Note: These are not removable.)
Clover 0.7mm mechanical quilting pencil – I am having a hard time finding a link for this exact one, but other brands make something similar. It’s basically a mechanical pencil, see next rec.
Bic 0.7mm #2 pencil (variety pack link, see note below) – I love these, and they work. You might be able to erase the marks, but do a test to double check first.
Sewline white lead – You can definitely get the mechanical pencil and lead set, but somehow I found myself with just the lead refills and no appropriate holder. Because the refills are 0.9mm they’ll fit perfectly in any 0.9 mechanical pencil. I put mine in one of the Bic holders (variety pack noted above has the 0.9mm size), and it works great. I put a white piece of tape around it so I know I have white lead inside.
Sewline white click pencil – Same effect as some of the others, but with a thicker lead.
There are so many marking tools out there! These are just some that I’ve tried and found to be conducive to using the templates. Any marking tool comes with caveats, so always beware and always test what you’re using on your fabric first.
What are some of your favorite marking tools? In addition to scanning the notions wall at your local quilt shop, I find talking to other quilters helps too!
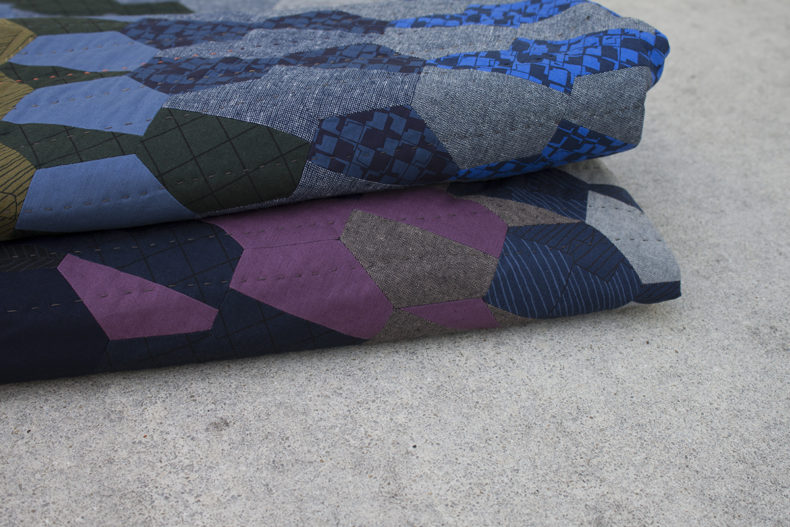
There we have it, how-to use the templates for my Arlo pattern!
Thanks for the marking tool suggestions! I have several marking tools (frixon pens are my fave) but they iron off and don’t usually work well for quilting.
Glad this is helpful, Mindy! Marking tools are definitely an interesting subject!
Do you find that the white felt pens can fit inside the drilled holes of the template? I’m constantly struggling to find a marking device that works on dark fabric AND fits inside those tiny holes
Yep! They sure do. All of these marking tools fit in the template holes.
I often starch my fabric. The starch has an added bonus – silver gel pen lines seem to disapear/rub off over time and washing. They also show up on light and dark fabrics. Not sure why they make rotating mats – my small regular mat is easy to just turn by hand.
Are the arlo templates still available? Sumac38@gmail.com
Would like to place an order
Hi Sue! Yes, they are. You can find them here.