
Would you believe I made this in just 1 day?
It’s true.

That’s kind of what happens when it comes to fabric release time. There’s always a super long list of things I’d like to make in conflict with time and the reality of what actually can be done. To be clear, I’m always an optimist when it comes to this stuff and work hard to use every minute that I have available. In the case of Euclid, my to-make list was no joke.
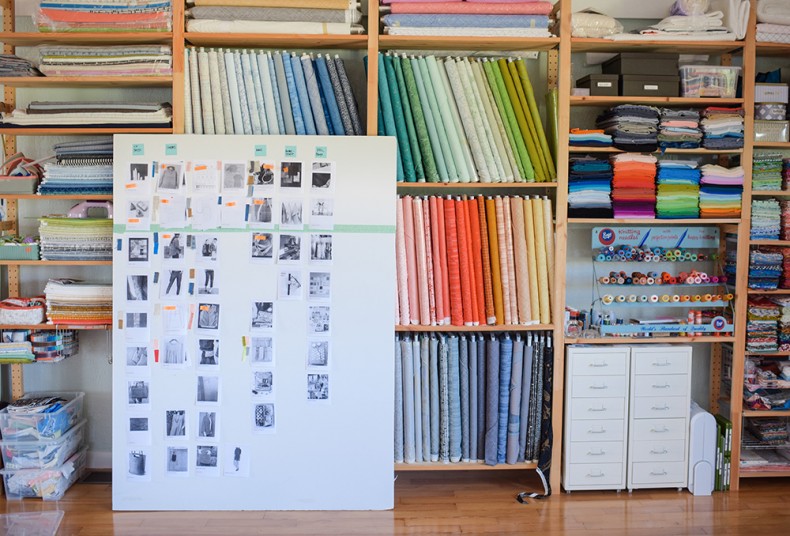
In fact, I tried to be super organized to maximize the output. Above is a shot of my “command center”. (Ha!) This was my visual map and guide to the desired projects. Since euclid spanned several categories–clothes, accessories, quilts–I needed a way to organize them in one place to keep me focused, and I needed to be able to see them all at a glance…because visuals are the best reminders for me. The projects are organized by category with snap shots of each and some fabric swatches.
Maybe this is more than you want to know, but while I was doing this, I realized that it’s a helpful consideration for just about anyone, because we all have our limitations–whether it’s because a project list is long or because we have limited pockets of time to do it or whatever. For this reason, I’m always trying to figure out the best ways to organize myself so that I can make things happen when I’ve got the time to do it.
Oh, and can we talk about the waiting game? Yep, just like you might be waiting for fabric to hit the store, I have to wait for my advance yardage to roll in, and the waiting can be tough, because you’re only left thinking/dreaming about all that you want to make with it, which for me usually means the project list gets longer…not always a good thing, but even more of a reason why some good project planning can be helpful.
Anyway, back to my quilt.
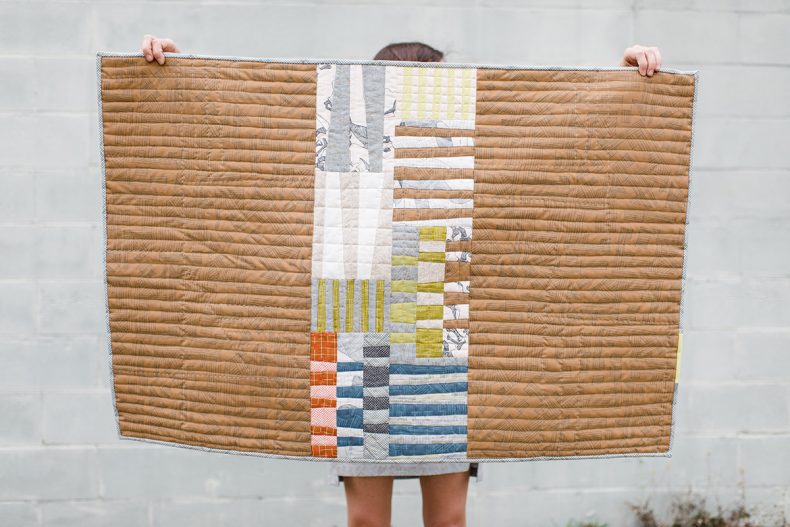
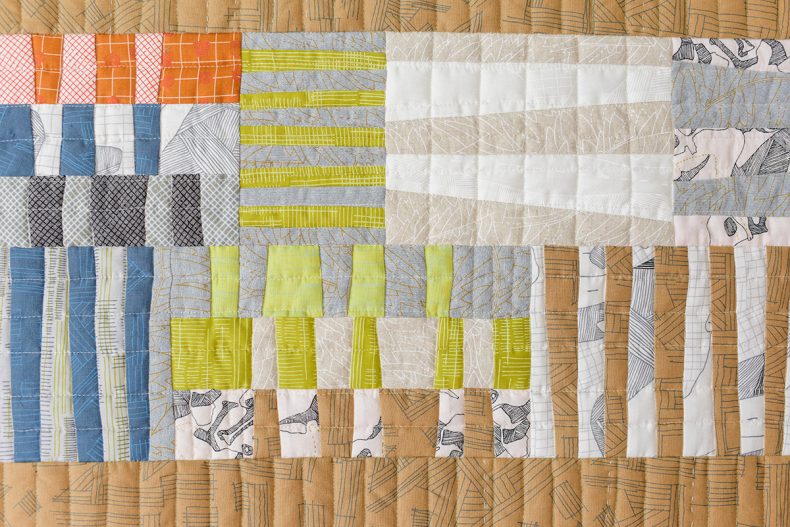
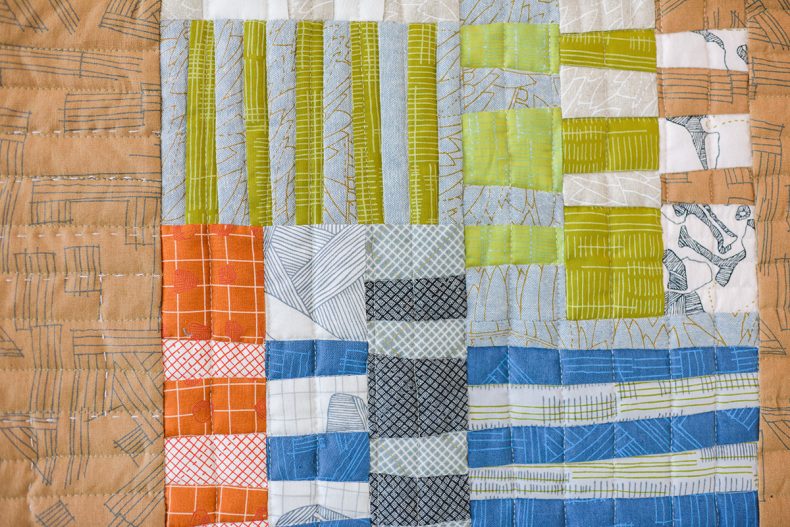
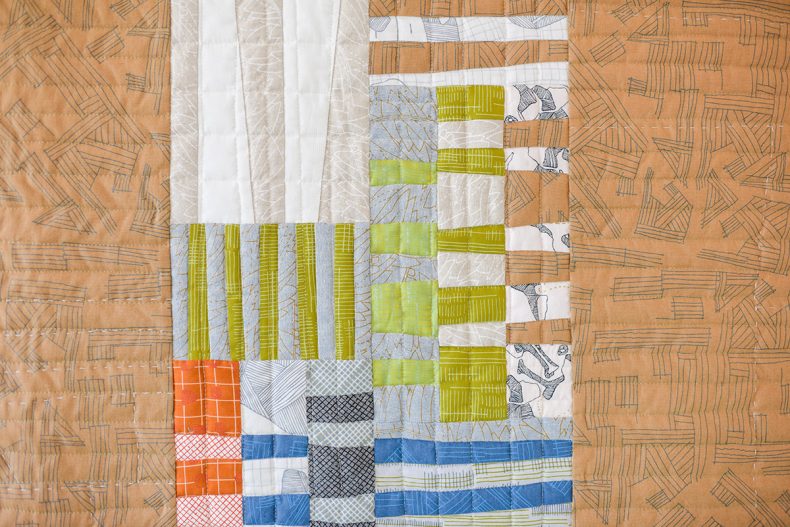
I really really wanted to make a quilt with euclid in time for the release. And I really wanted to include some carkai, because I love pairing different substrates and different prints in the same piece. It can be a fun way to play with texture and an enticing way to play with color and print. My Totem quilt was a good candidate for doing this. There is a lot of opportunity with fabric and fabric combos, plus the paper piecing makes working with different types of fabric super easy, and the size and scope of the project seemed do-able for my limited amount of time.
Let’s talk game plan. I only had 1 day to make this quilt a reality. Actually, scratch that, it wasn’t even a day. Lexi was coming late afternoon for the photo shoot, and I only had from the time I woke up until the time she stepped in the door to make this guy happen. Here’s what I did.
The night before I printed out all of my templates and trimmed them down so that they were ready to go. I also prepped my fabrics, which in this case meant culling and cutting what I wanted to include in the project.
Then, I got a good night’s rest and woke up super early to get started. As I made my blocks, I laid them out to make sure I liked how all was progressing. I find that block planning can only get me to a certain point, and that even with limited time I like to be open to making changes as I go if needed. Seeing and assessing while a project shapes up is how I work, even under a deadline.
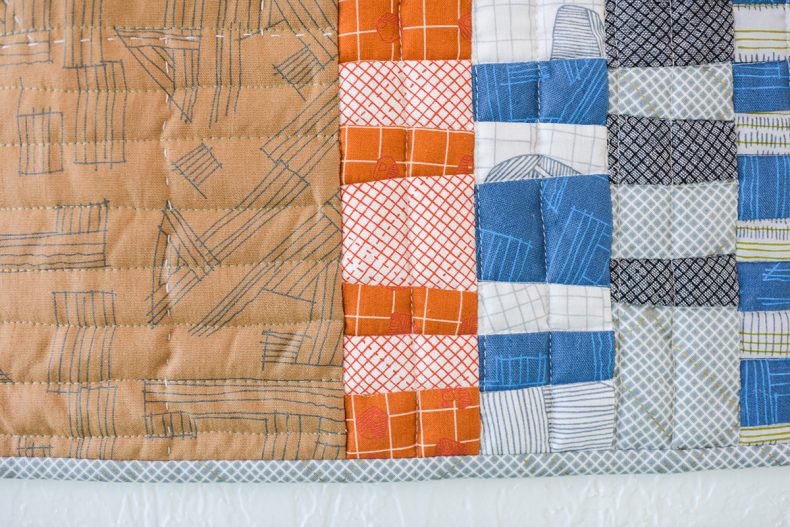
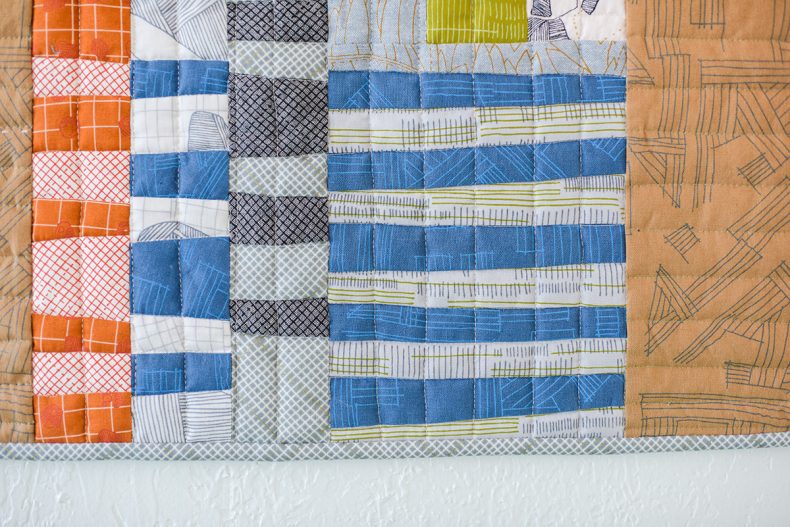
After getting all of the blocks made, I added the side panels to finish the top, prepped my backing and batting, basted the project…did my hand quilting…because yes, I really wanted that to be included…then I finished with some free motion quilting…doable.
I attached the binding just before Lexi showed up to take some pictures. And I guess there was a little cheating here. I attached the binding on the first side with machine, but didn’t have time to hand tack the back down before the shoot…that part was pinned (another great use for those handy appliqué pins!) until I attached it post-shoot. (Sneaky, right…)
So yeah, that’s the story of this quilt. I’m glad it happened. And don’t think I won’t come back to this project again, because I’ve had fun making it every time. (See here and here.)
And the nice thing was that I ended up leaving it pinned in place for a few weeks after the shoot and was able to enjoy it.

Pattern : Totem Quilt (wall hanging size)
(All photos by Alexis Wharem of Greenprint Photography.)
It’s always interesting to hear how others organize their time and aspirations. The shot of your project planning board and studio has layers of interest – just like your quilt! Thanks for sharing.
Thanks for sharing! Love your workspace, organization and quilt! That was a fast and intense make!
Awesome! So glad you enjoyed it, Janet!