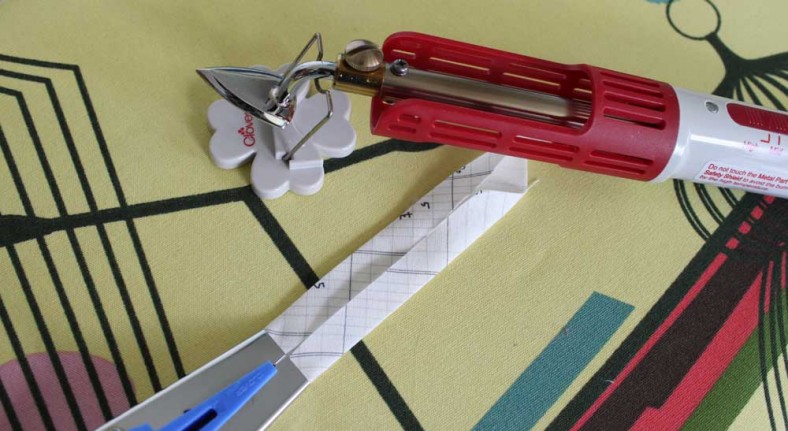
I picked up a mini iron this week for a project I’m working on, and I’m surprised how much I like it already–she is surprisingly effective!
I splurged on the upgraded model with the safety guard, which was a good call. I can be a klutz and so any risk reduction in that area is probably worthwhile, especially since I still managed to singe myself on the hot holder on day 1. Watch out for that too.
Here’s a quick tutorial for double fold bias tape since I was just cranking some out. To be honest, I wouldn’t have thought this iron would give me such a great crease on something like this, but it turns out that it does just the trick. I’m a convert.
…
To make 1″ double fold tape, start with 1-7/8″ strips cut on the bias. Join with diagonal seam and press open.
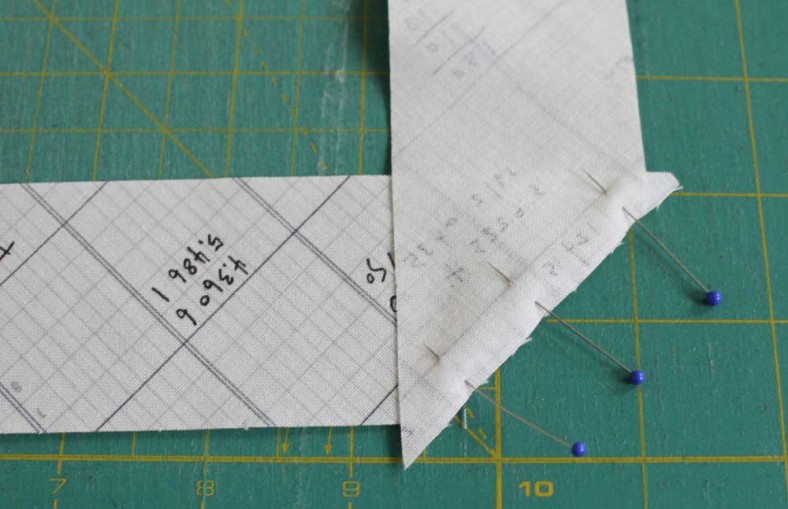
Feed the tape through a bias tape maker (#25 for this particular size) WRONG side UP and press folds in place as she comes out.
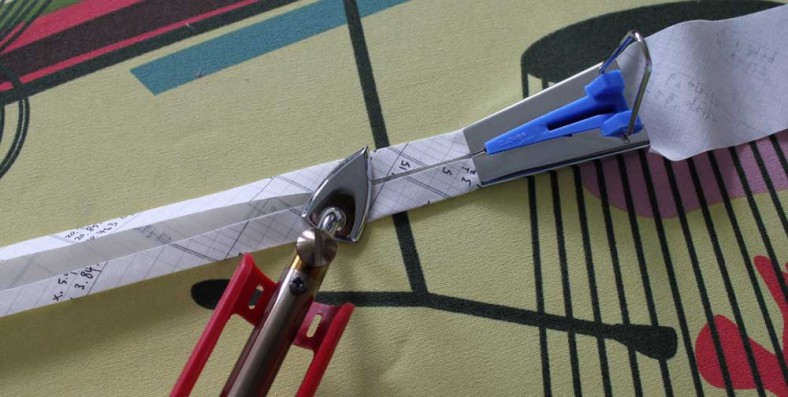
To make it double fold, bring one side up so that folded edges are about 1/8″ apart. Press in place.
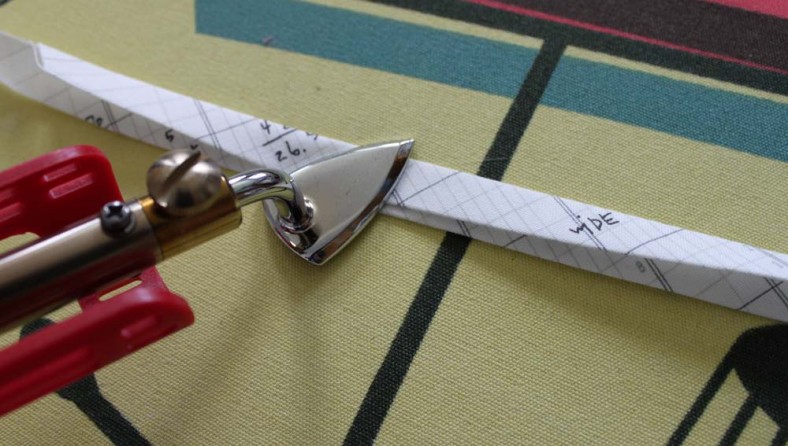
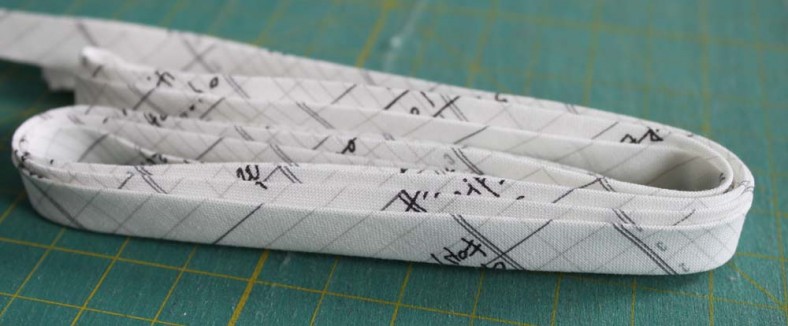
Ta-dah. Jazz something up with your own custom binding. I’m always a fan of that.
And I’m apparently a real sucker for this ledger print in that bias-trim-scenario, see here and here.

I’ve been a quilter for years and haven’t yet bought a mini iron. Perhaps it’s time to do so. Seems it would be real handy for foundation paper-piecing too, though I like to use my mini wall paper for “finger-pressing.” Your bias tape is pretty, but that’s because your fabrics are divine!
Thanks Linda! Yeah, it’s surprisingly handy!!