
Soak invited me to participate in their nail art challenge, which I eagerly accepted. I’ve gotten to know the founder, Jacqueline, and some of her fine team now that they are on the Quilt Market circuit. They are always a lot of fun and have been creating some pretty interesting and useful products since coming onto the scene several years ago.
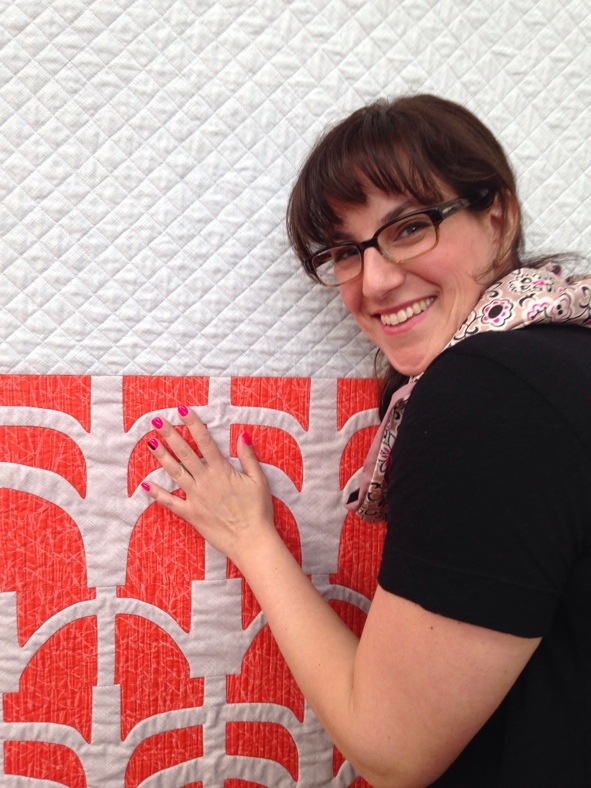
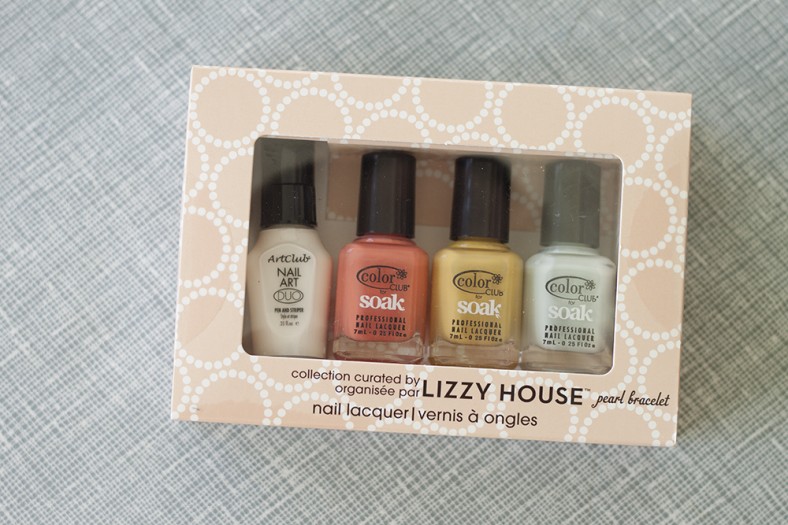
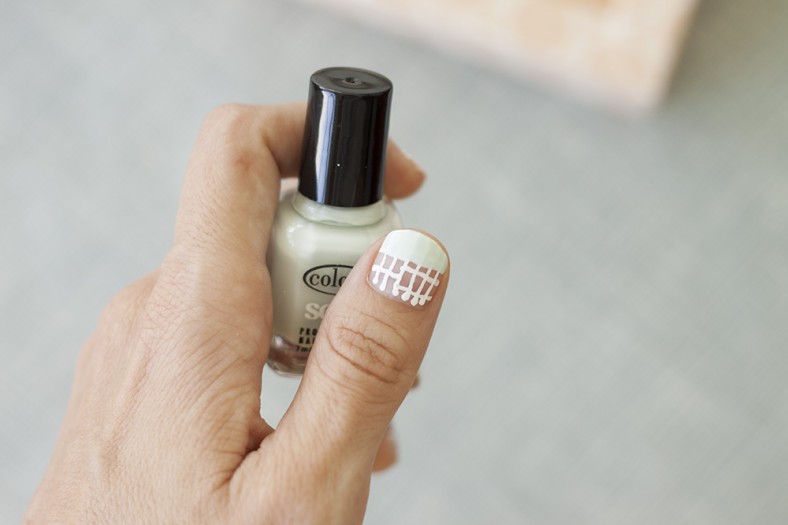
I’m not normally a nail polish person, but they’ve found a way to make nail art fun and enticing to folks even like me. Specifically, they’ve got a special group geared towards us quilters with beautifully curated sets by popular designers like Denyse Schmidt and Lizzy House. For this particular challenge, I knew that I wanted to focus on Lizzy’s set. Like all of the other collections, this set has an enticing range of colors, but what makes it different and even more special is the pen/brush applicator that comes with it.
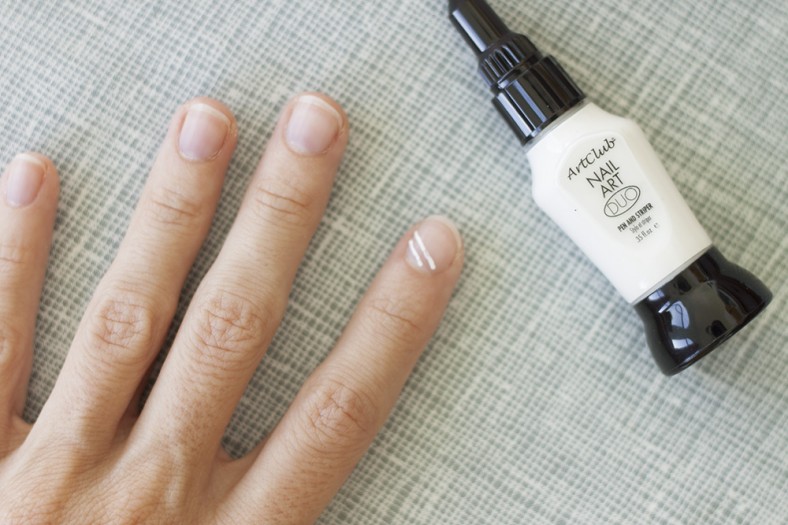
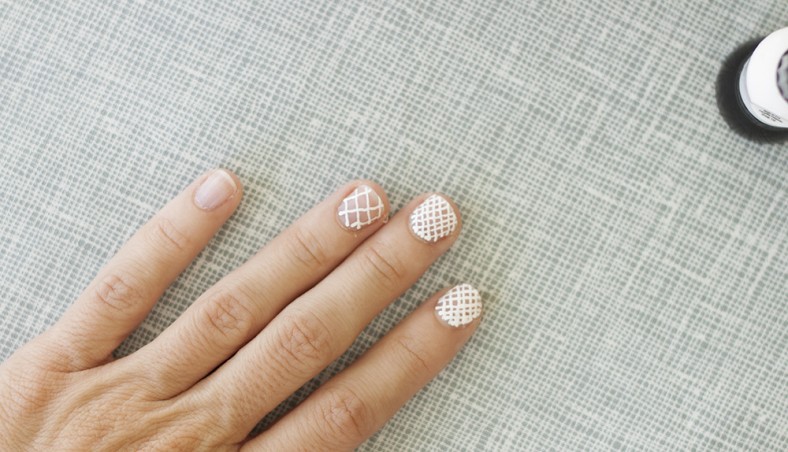
You can use the pen to get pretty artistic, and so that was quickly the jumping off point for my design. I wanted to work with a crosshatch–one of my favorite motifs–and one that I’ve used many times in my own fabric designs. (Heads up, the background fabric that I’m using here is one of the new colors that we are releasing this coming Quilt Market! Also, I’m no hand model, so hang in here with me. These are a real set of hands that get used and abused daily by copious amounts of sewing and handling sharp objects.)
Here’s how you do it.
1. Start laying down some diagonals. (Tip: Don’t worry if your lines aren’t super straight. Just add more of them and keep your inconsistencies relatively consistent. No one will notice.)
2. Get some diagonals going in the other direction. (See, mine aren’t perfect. This is what we call, Character. And it can be a good thing if you just embrace it.)
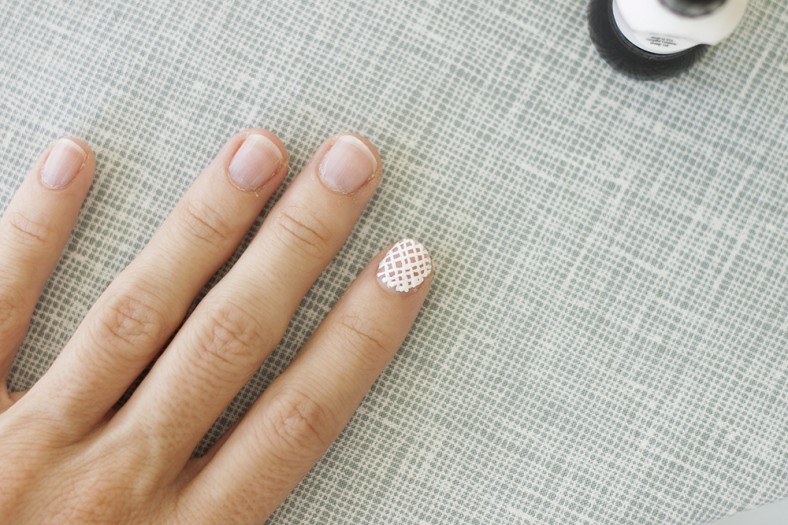
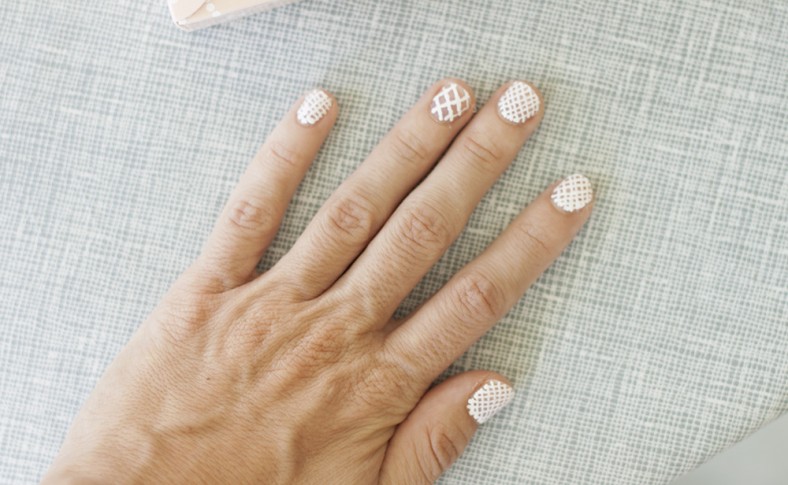
3. Continue on with your other nails. (Tip: You can change things up by playing with scale.)
Note: My left hand was fun and easy to do since I’m right-handed, but I know that adding any level of artistry to my right hand using my left could result in some less-than-desired results. My tip for that would be to:
a) Get a friend involved. You guys can help each other out.
b) Not worry about it! I think I’m ok with my left and right hands not matching–that could be a style-full statement in and of itself. Why not do something fun and exciting on the left while rocking a great solid on your right? As is a theme with me, matching is overrated, and I think this situation works for that.
c) Embrace their differences, because really, it’s just nails, and it’s probably not that noticeable that your lines are straighter/clearer/more even on one hand than the other. Again, keep the inconsistencies consistent within each hand, and it’ll look deliberate.
4. After you’ve got all of your nails done, apply a layer of topcoat. (Tip: Wait until the white is dry. I was a little too eager to apply my topcoat and so some of my lines blurred a bit. Lesson learned! Patience is still a virtue.)
+ To kick it up another notch, here are a couple of other ideas:
1. I was really feeling just the white for this first round, but you could totally start with any color in the background and build your motif on top. That’d be quite lovely.
2. You could also play with your grid direction as well as adding color after laying down your grid work.
Thanks, Soak! This made for a fun and creative project, and I’m kind of thinking that I want to work this design at Quilt Market…
Sometimes us quilters can be hard on our nails, but this lacquer looks like fun, and worth the effort. I like the “character” of them, or we could also call it “the organic look.” Hope you have fun putting more of your fabric designs on your nails!