
Corded Park Tote Tutorial
…
Note: All seam allowances are 1/4″ unless otherwise specified.
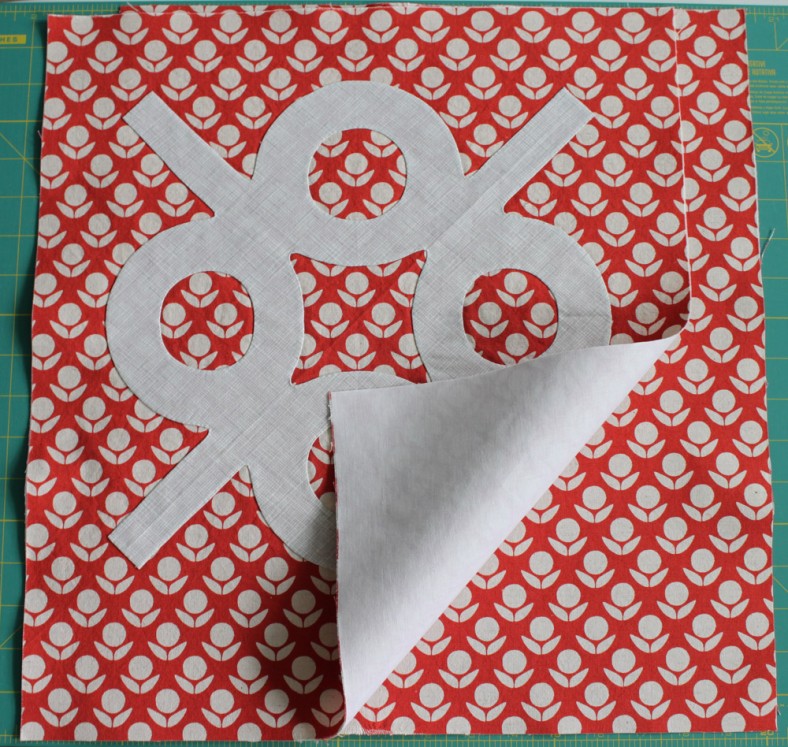
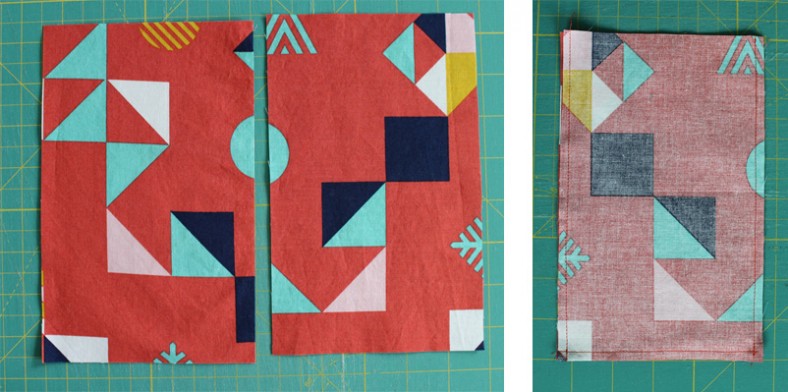
– From exterior fabric (I used a heavier linen), cut 2 panels 16″ x 18″. One will be used for the front panel, and the other is for the back. If desired, prepare your appliqué on front panel near the top. (The design I used is from my Park quilt project.)
– From interfacing (I used Pellon SF101 woven fusible), cut 2 panels 16″ x 18″ and apply to exterior panels. (I did this after adding the appliqué.)
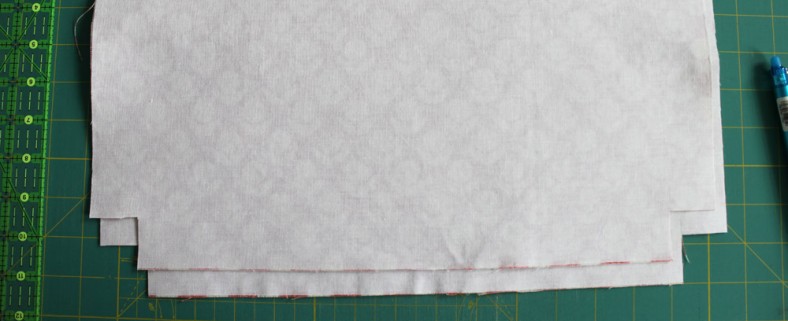
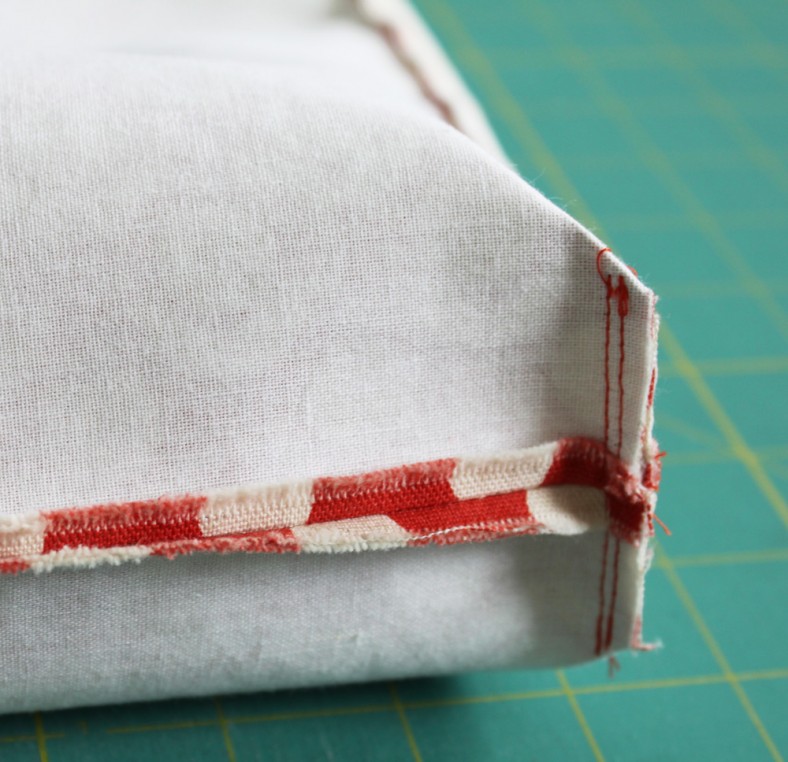
Mark 1-1/4″ x 1-1/4″ squares at bottom corners of both panels and cut out.
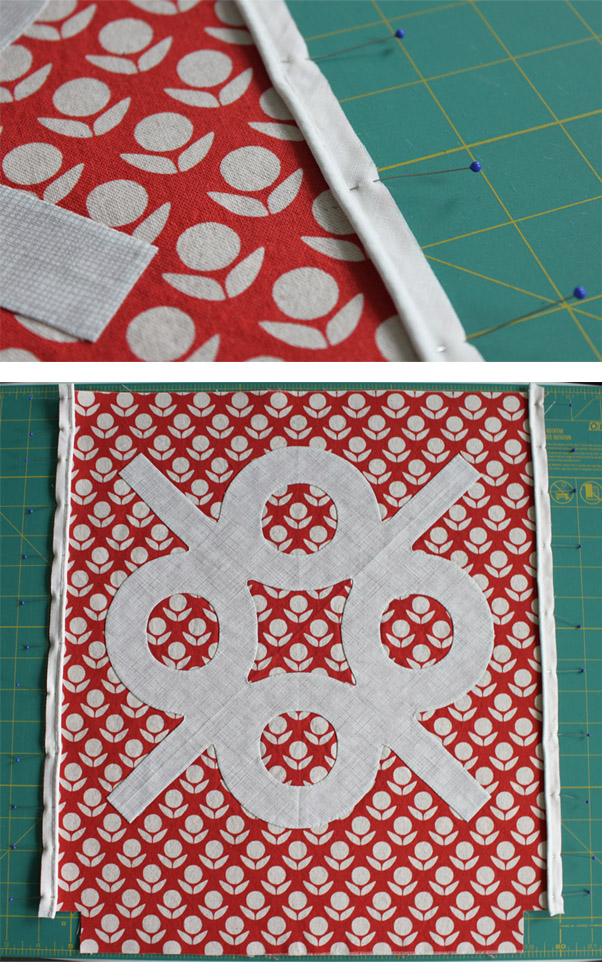
Using 1/2″ bias cording (either store-bought or homemade), pin and baste along sides of front panel.
(Tip: A cording foot is your friend for these next few steps.)
Note: With cording, the goal is to stitch closer and closer to the cording with each new pass. Since this is the first one, I’m basically just riding down the middle.
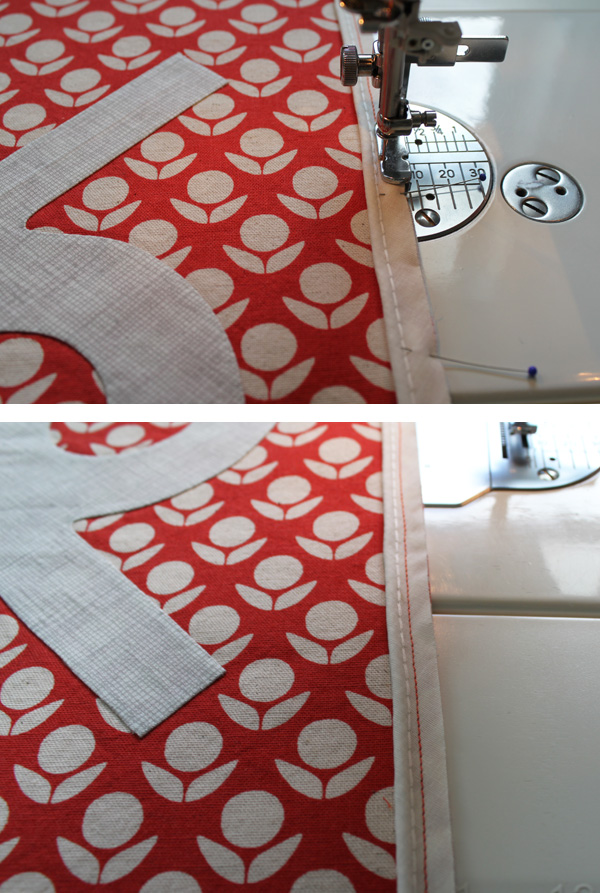
Trim cording ends at edges.
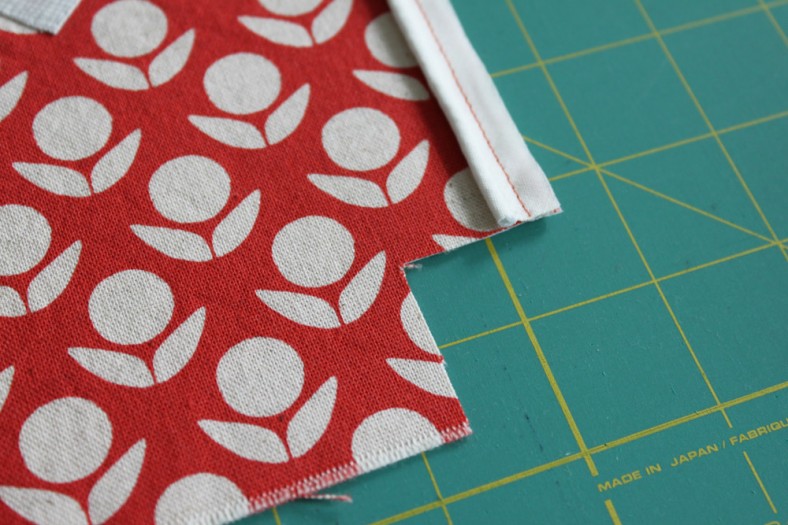
Layer front and back panels RIGHT sides TOGETHER, and sew along sides and bottom. (Use cording foot at the sides and stitch close to cording. Use regular foot at the bottom.)
Press seam allowances open.
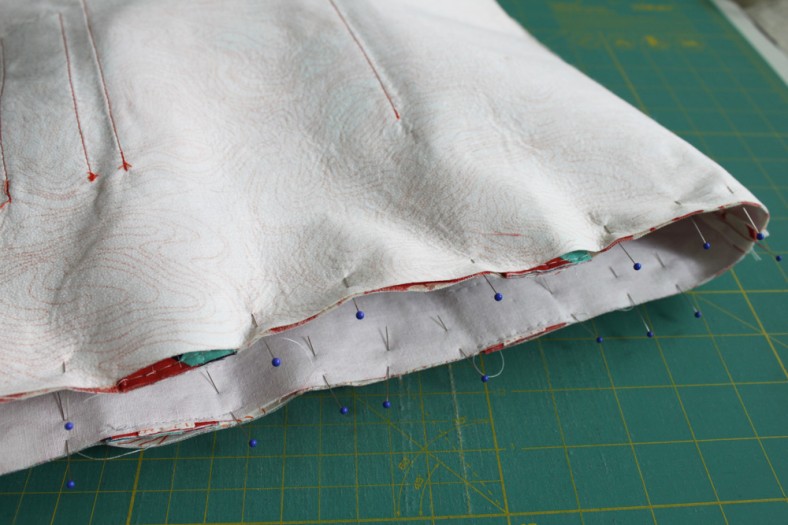
Pin together your gussets (boxed corners) by pinching trimmed corner flat and bringing side and bottom seam together.

Sew 1/4″ and then a second time 1/8″ away to secure.
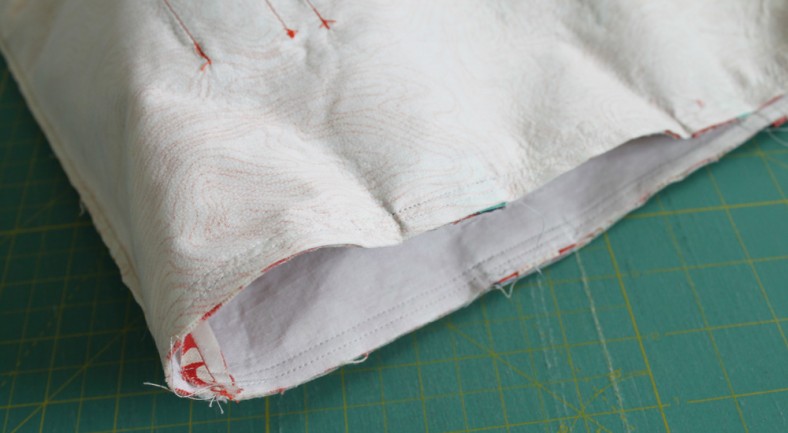
Turn it RIGHT side OUT to see how she looks.

Whoop whoop. Pat yourself on the back, and let’s move on to the lining.
…
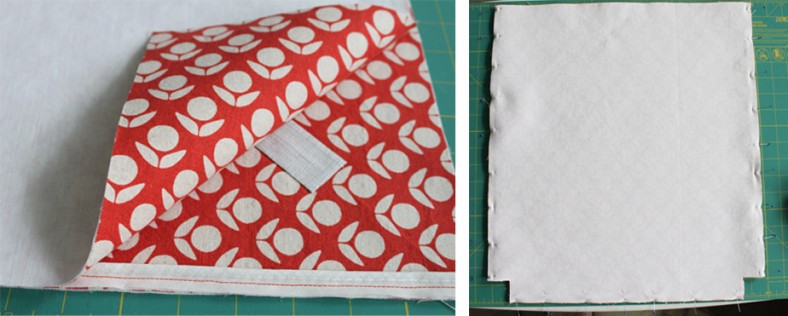
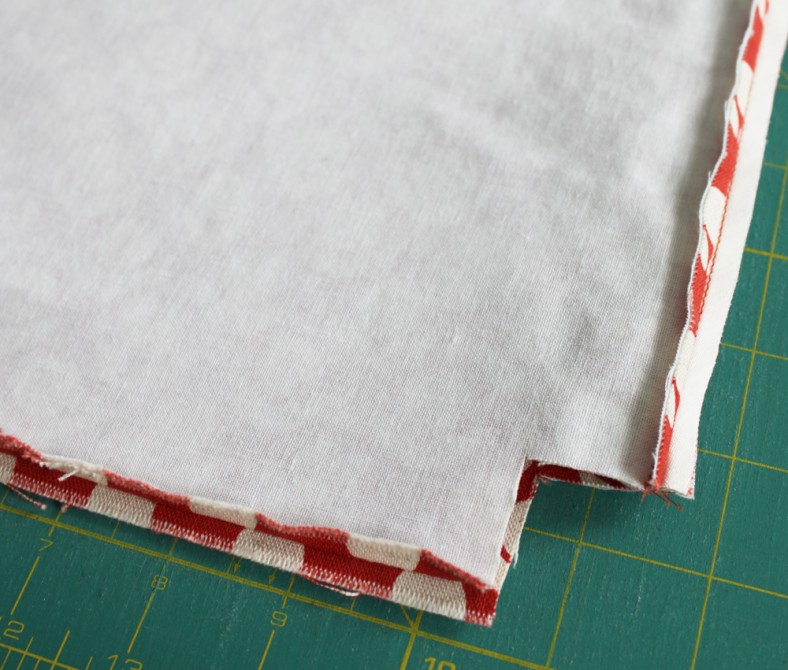
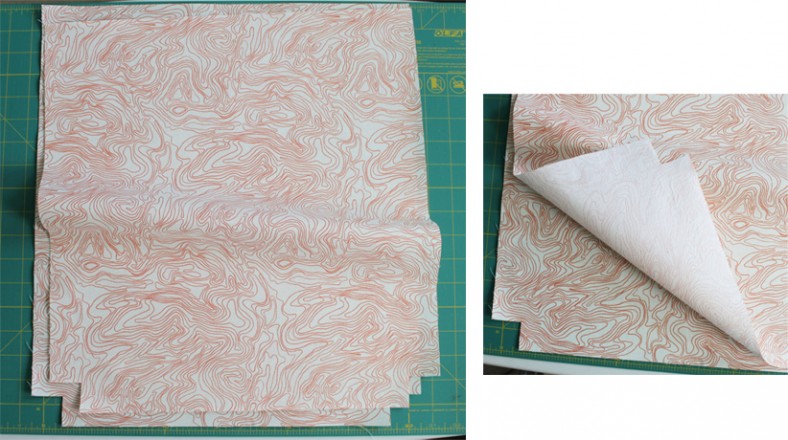
– Cut 2 panels from your lining fabric (I’m using quilting-weight cotton, architextures in fact) 16″ x 18″ and 2 panels the same size from your interfacing (I used featherweight, but you could use the woven fusible again as well). Fuse interfacing to lining and trim out a 1-1/4″ square at bottom corners.
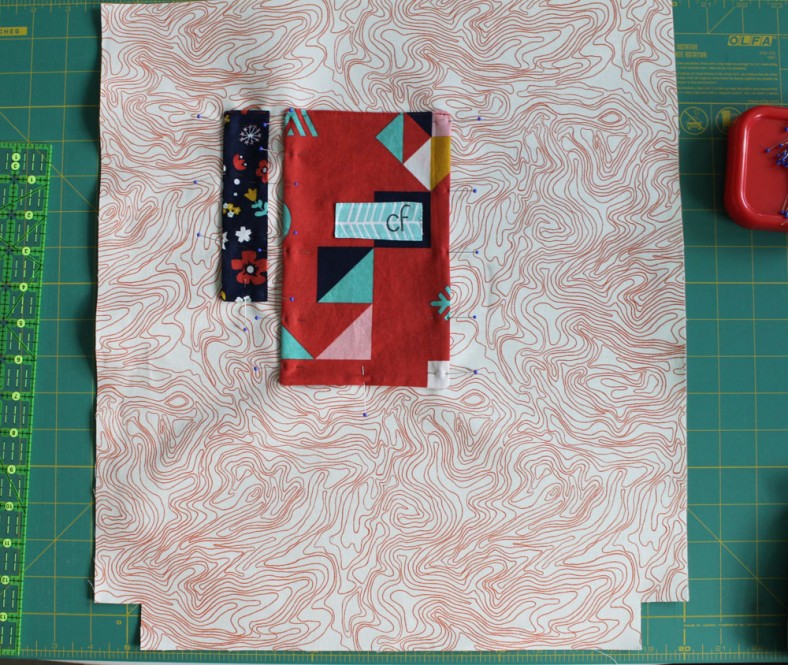
I always like adding inner pockets to my bags, usually one for a pen and one for my phone. If you’d like to add pockets, here’s what I did.
For the pencil pocket, cut 1 panel 3″ x 6″. Fold in half lengthwise and sew leaving one short side to turn.
For the phone pocket, cut 2 panels 5″ x 8″. Layer RIGHT sides TOGETHER, and sew sides leaving one short section to turn.
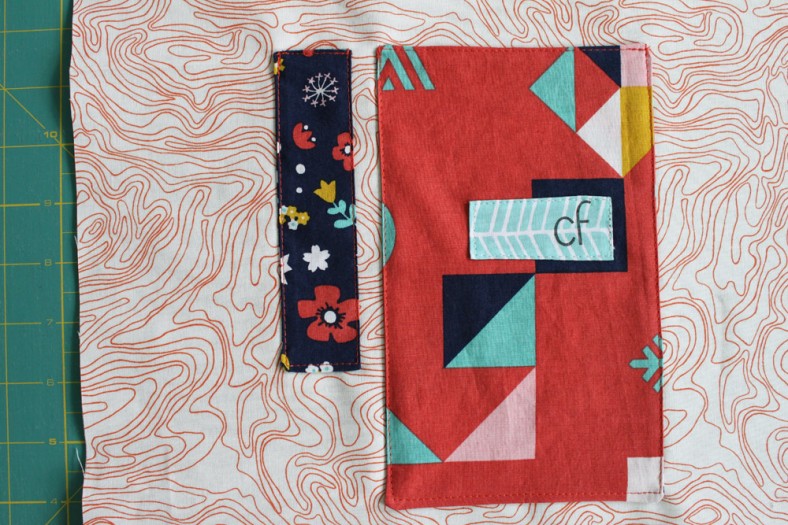
Trim your corners before turning RIGHT sides OUT.
Evenly fold under your raw edges. Pin and stitch across the top (open edge) to close.

Position pockets centrally and towards the top on one of your lining panels with stitched edges at the top. Pin in place along 2 sides and bottom.
Stitch around 3 sides close to edge to attach.
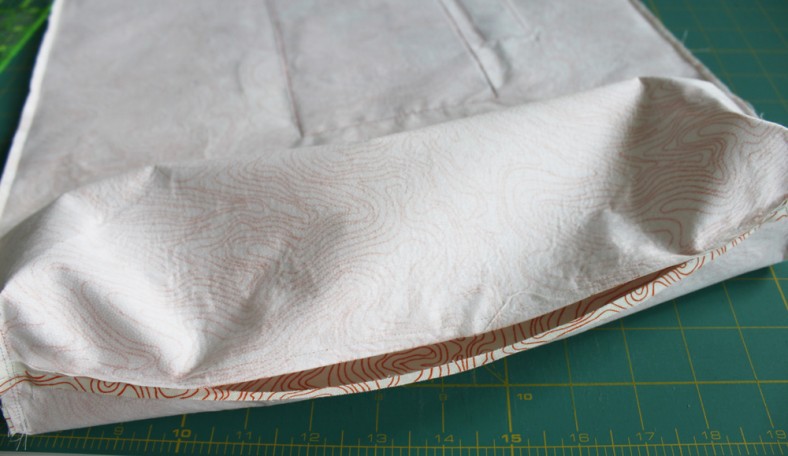
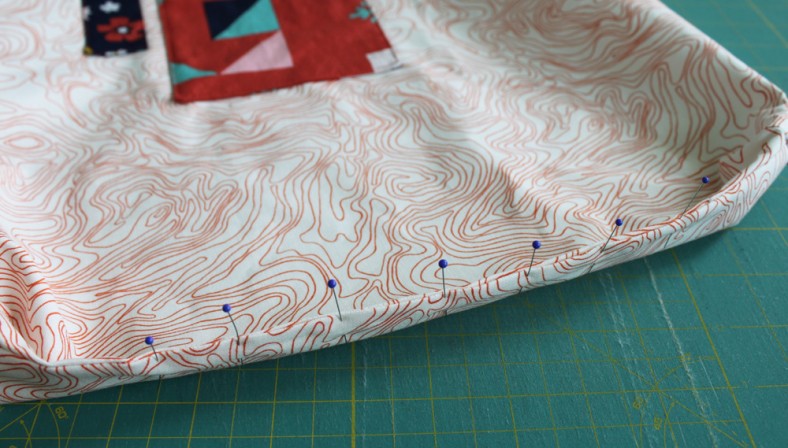
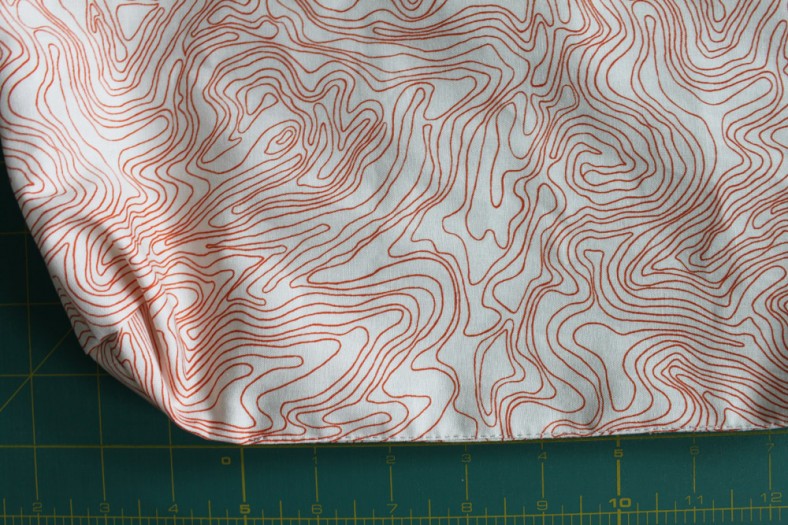
Sew lining panels RIGHT sides TOGETHER at sides and bottom, leaving 8″ open at the bottom. Sew gussets.
hoo-RAH. Let’s make the handles.
…
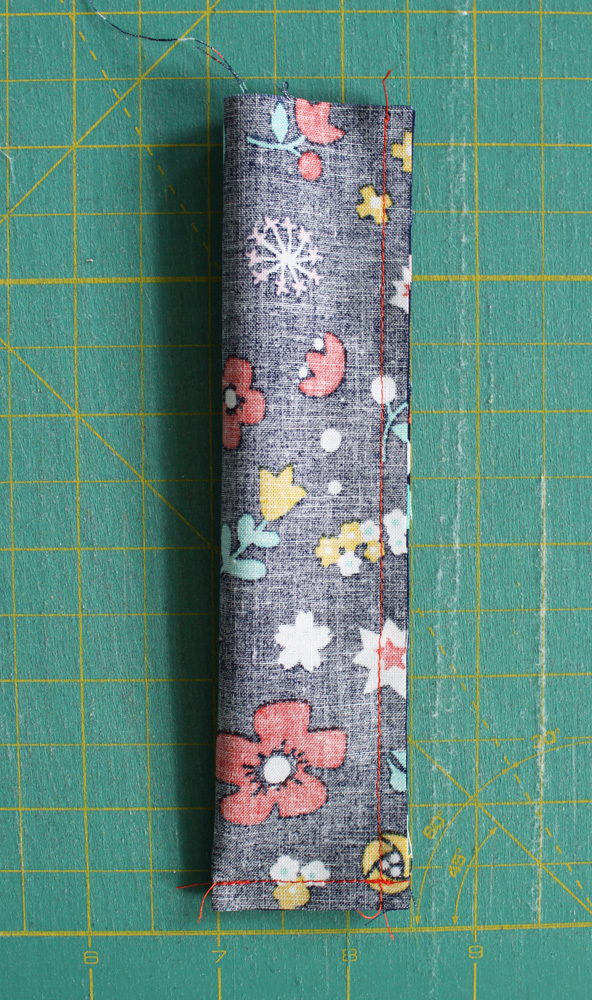
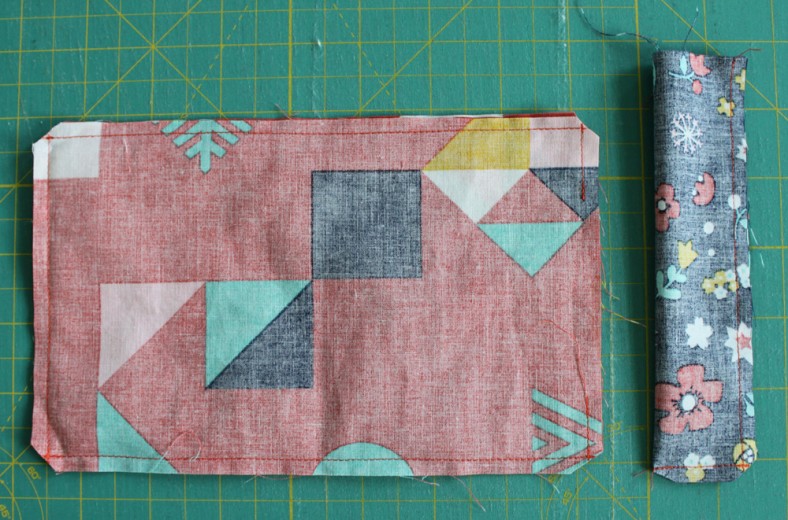
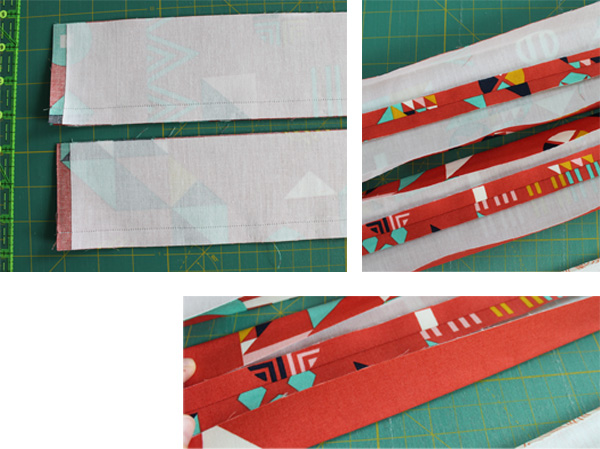
– From your main handle fabric, cut 4 strips 3″ x 20″.
– From your interfacing, cut 4 strips 3″ x 20″. Fuse to main handle pieces.
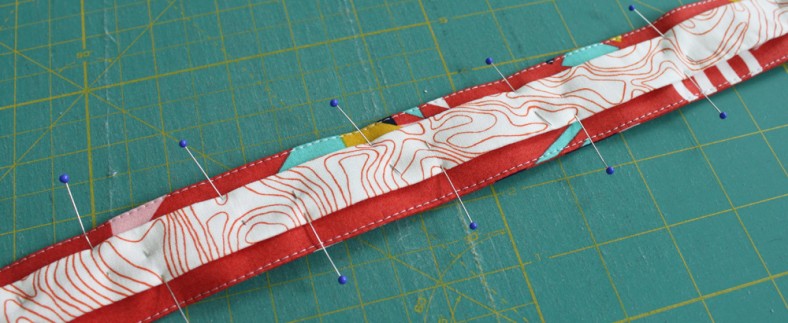
– (Optional) From your trim fabric, cut 2 strips 1-1/4″ x 20″.
Sew 2 sets of your main panel pieces RIGHT sides TOGETHER lengthwise with 1/2″ seam allowance. Press seam open, and then bring long raw edges in to meet edges of open seam (WRONG sides TOGETHER).
Fold handle in half lengthwise so that all raw edges are evenly inside. Pin in place.
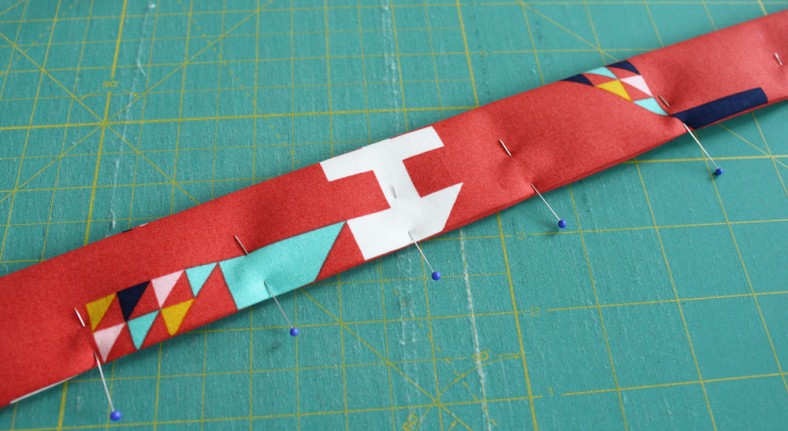
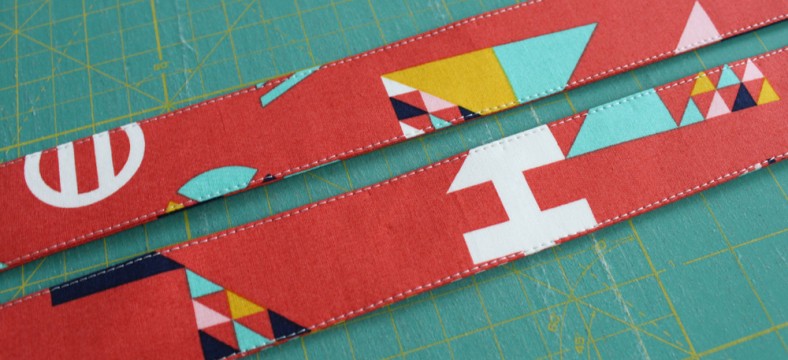
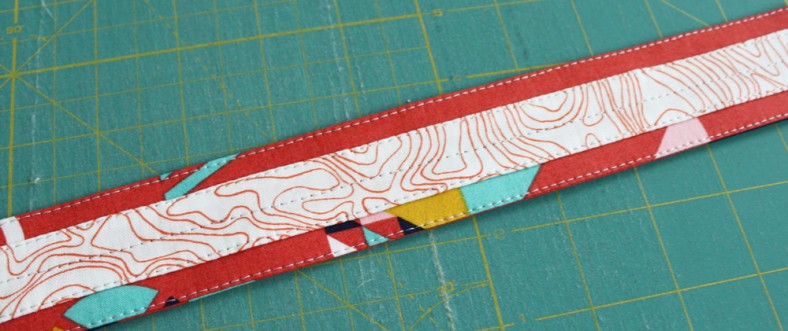
Edgestitch along both long edges to secure.
(Optional) Fold long edges of trim under 1/4″ WRONG sides TOGETHER.
Center each trim panel on a handle. Pin and edgestitch in place.
We’re almost done. Let’s finish it all up.
…
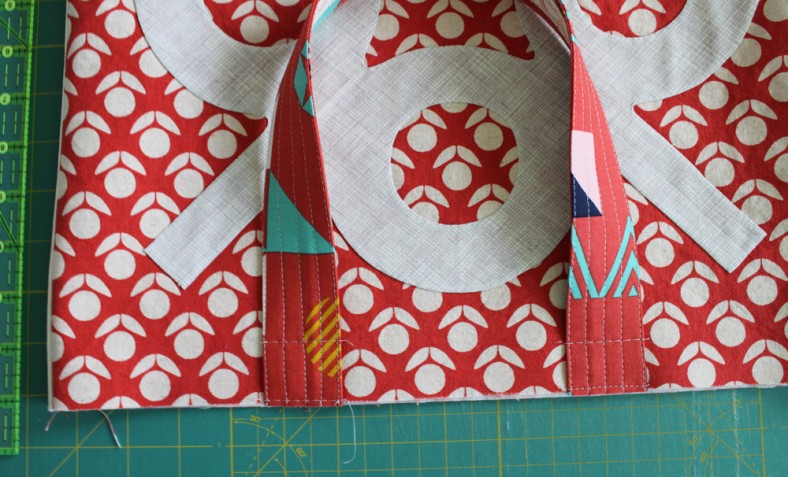
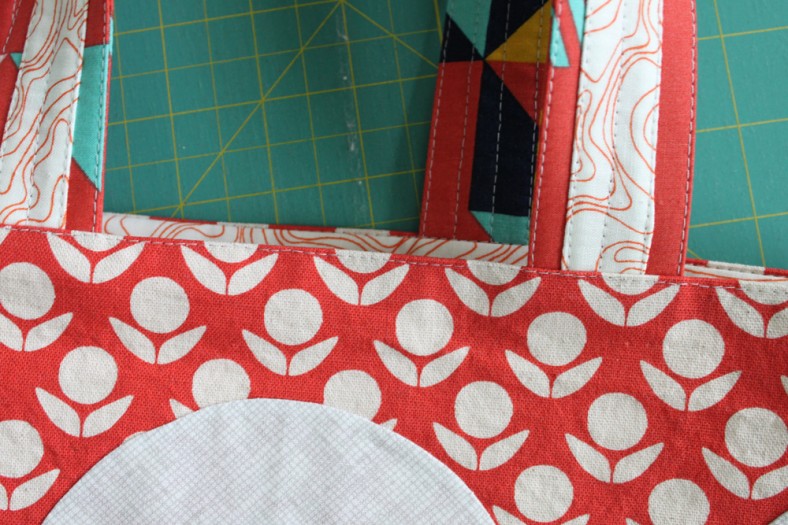
Center 1 handle on each side of the exterior with a 4″ space between the handles. Baste in place.
Slip lining over exterior so that RIGHT sides are TOGETHER and side seams and top edges are aligned.
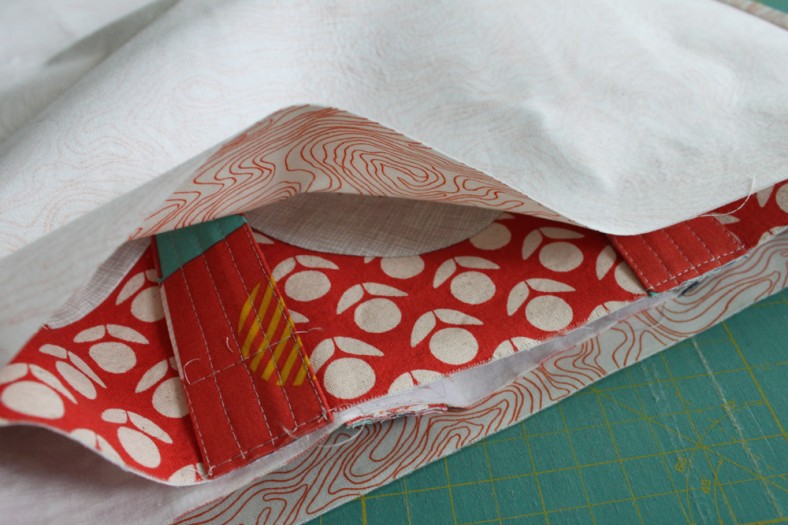
Pin in place.
Sew along top edge with 1/2″ seam allowance and then again with a 1/4″ seam allowance.
Turn project by pulling exterior and lining through the gap at the bottom of the lining.
Pin bottom of lining closed and edgestitch.
If you’d like, do a little edgestitch at the top of the bag as well.
Ta-da! You’re done! Enjoy your new bag.