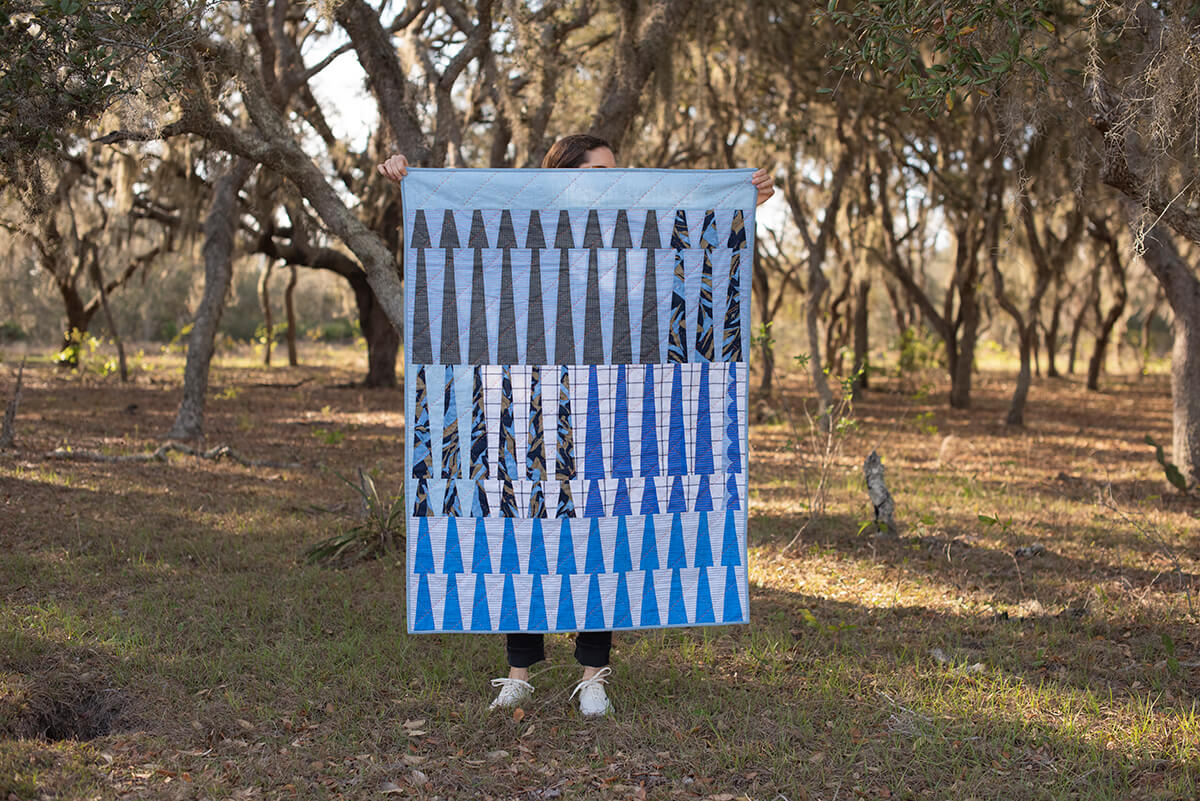
A couple of months back, I made this Long Leaf Baby Quilt.
The Colors and Prints
I auditioned a lot of different things when pulling fabrics for this project. Sometimes I have a palette in mind or maybe there’s a fabric or collection that I want to work with that inspires the project. In this case, it was more of a blank slate–which can be both liberating and also intimidating! Do you know the feeling?
When total freedom is the case, I like to pull many things while constantly asking myself what am I most excited about? It seems simple, but sometimes it’s hard to hone in on that. It’s easy to feel overwhelmed by so many choices and directions that you almost freeze with decision indecision. There will always be a bunch of good ideas, so listen to your gut and go with that. You can always save alternative ideas for another project later.
Also, it’s good to give yourself a time limit!
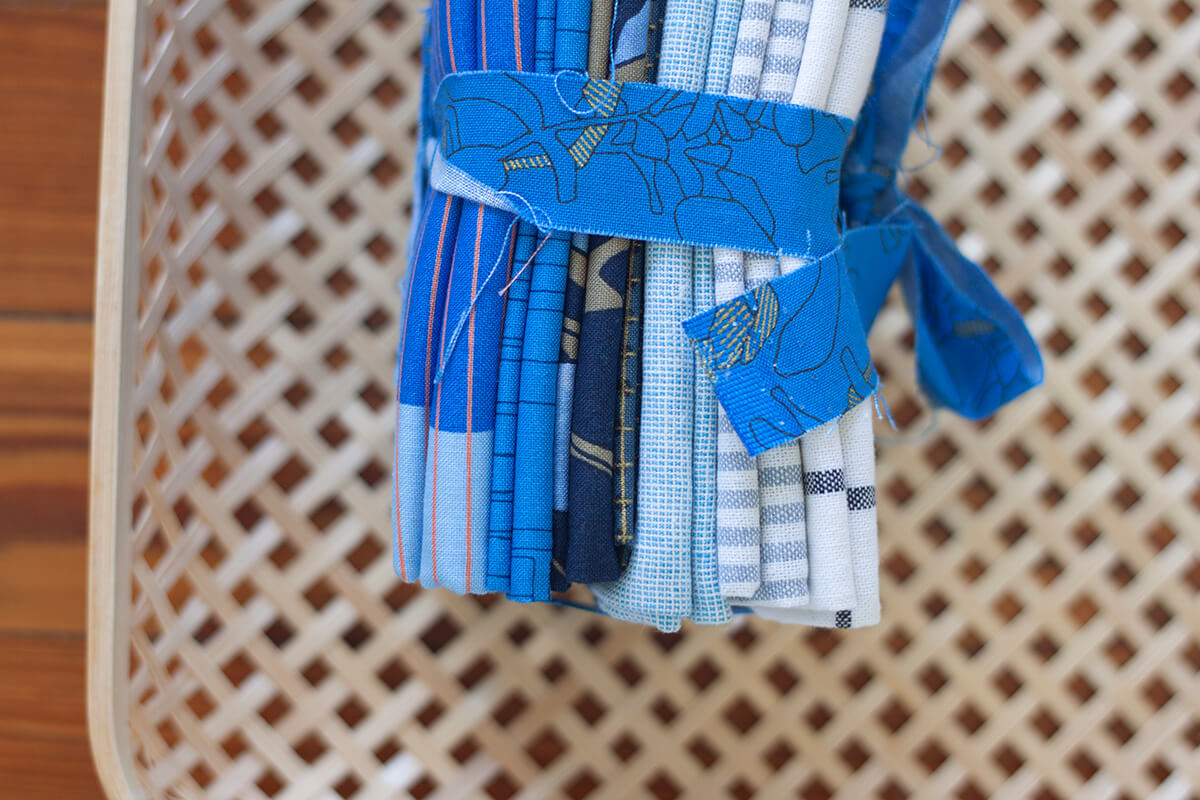
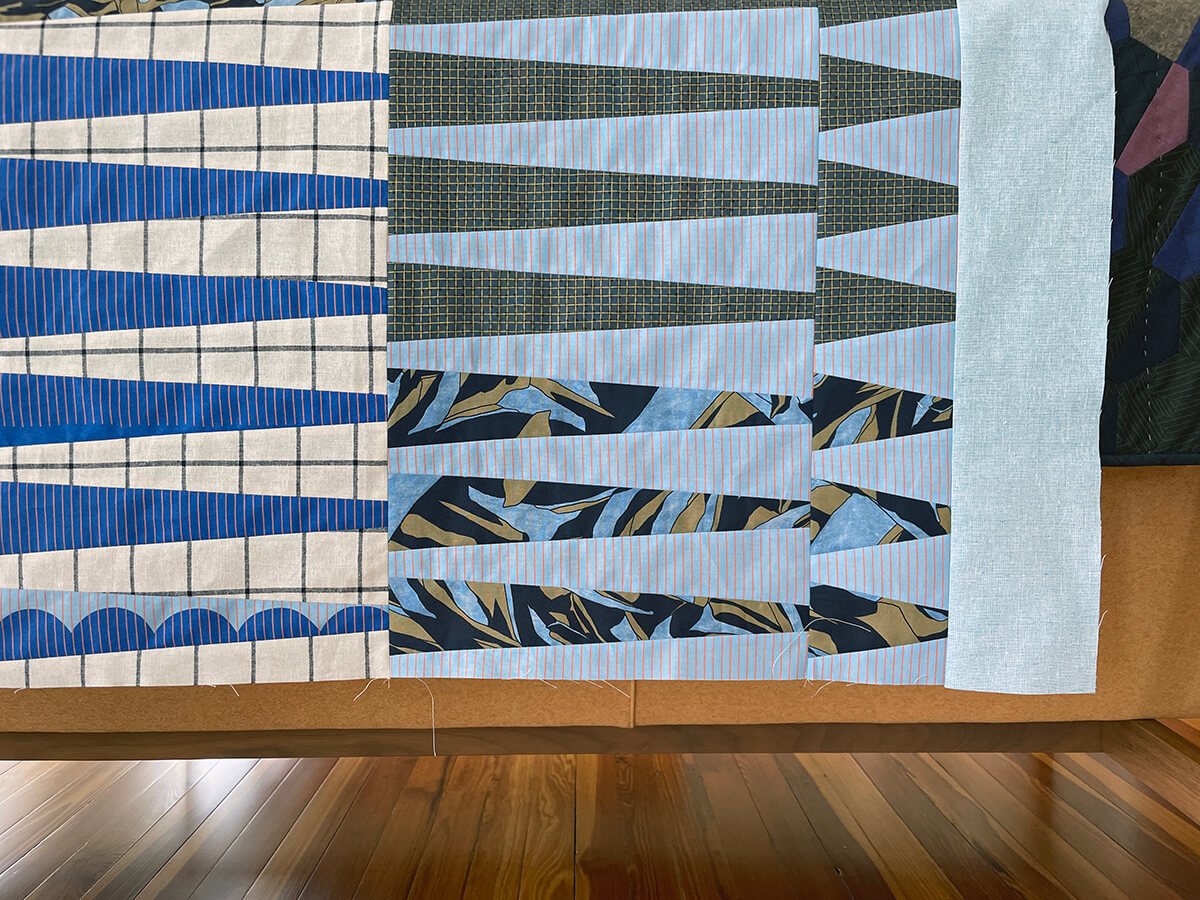
In this case I kept coming back to a mostly blue palette with large, hand-drawn prints (like a big one from Jetty), small prints (one from Kept), as well as more rigid and linear pieces from Essex Classic Wovens. There’s something about cutting up a large-scale print for this project that I really like. It can soften the edges of the shape, while the smaller prints help give it more definition. This can be a fun thing to play with and to balance.
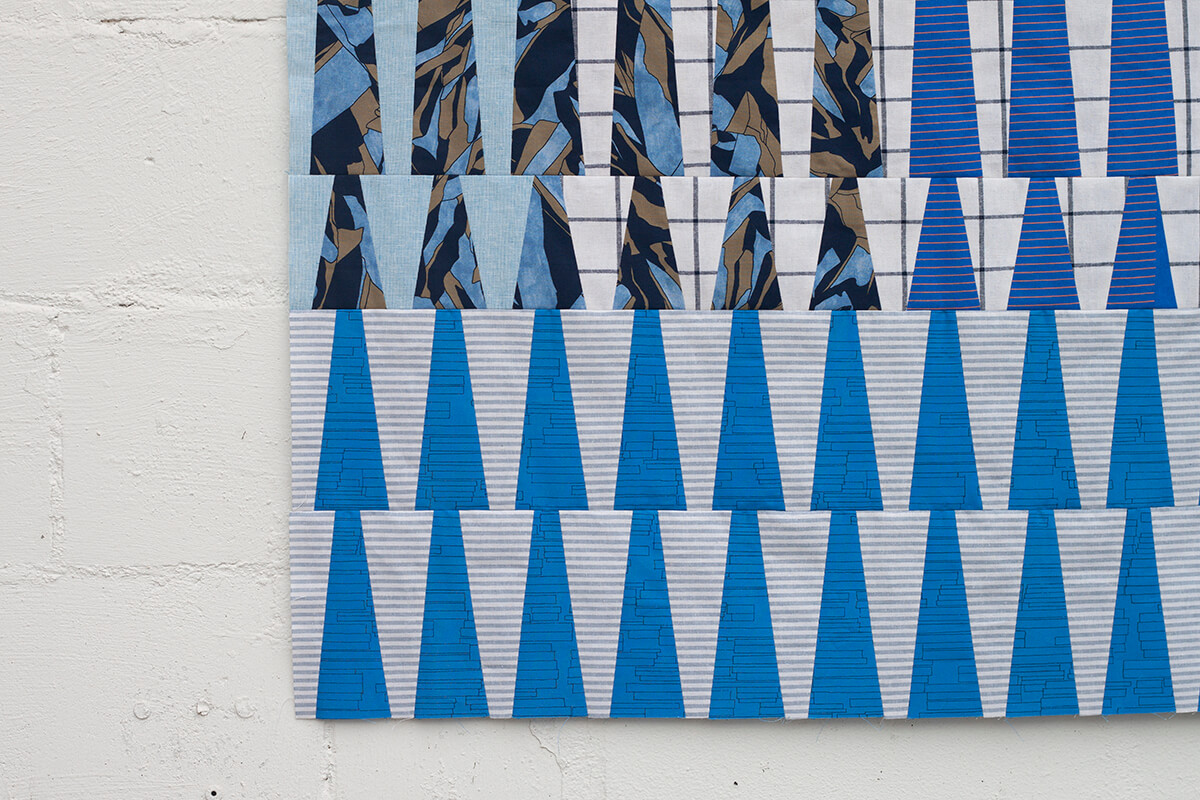
I also incorporated the scallop print from Harriot. This print has light blue on one side and then darker blue on the other side with a scallop where they meet. I used both sides of the print as both accent and background with a fussy-cut scallop worked in as well.

The Layout
Like some of the other Long Leaf projects that I’ve made, I used the acrylic templates to cut everything out. As I cut, I like to lay the pieces on the floor (or you could use a design wall) to see how things are coming together. It’s easy to move things around, to see what’s working/not working and also to make adjustments as you go.
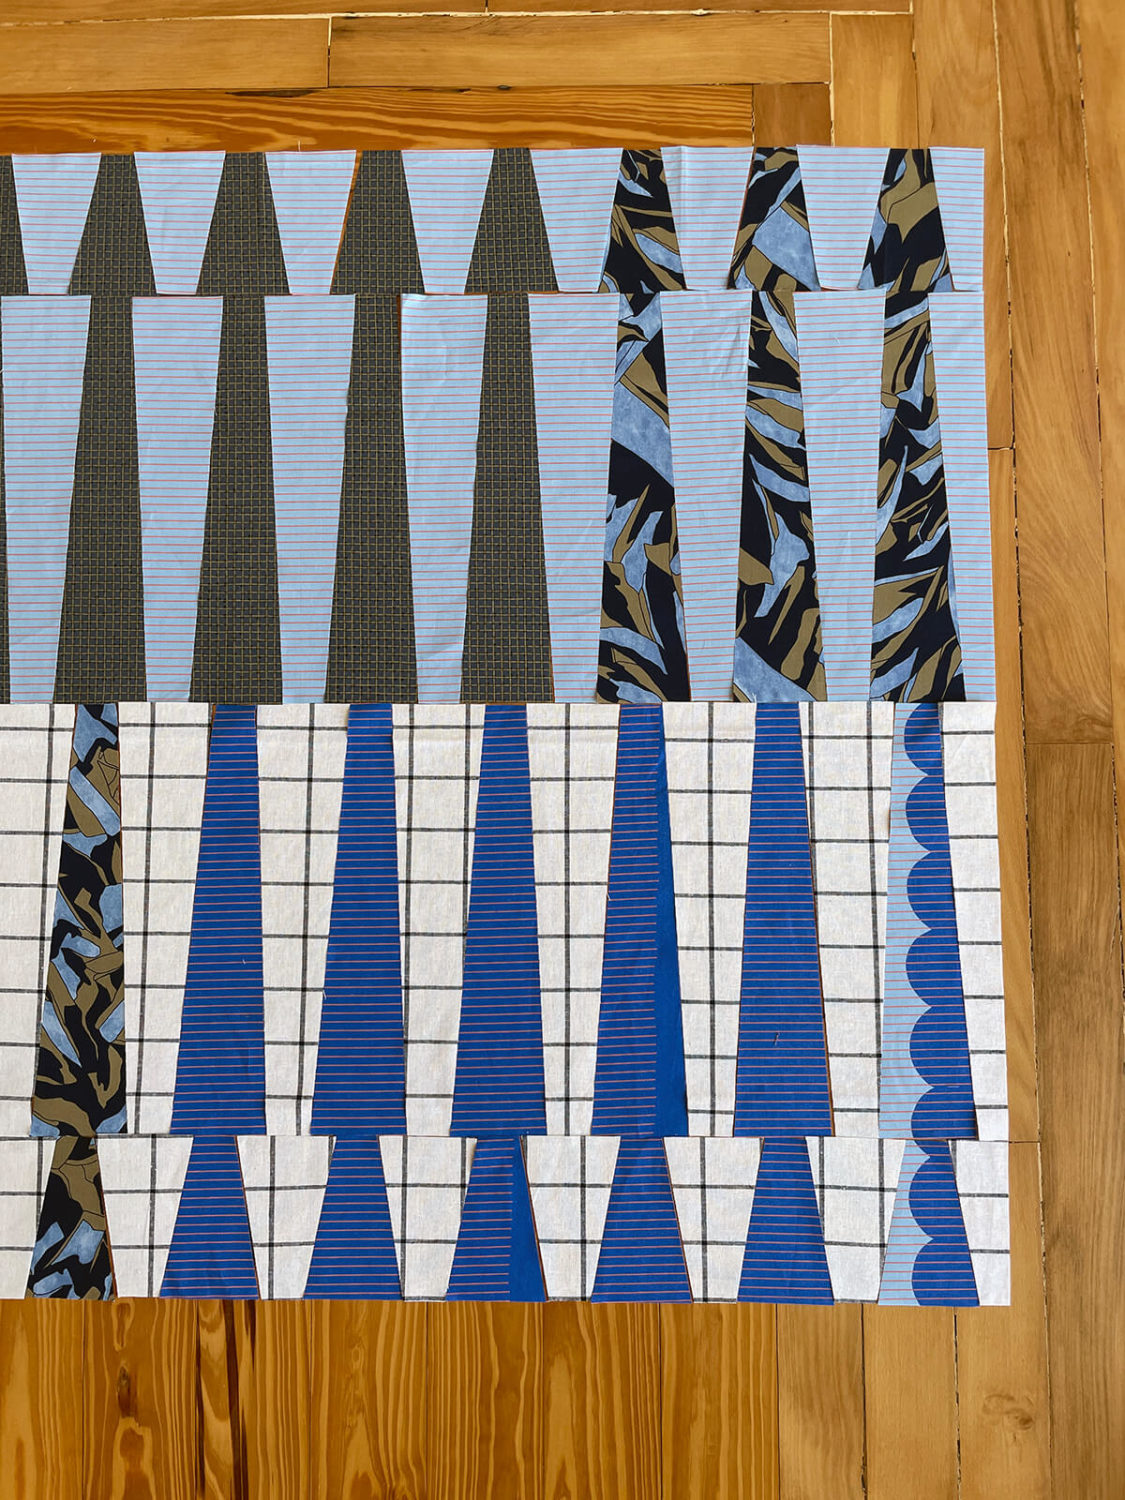
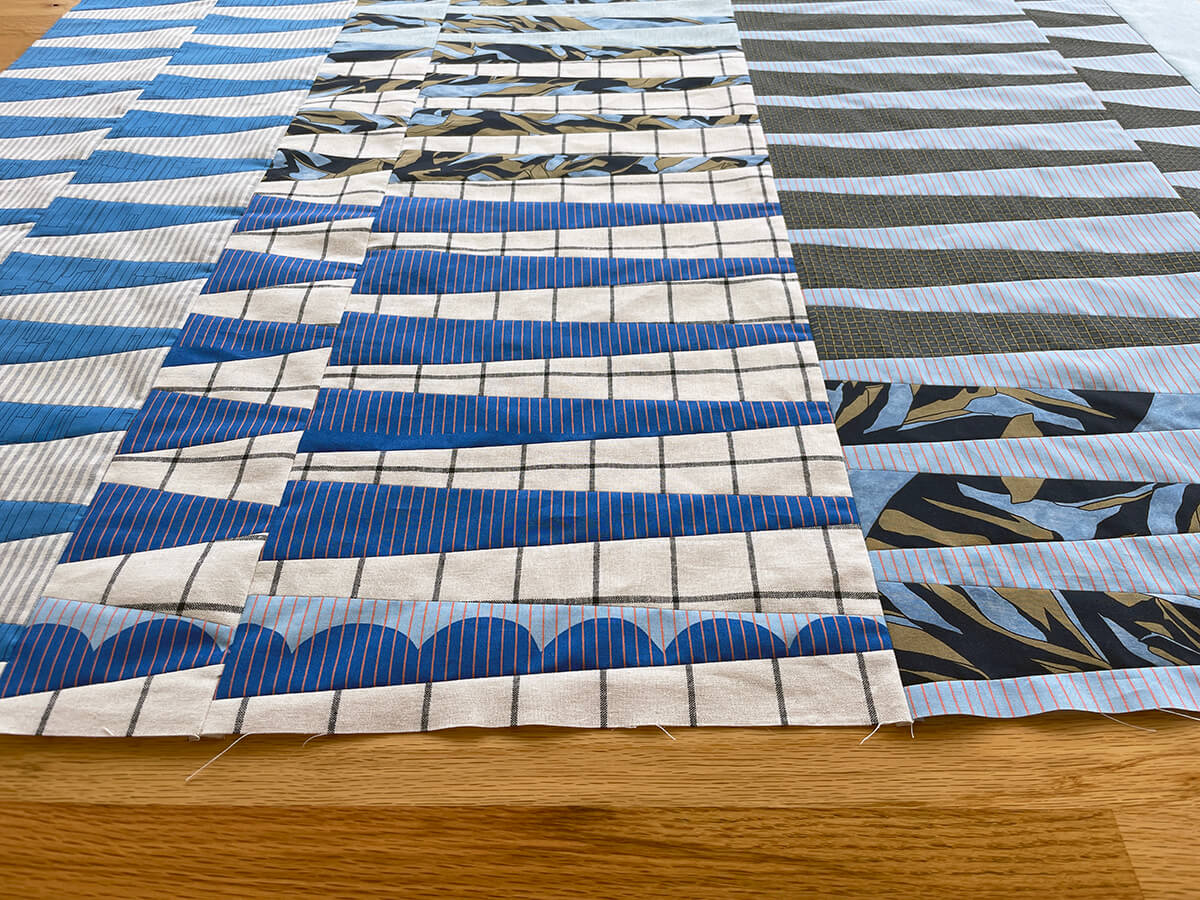
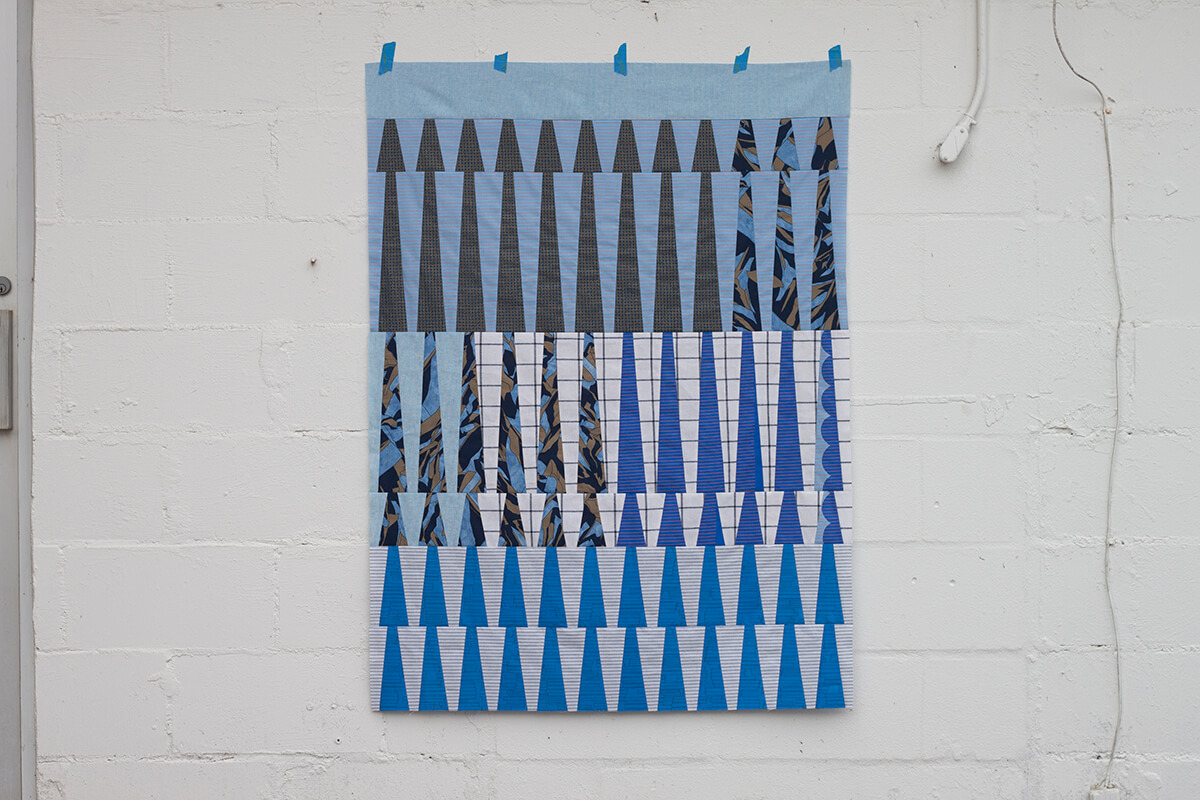
What I found here was that I liked grouping like fabrics together. It has this way of uniting the shapes as they stack. To me they read like compound shapes, which I really like.
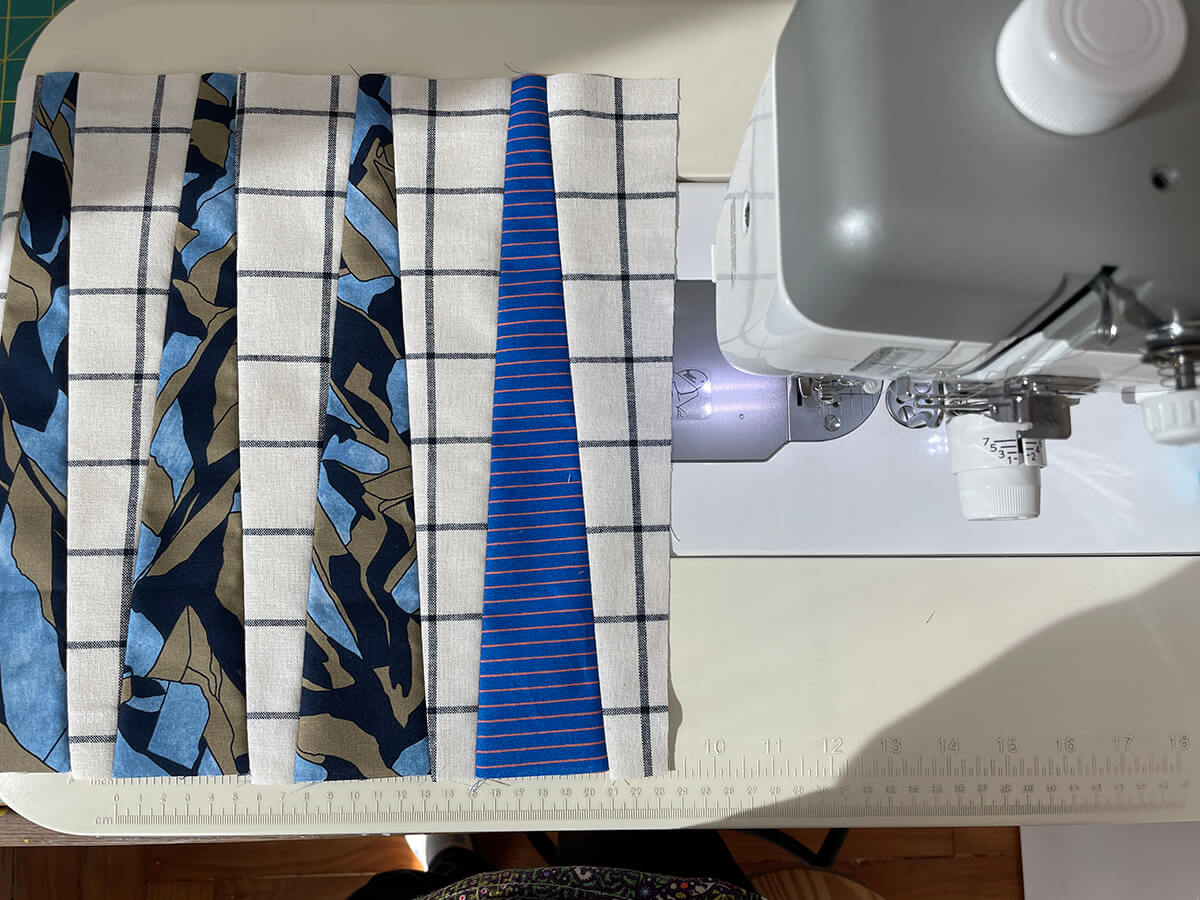
After getting everything cut out, I sewed the pieces together. I like working with the tallest rows first and finishing with the shortest rows last. It all can come together fairly quickly.
This is the Baby size that is included in the pattern. You could easily go larger if you want by adding more rows and/or making the rows longer.
The Quilting
When it came time to decide how to quilt this long leaf baby quilt, I knew that I wanted to hand quilt it. Many times I’m thinking about the quilting while I’m piecing the project, and that was also the case here. I love the texture and softness that hand quilting brings to a project, plus I wanted to add another layer of color via the quilting threads.
There’s something about orange/red and blue, warm and cool. I just love it. Here are the threads I pulled.
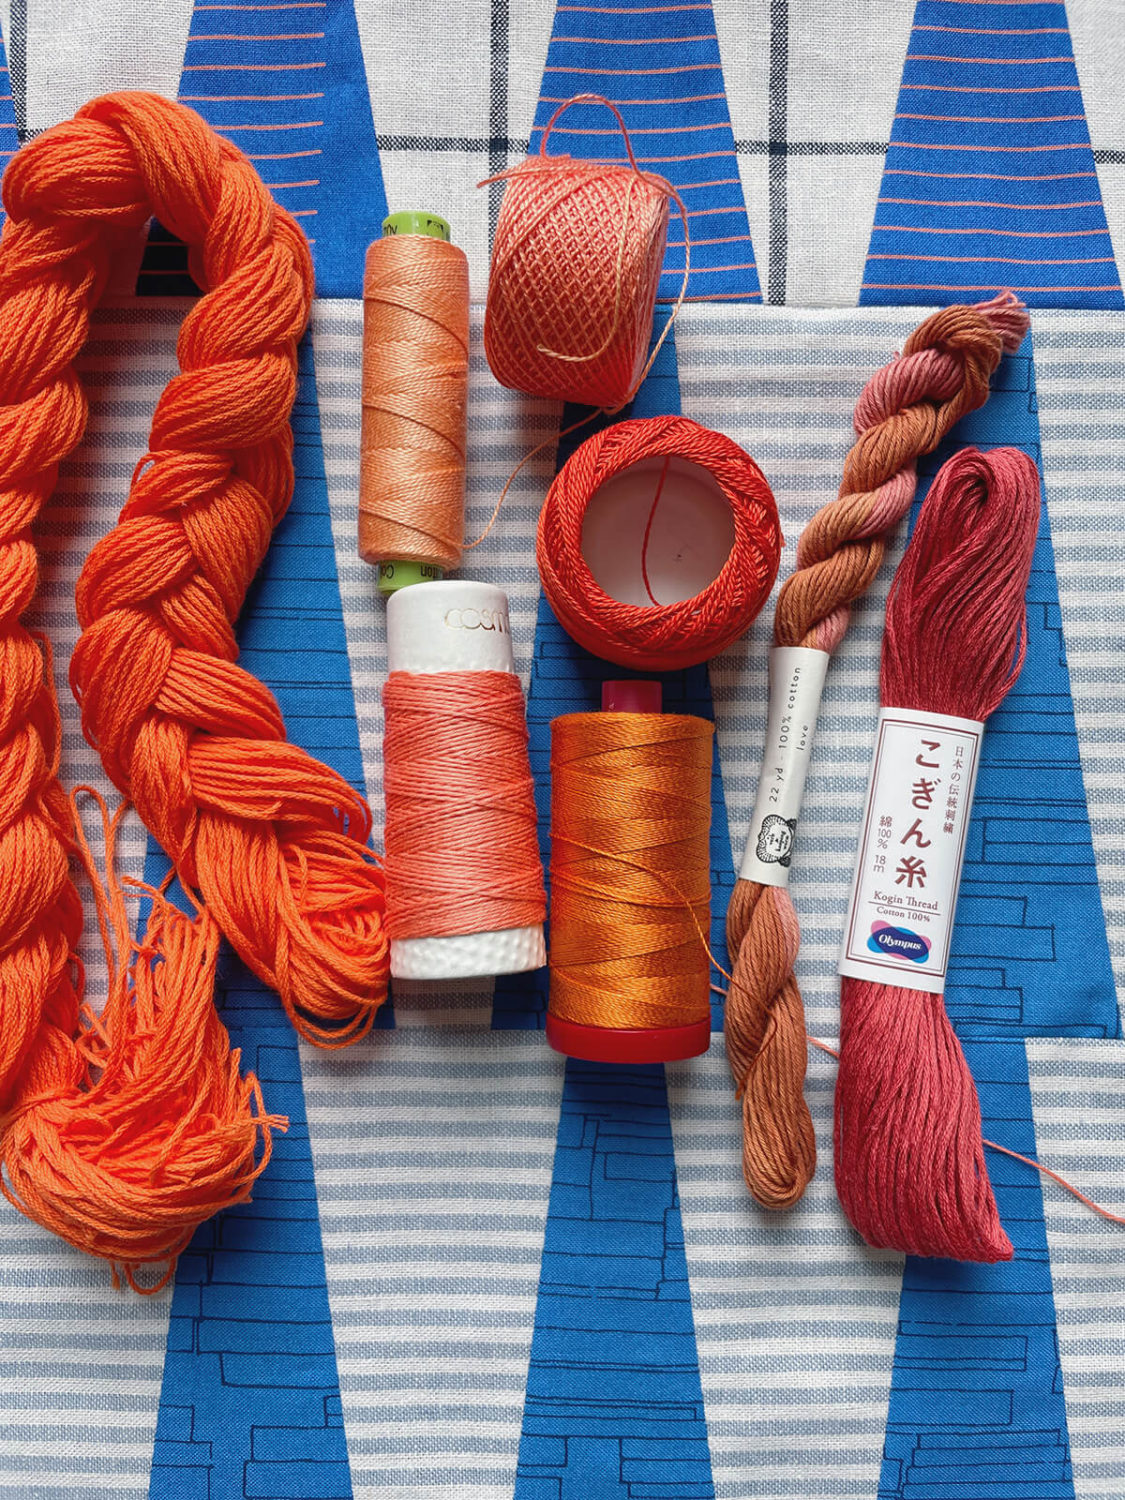
I didn’t end up using all of these, but it was helpful to see my options. (In case you are interested, I’ve included some of my favorite thread suppliers below.) After getting to this point, I’ll pull out a length of thread and lay it over the quilt top to get a feel for that possible direction. For this project I used the bright orange (on the far left) for my quilting lines in one direction, and then I used the peachy-orange (on the lime green spool at the top, second to the left) for the quilting lines that go in the other direction.
This brings me to how I decided to quilt it. It all started with a diagonal grid pattern that I saw in one of Bob Bosscher’s quilts (seen here). His was done by machine, which looks great, but I felt like I wanted to do this approach by hand.
I felt fairly confident that I would be doing a grid–lines in two directions, but anytime I am thinking about a (hand-quilted) grid I like to do all of the lines in one direction first. That way if I decide that I like the lines going in just one direction I can stop there. If I were to start the lines going in both directions, then you are a bit more committed to the full grid.
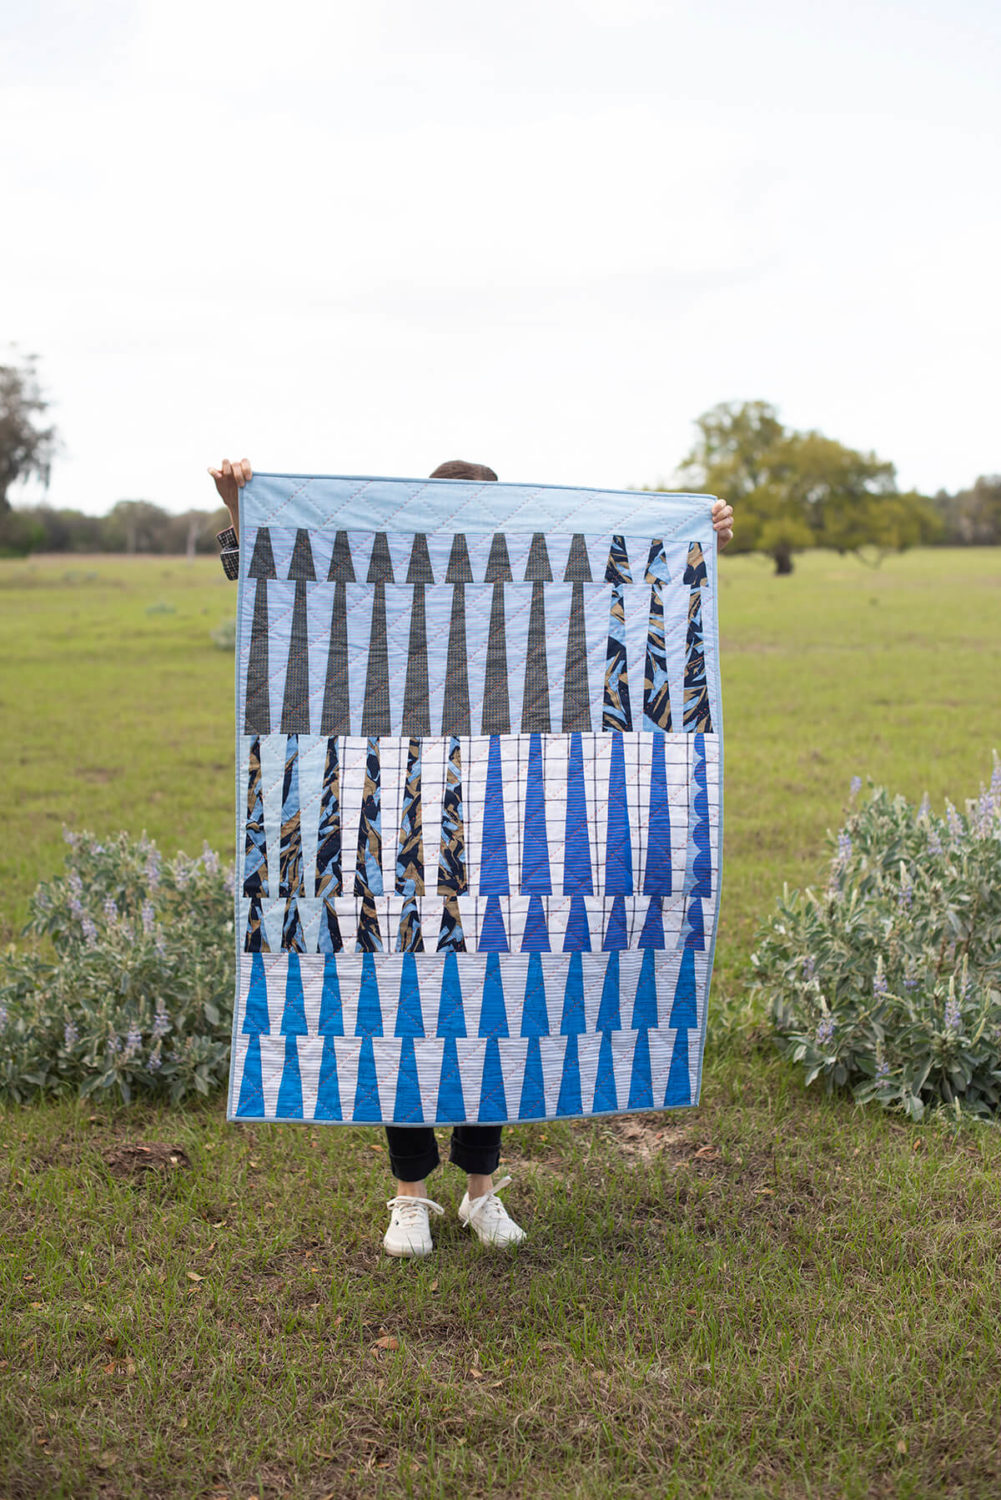
There we go! Another Long Leaf project.
Project Details
Pattern: Long Leaf Quilt, baby size
Templates/Technique: Template piecing with Long Leaf Acrylic Templates (Foundation Paper Piecing is an alternative technique you could use that is shown in the instructions as well.)
Fabrics: Kept, Jetty, Harriot, CF Grid Group, Essex Homespun, Essex Classic Wovens
Resources
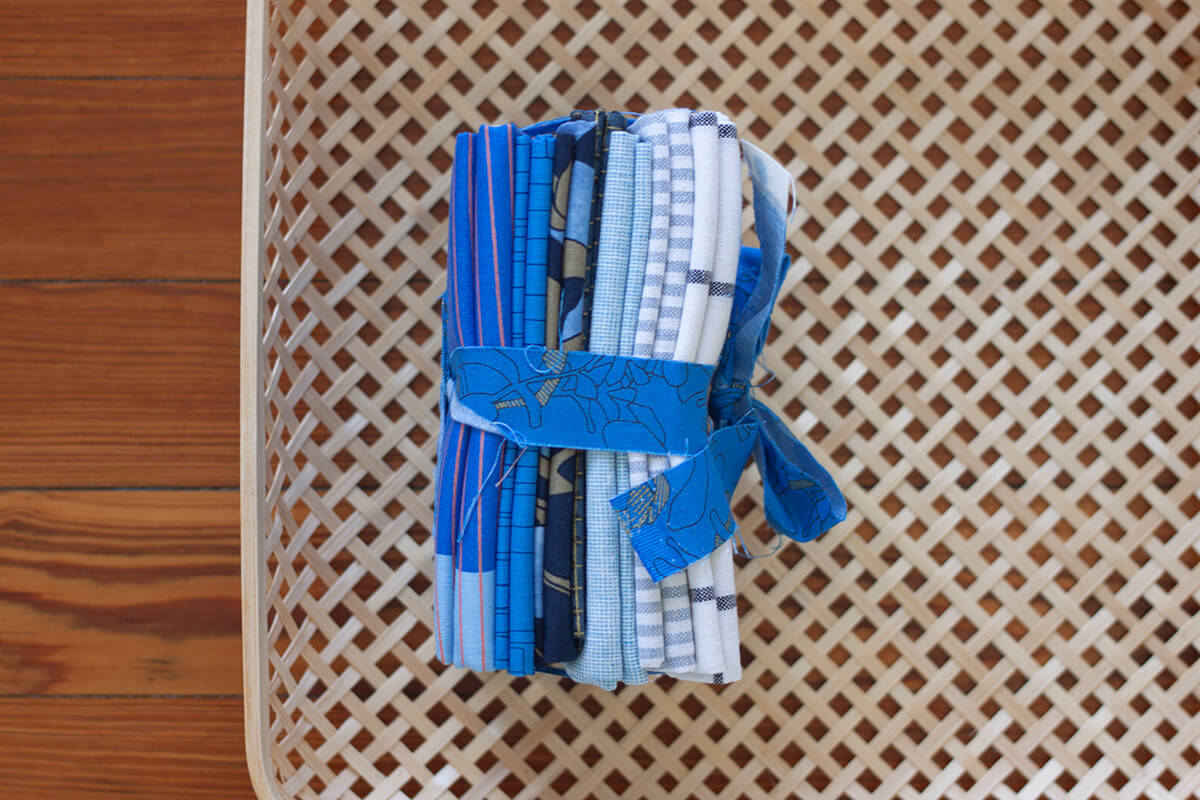
// Fabric – What’s nice is that I have a few bundles for this version in the shop! Find them here.
// Threads – If you are looking for thicker threads to quilt with, here are some of my favorite suppliers–Material Goods, Brooklyn Haberdashery, Snuggly Monkey, A Verb For Keeping Warm, Upcycle Stitches
// Hand Quilting Tools on the blog
// For basic machine piecing, I like using a magnetic seam guide to keep things accurate and consistent.
// These template grips work well for gripping your fabric as you cut, if using acrylic templates.

As always super great! And I love the whole grid thing going on…you have a knack for just knowing how large or small something should be…your grid size for example is right on the spot…..CF…..and I love how you cut the super large print into a smaller size..normally someone would want to feature the whole thing (print) but it adds dimension-with what you did…I love the orange and the blue combination (very beautiful) and the choice of thread isn’t super evident..but there against the blue…I suppose it’s because there is lots going on with the print so, you probably didn’t want it to all compete etc…thanks again for posting and sharing your process in detail…I appreciate it. Best to you always. Great Teacher!🍎
So glad to hear that, rebeca! Thanks so much!