Hunt Quilt Along: A Closer Look At Fabric.
This week I want to take a closer look at fabric. I have some tips to share, and I also want to let you in on what I’m thinking about for my own project.
Obviously fabric is a big component of any quilt project. You not only have the color and print to figure out, but you also get to consider the type of fabric itself, whether it’s cotton, linen or anything else.
In general, I consider quilting cotton to be the most beginner-friendly fabric to work with. It’s very stable, and it’s not too thick and not too thin for quilting. (It’s called quilting cotton for a reason.)
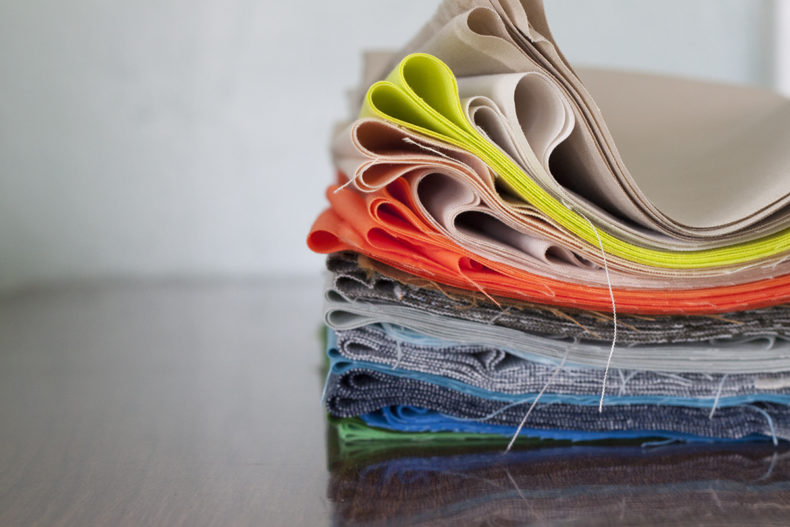
Quilting cotton is also great, because it comes in many different colors, prints and solid choices. You can’t go wrong, and it’s definitely a fabric that I would highly recommend to anyone, and especially to anyone new to the game.
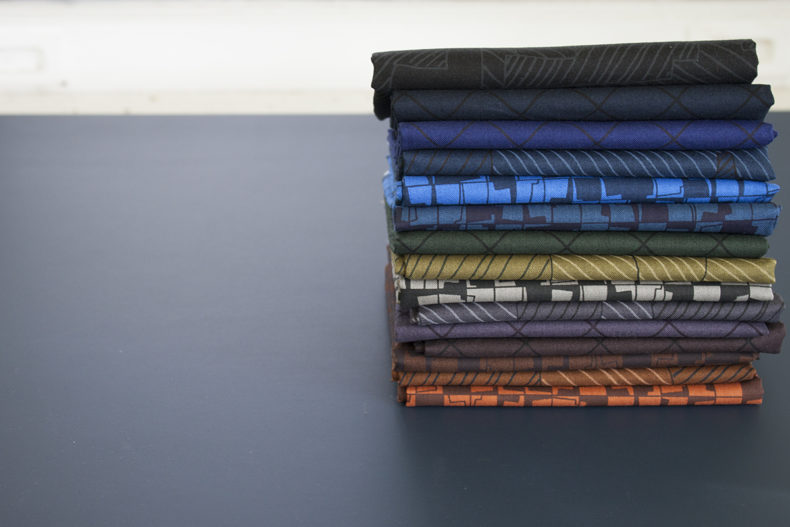
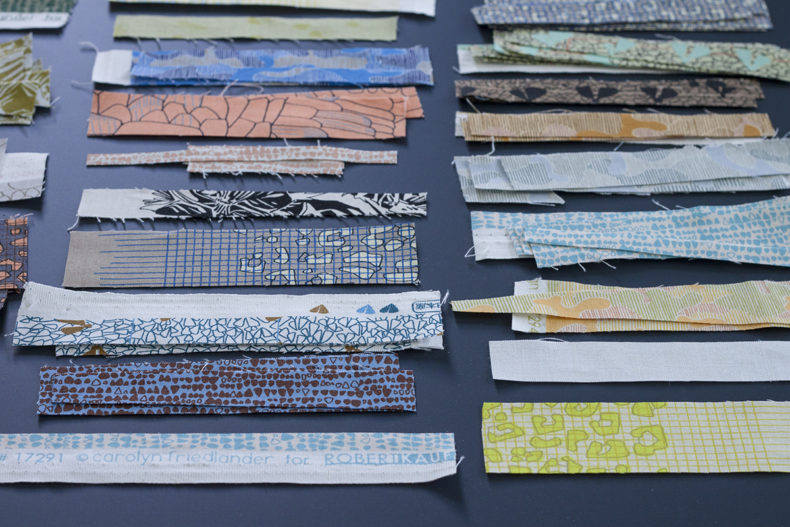
Of course there are plenty of other types of fabrics as well. Some other popular quilting choices are made from linen and linen blends (like Robert Kaufman Essex, a stable linen/cotton blend that is a little meatier than regular quilting cotton and full of texture), and there are plenty of yarn dyed wovens (like Harriot Yarn Dyes, shot cottons, etc).
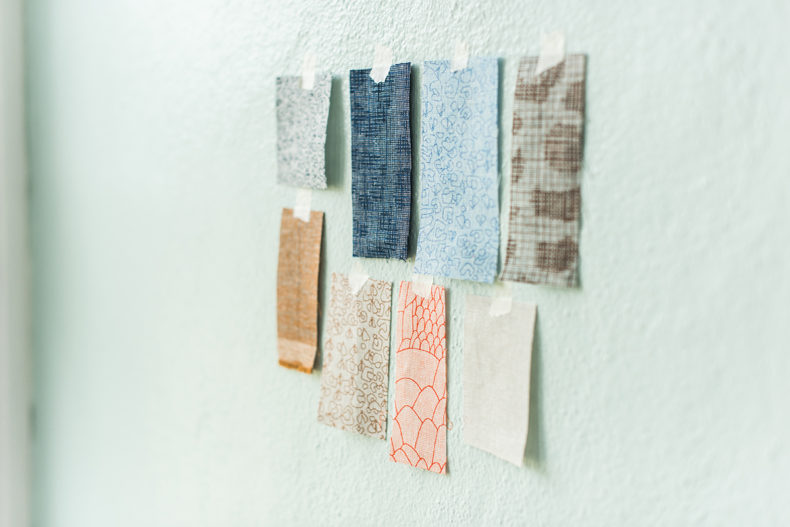
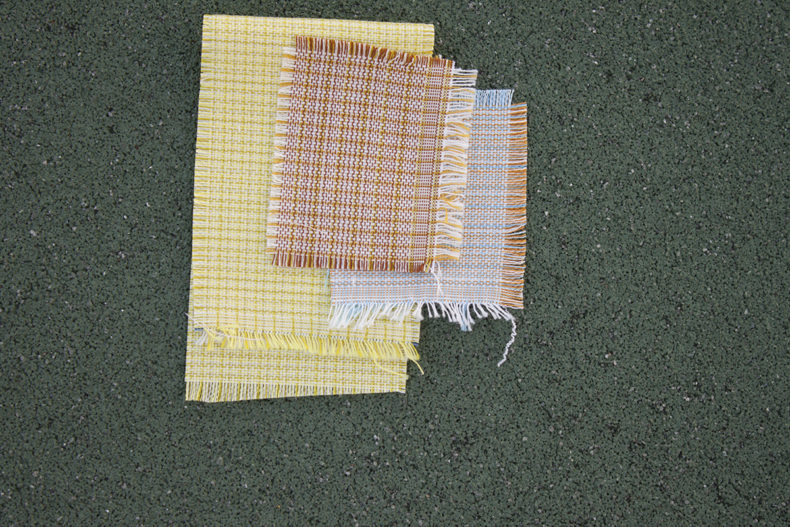
Something to consider when selecting fabrics outside of quilting cotton are the different properties of the fabric itself. You want to consider the stability of it–is it slippery or drapey, OR stiff and sturdy? Also, is it thick or thin? Does it have a tendancy to fray? Most anything can work, but depending on its qualities you might decide to make some adjustments.
Some adjustments might be to –
+ Cut your background to be larger so you can get a clean trim before sewing blocks together if your fabric tends to fray or if you know you tend to handle your blocks a bit more. I cut my background squares about an inch larger on my Hunt Harriot Quilt. It was a new fabric, and I wasn’t sure how it would behave. Giving myself extra ensured I could get a super-clean trim before sewing the blocks together. (Tip: In this case, I like marking the edges of where I’ll trim my actual block. I prefer to thread baste, but you can mark it anyway you prefer.)
Here’s a look at some thread basting in action. I’ve marked my seam allowance at the bottom. (In general, I prefer marking the seam allowance on these blocks this way. It’s totally a personal preference and not mandatory.)
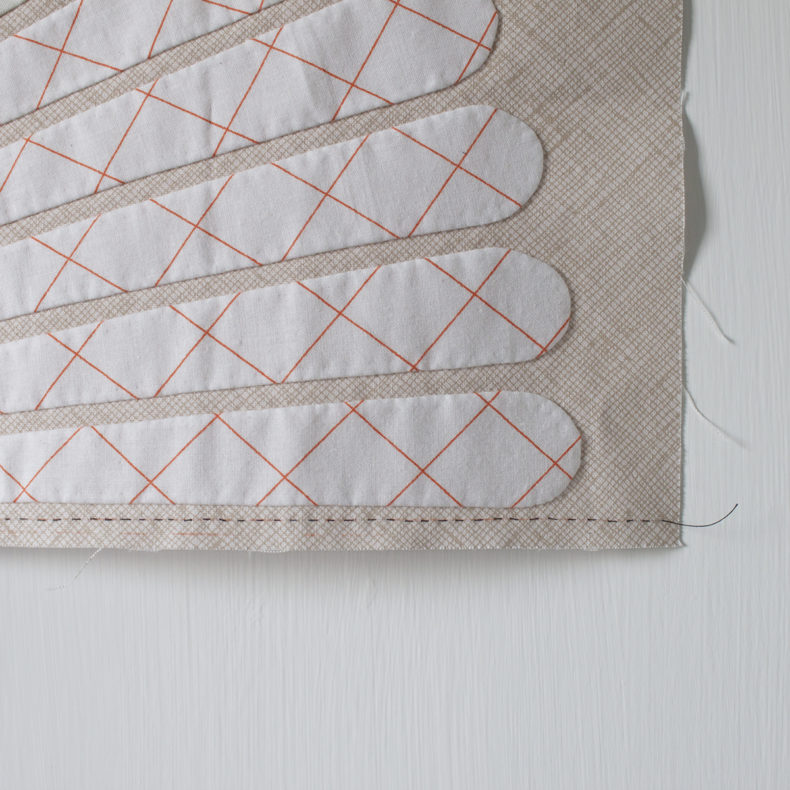
+ Adjust your basting stitch a smidge if your fabric is really thick or really thin. (Tip: With a thin fabric you may baste with slightly less of a seam allowance, and with thicker fabric you might baste with a smidge more of a seam allowance.)
+ Prewash your fabrics if you’re worried with them at all. It never hurts! Plus, I feel like a prewash can reduce some of the fraying.
+ Use your thicker fabrics as a background and thinner fabrics as your appliqué. A thicker fabric on the back gives you more stability. (Although I’ll admit that you can make exceptions if you’re really feeling a combination that goes against these rules. Just make sure your lighter background fabric maintains its shape as the heavier fabric is being manipulated on top. You don’t want this to distort your background.)
Now let’s talk a little bit about some design direction for your project. The beautiful thing about appliqué is how you can quickly get a sense of what your project will look like. Simply cut out the shape and lay it on your background! If you don’t like it, try something else.
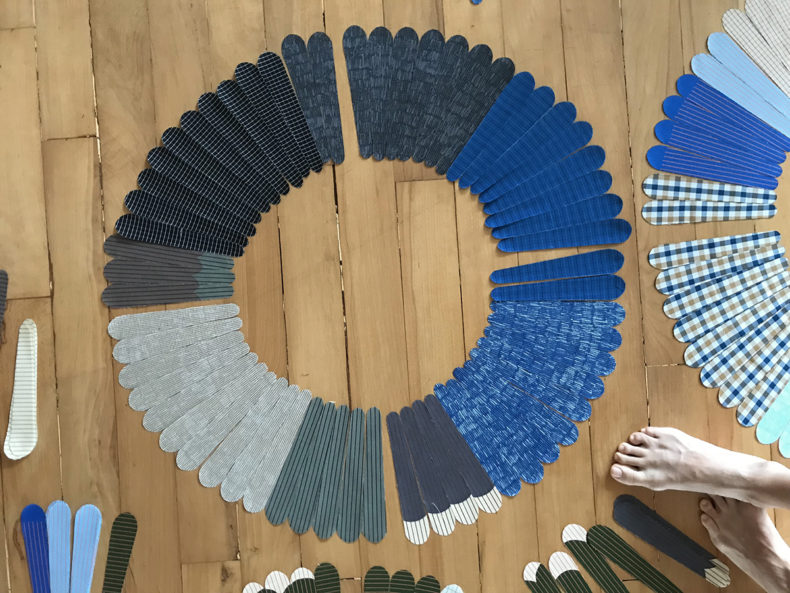
That’s exactly what I did when I was planning my Hunt Harriot Quilt. I started cutting out the shapes and laying them on the ground–although you could also start laying them on different background fabric options at this point too. This allowed me to figure out how I wanted the colors, fussy-cut scallops and other motifs to come together. Or you can work on a block-to-block basis. It was really fun to see the idea shape up!
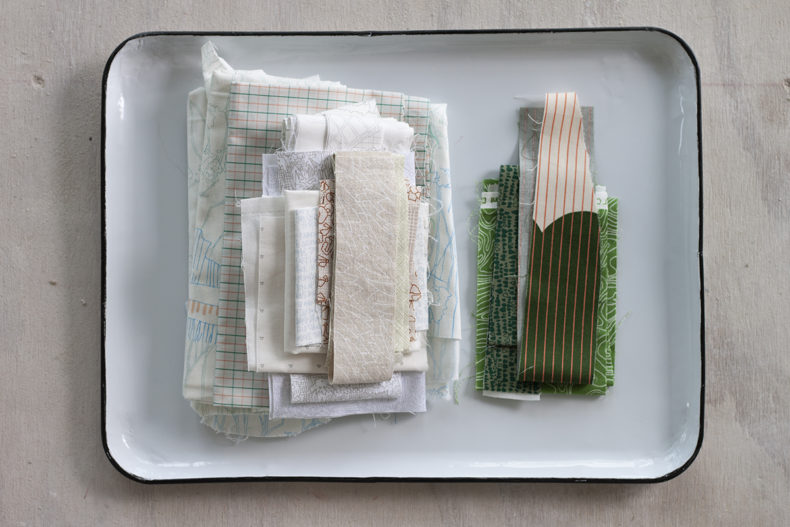
I am planning to make something during this quilt along. I selfishly chose this format, because I knew it would give me a great opportunity to make another version. I’d love to have a quilt for my bed, and after a lot of thinking about colors and fabrics to use, I think that I’ve decided to head in a green and white direction. There are SO many ways to take this project, and it is so easy to feel indecisive about it, but what’s helped decide things for me is thinking about 1) what type/size I want to end up with, and 2) where I want to put it. I think a green/white-ish version for my bedroom would be just the right thing.
I’ll use a mix of whites and creams for the backgrounds.
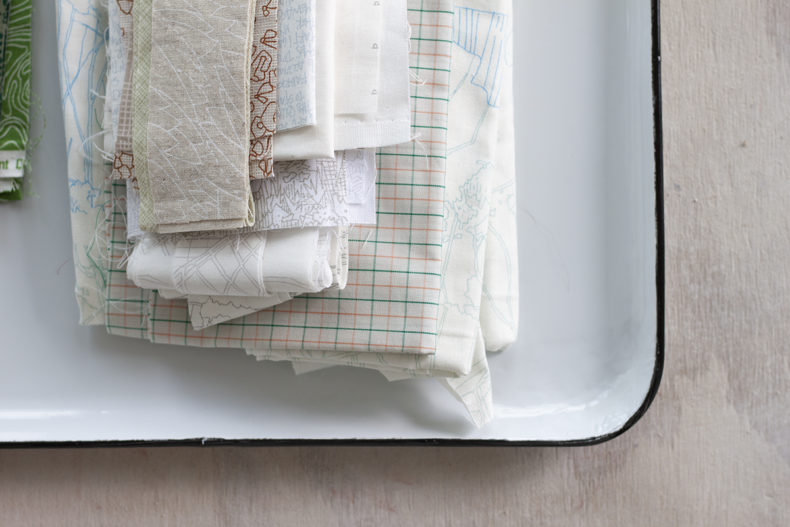
And I’m thinking a mix of greens in some dark-ish shades like this could be nice. Although I’m not sure how scrappy/not scrappy I want each block to be. Looks like I’ll be doing some auditioning!
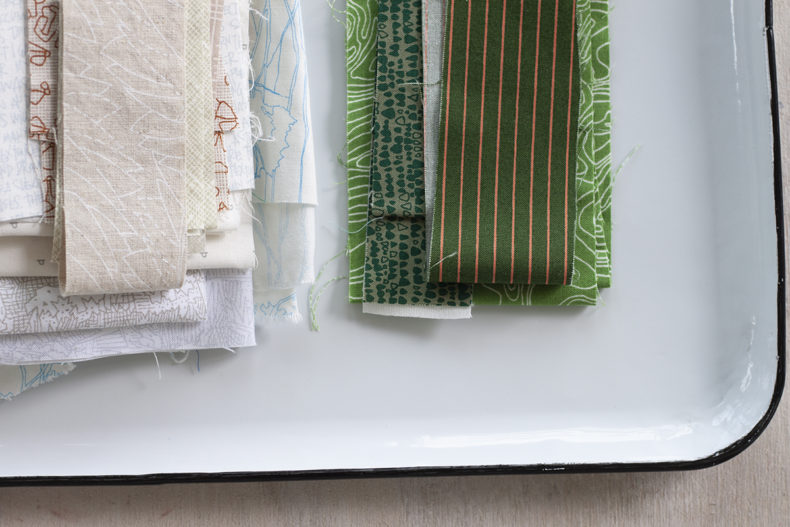
That’s where I’m at, but I’d love to know where you’re at too. Feel free to comment below.
Resources:
+ Here’s a link to some of my favorite Thread Tips and Tricks.
+ I’ve set up a Hunt Quilt Along Board on Pinterest for inspiration. Head over here to check it out.

Loved reading about the fabric choices, gives me lots of ideas. I have just started a ‘classic’ Hunt quilt (my second) with Geo Single Border in Tangerine, but am also thinking about one with some mustard canvas I have as the background then quilting cotton for the applique – also thinking of adding some stitching to replace some of the applique. Thanks for the inspiration (and you need to come to the UK to teach some workshops!)
Stef, this sounds like a wonderful direction to take! And hopefully I will teach in the UK some day!