
Eads Quilt Along #5: Using A Design Wall.
After being away last week at the Sisters Outdoor Quilt Show, I was pleasantly reminded of a big benefit of using a design wall–it can be pretty! Coming back and being confronted by my blocks was a lovely, visual welcome. In fact, seeing them waiting for me made me eager to sew.
Many of you may have been traveling last week with the holiday–was anyone else eager to see their project when they got back? Maybe you noticed a freshness to it after spending time away?
Design walls are great, and I believe that they should be used in whatever way works best for you and in a way that complements the way that you work. I realize that saying that sounds pretty obvious, but I’ll bet that it will also feel liberating to hear me tell you to use a design wall however you want. Do it.
As an example, I’ll show you how I used mine for the Eads quilt on the cover.
Based on the beauties you are all posting on Instagram, I’m noticing that some of you work linearly, some of you jump around and some of you work in other ways. It’s all good! Do what feels most natural. For me, you’ll notice that I started in one area, and then built around it in ways that made sense as it grew. I was open to some changes along the way, and I didn’t get trapped in any of the positions being totally set.
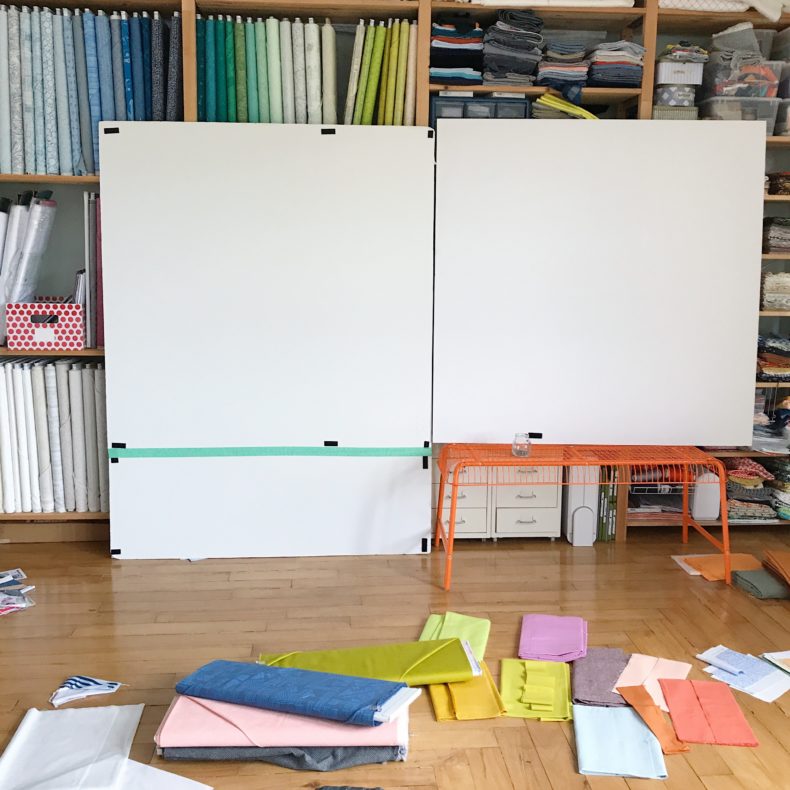
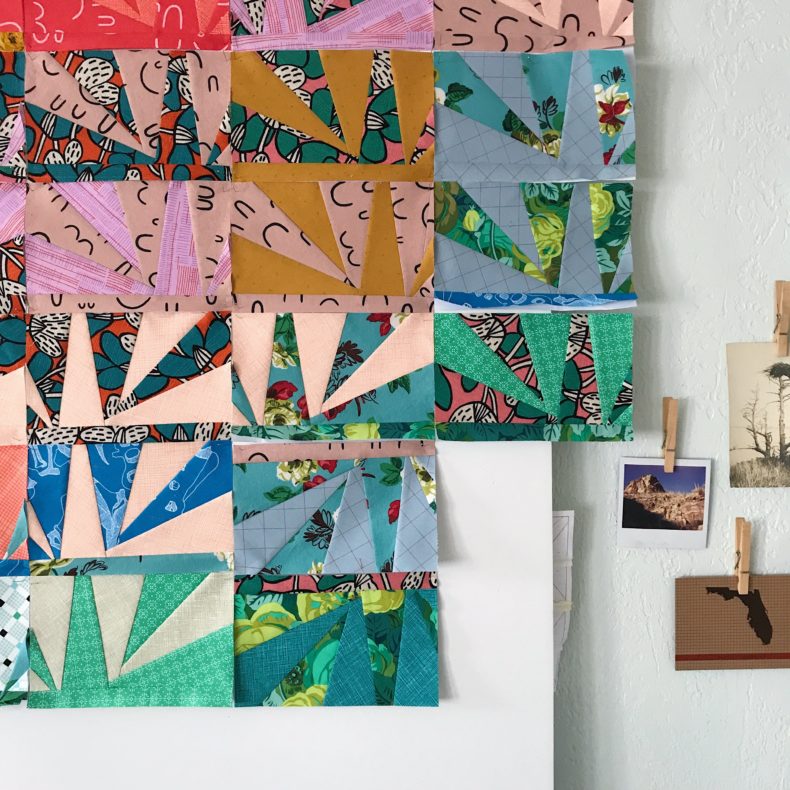
On the technical side, there are some things to consider when using a design wall. First, is the design wall itself–check out the first QAL post for specs on mine. Second, is what to do when you outgrow your design wall, because unless your design wall is infinite in size, you are likely to outgrow it at some point.
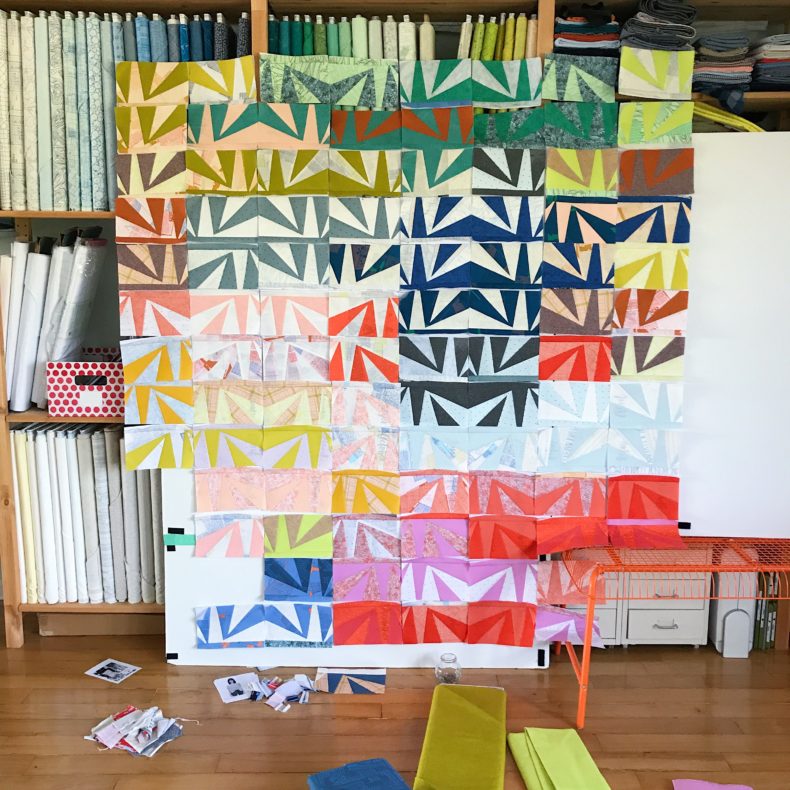
In my video, you’ll see that I outgrew mine and had to start improvising. Of course you could totally work in sections, but I wanted to see how everything was working together. Because my design wall was set up against a wall of fabric, I was able to pin blocks around the design wall. Then, it still got bigger, and so I moved it to the floor.
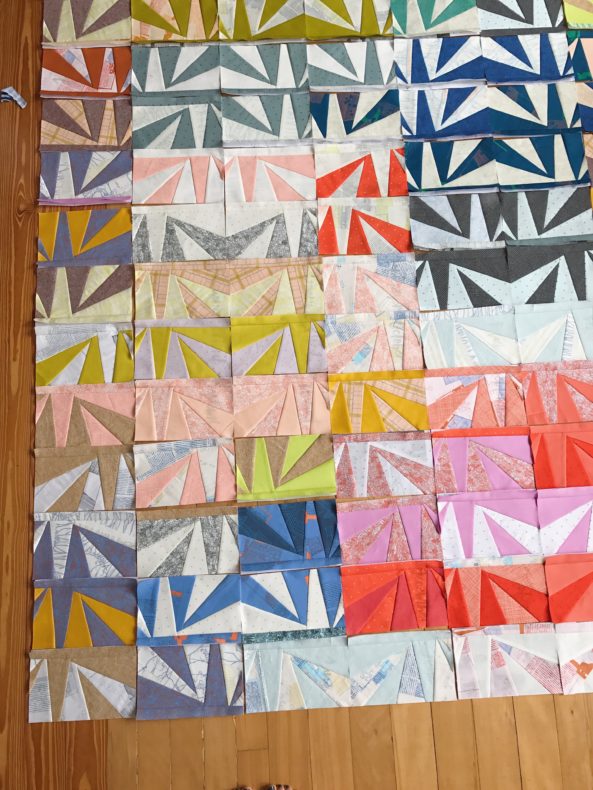
While on the floor, I was able to move everything around as I wanted. I waited to move it here until I was ready to actually sew the blocks together.
There’s that. What do you think?
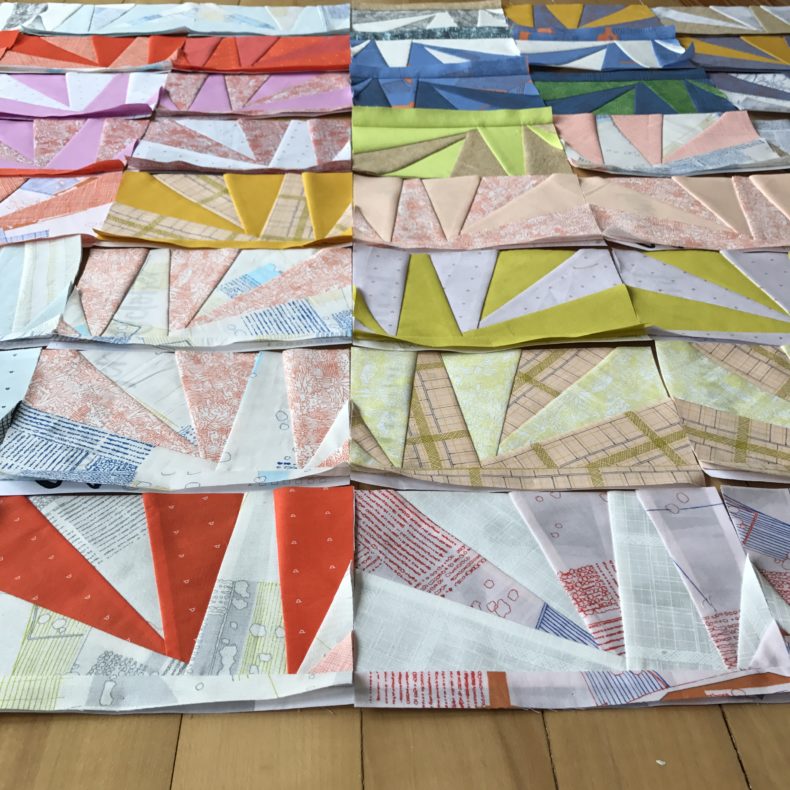
As for my ongoing project, this week I’m outgrowing my design wall again and using tape to hold things in place. Whatever works! (Also, my sewing space is getting CRAZY. There is a lot happening in and outside of this photo…)
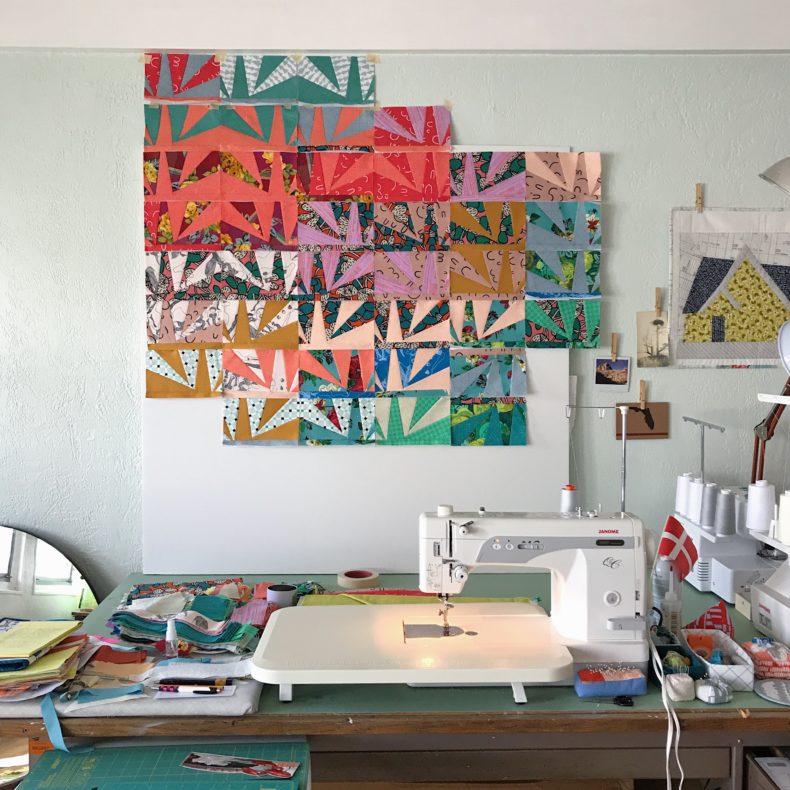
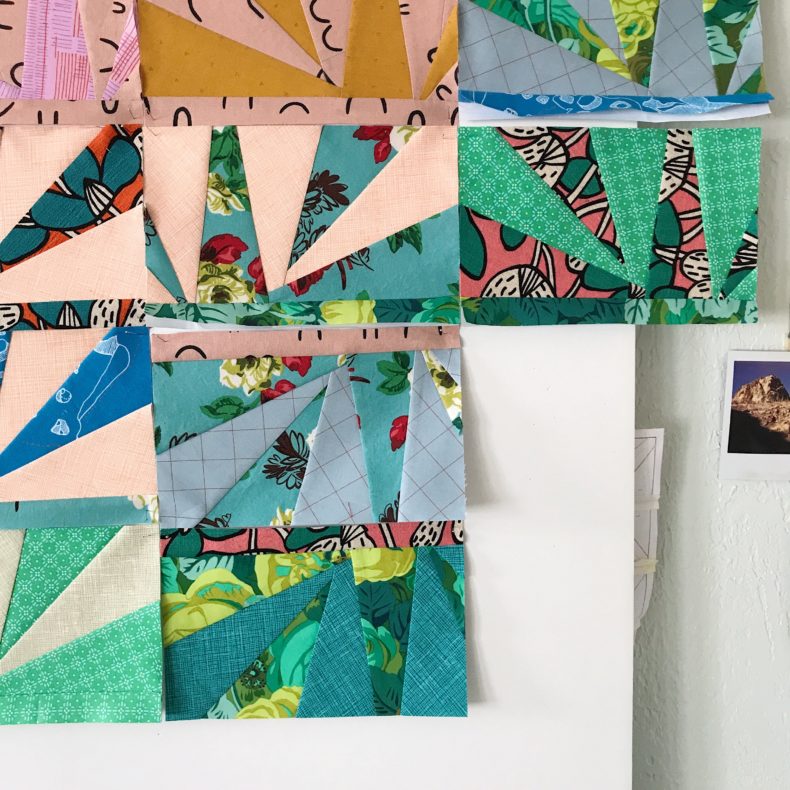
In terms of colors and fabric, it was fun pulling in more greens–especially some from the new UPPERCASE collection that have been inspiring from the beginning.
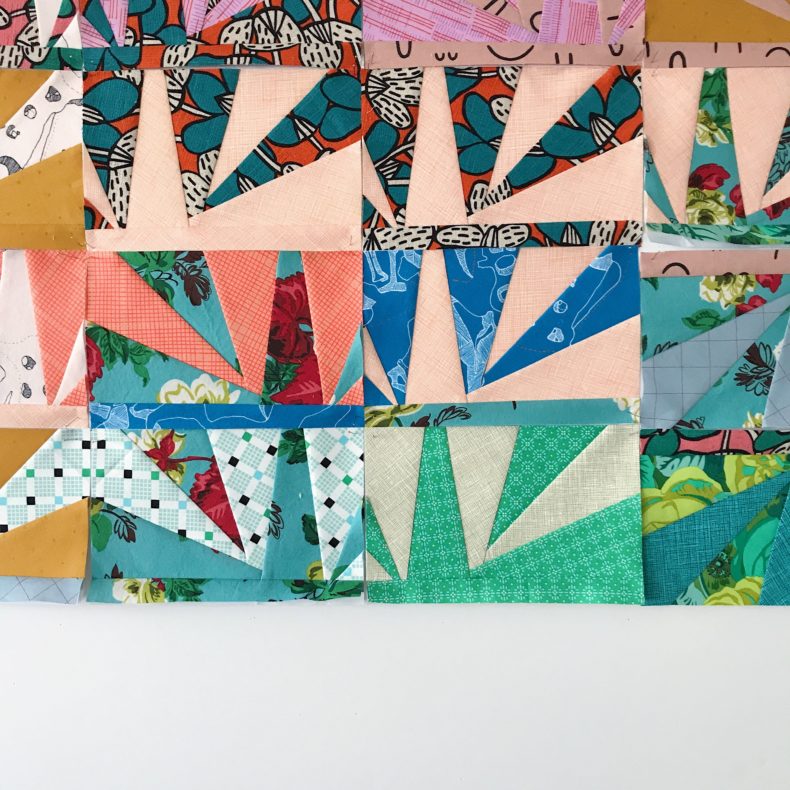
I’m still mixing lots of my stuff with other stuff. At this point it’s feeling a little wild and crazy, but that’s kind of the fun of it too.
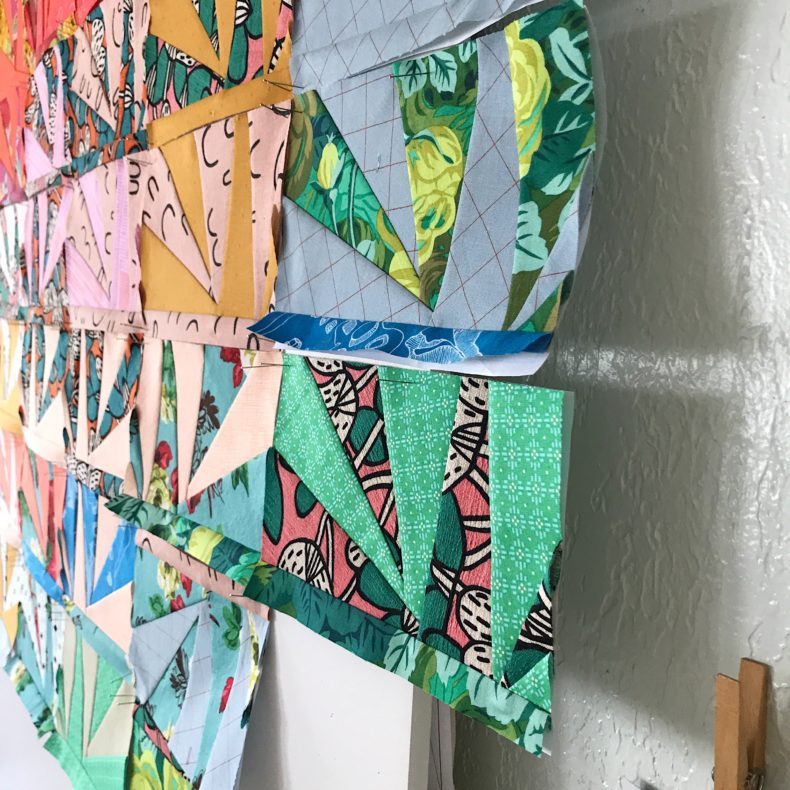
From the angle, you can see the pins that I’m using to hold blocks to the foam core. They’re the thin, cheap kind that seem to come in an endless supply.
Tips:
+ Leave the paper on your blocks. This keeps them flat and clean.
+ Use thin (cheap) pins to hold the blocks to the wall. Thin pins are effective at holding while not being visually distracting. Where pinning isn’t doable (i.e. for blocks outside of foam core, use painter’s tape to stick to the wall).
+ While a design wall can be visually inspiring or welcoming, don’t hesitate to put it away if your project is ever causing stress! Sometimes a few days of not looking at it can bring on new and exciting ideas.
Oh man!! All your new blocks are totally BANANAS!!! In the best possible way! 😉 So much love!! The greens are amazing.
Thanks so much, Carissa!! 🙂
Awesome! I love your fabric designs!