This Eads Jetty quilt is my third Eads quilt and a new approach to layout and color. (See the first version here and second QAL version here.)
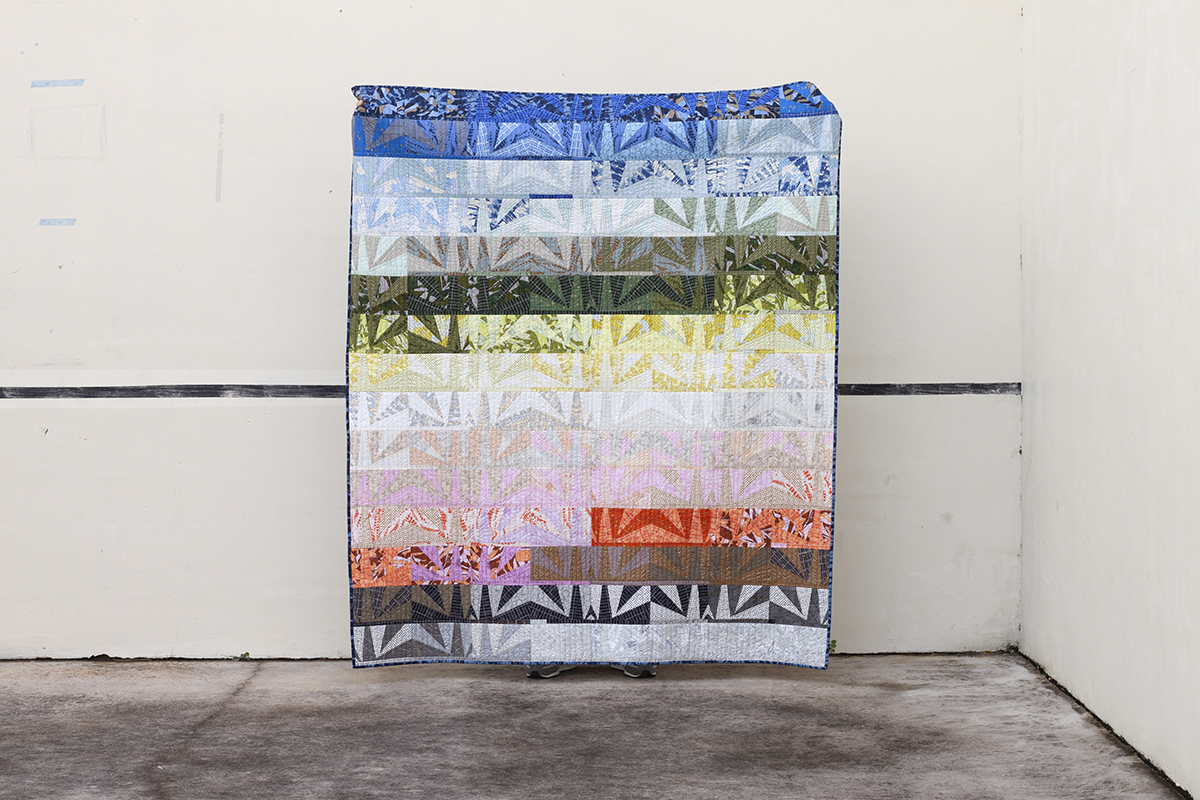
Quilt making is inspiring; you can take the same design, but make it totally different by swapping out some of the variables.
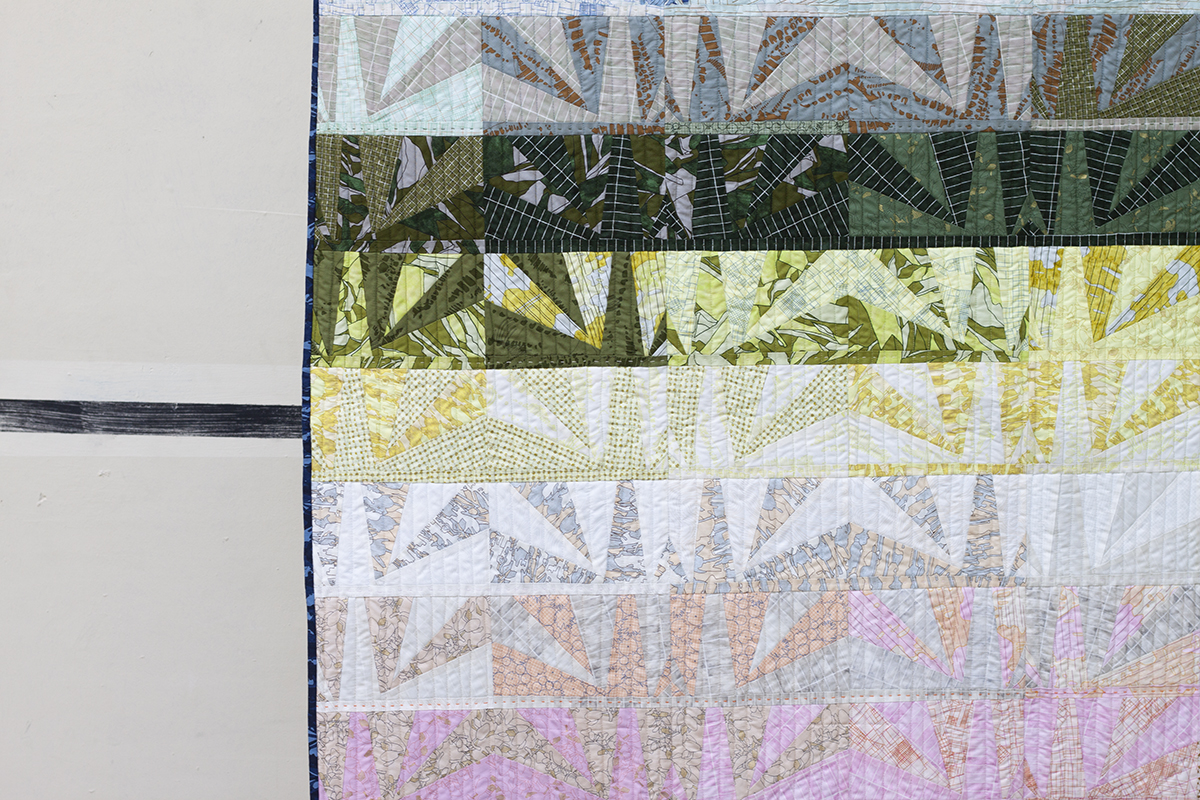
In this project I wanted to sew up all of my Jetty and Collection CF fabrics into a colorful progression. My fabric collections are always intended to work well together, and these two groups relate especially well. The colors from one round out and complement the colors and textures in the other.
Fabric first…
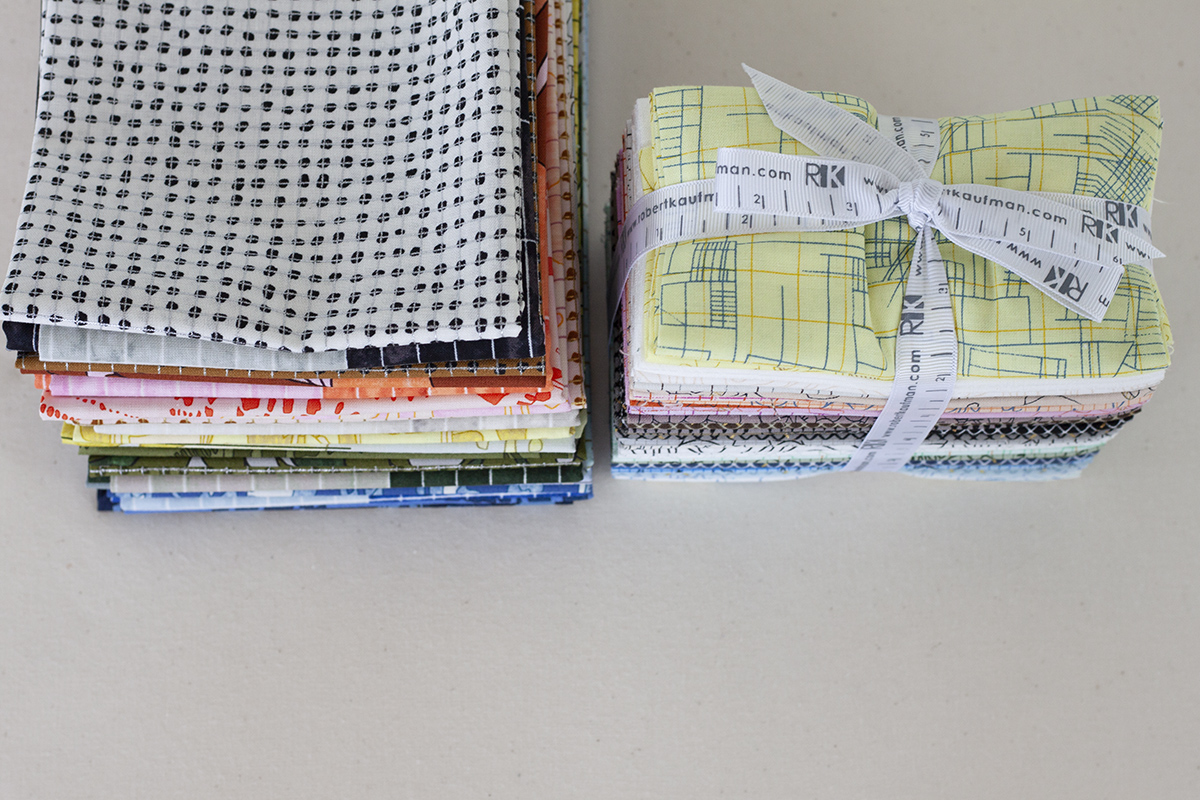
Conveniently this project can be made from a Fat Quarter bundle of Jetty and a Fat Eighth bundle of Collection CF. You’ll also need a little bit extra of one of the prints–an eighth of a yard additional does the trick. (This one is my pick.) After gathering the fabrics together, I organized them into a pleasing array of colors. Then I cut the block strips (as described in the instructions.)
I can’t stress how much I enjoy working on a project in this way. It’s not only satisfying seeing colors beautifully arranged, but it’s also a thrill to work through new colors and combinations as you sew up your blocks.
Mapping out the color…
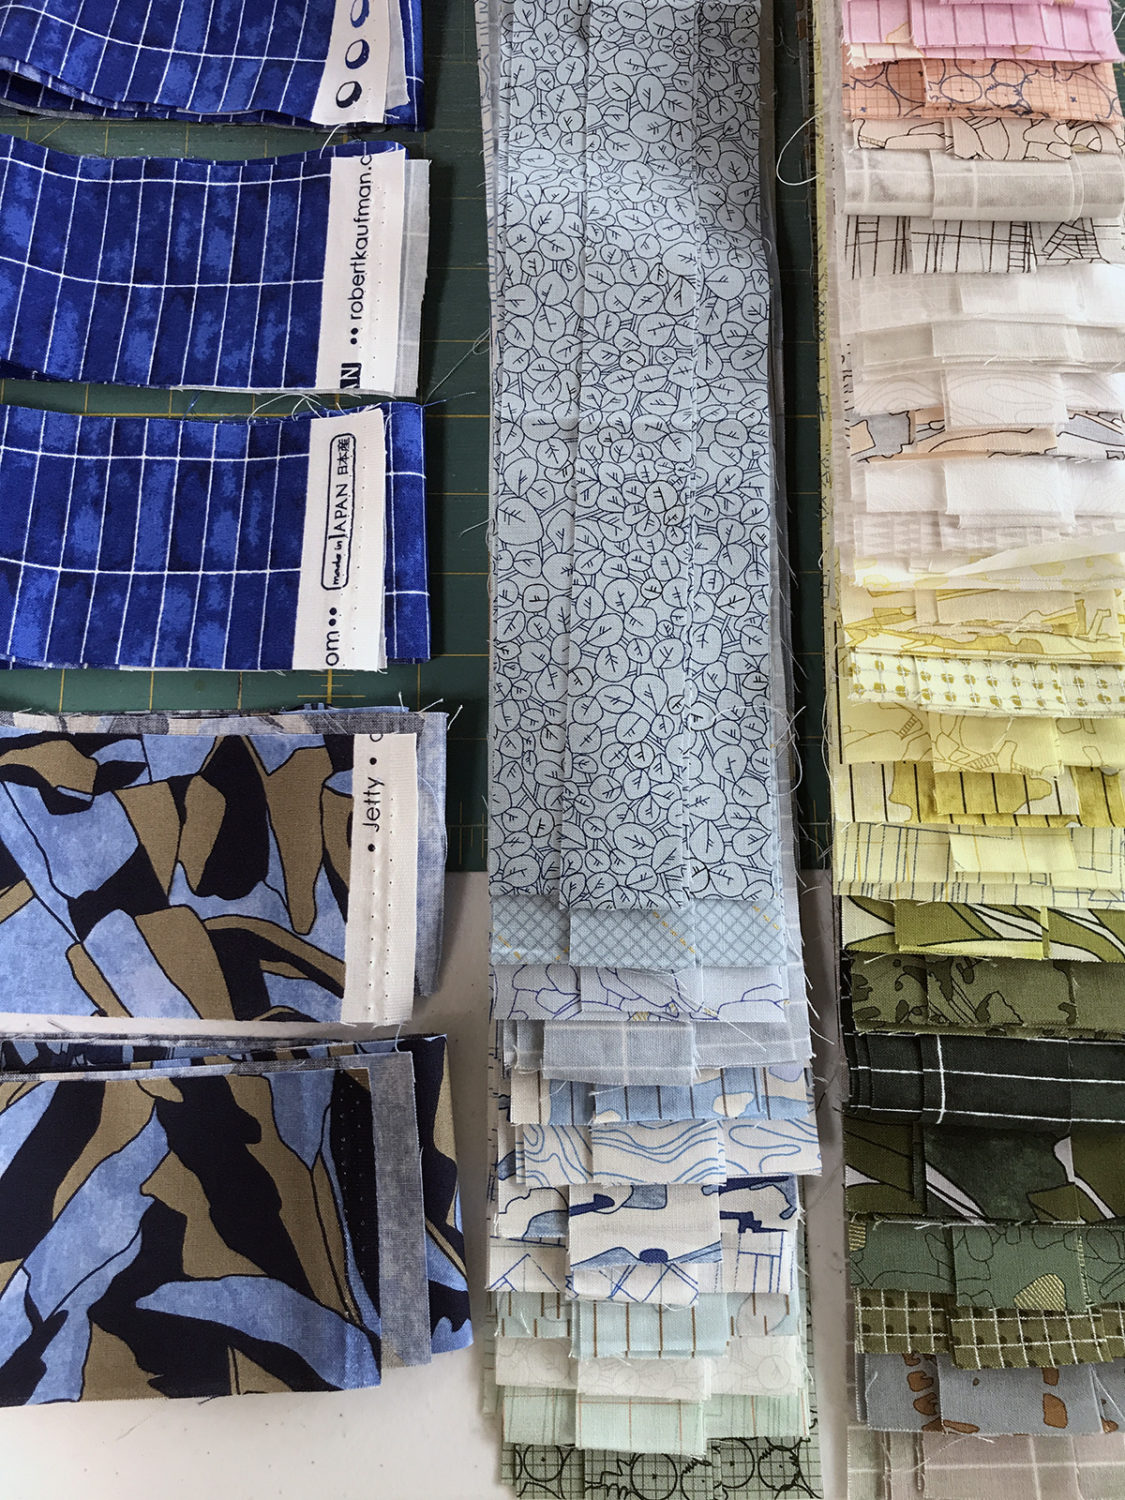
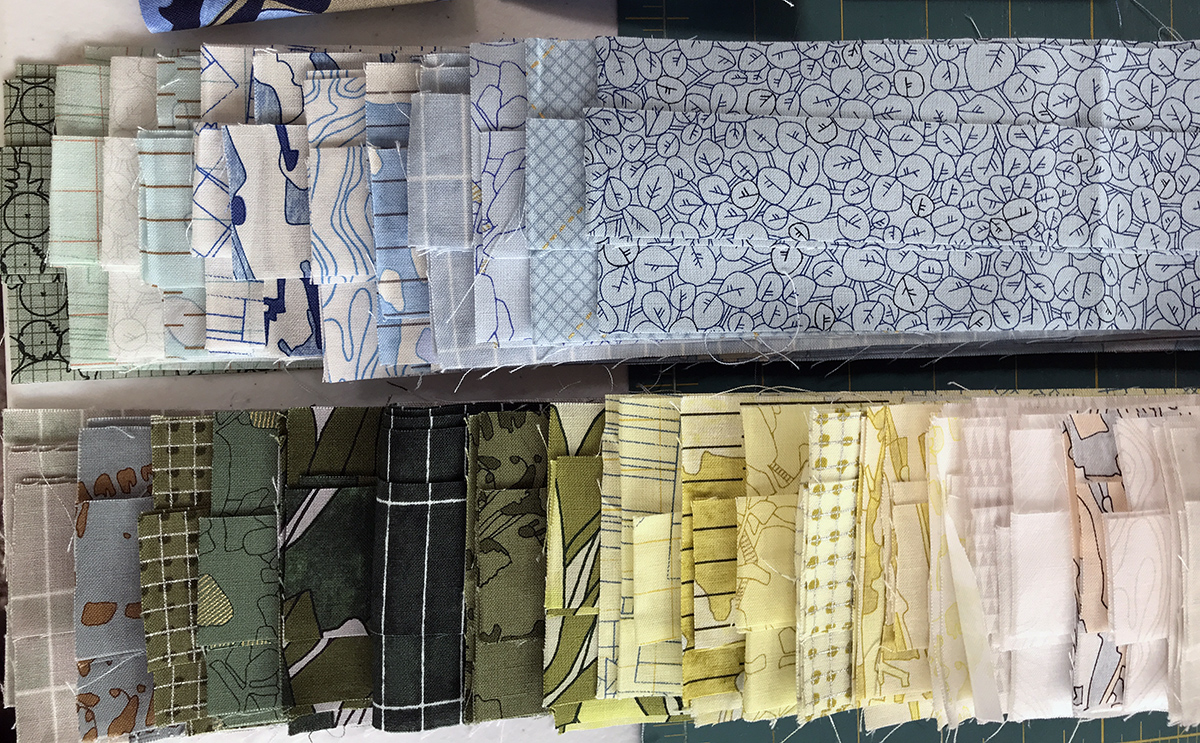
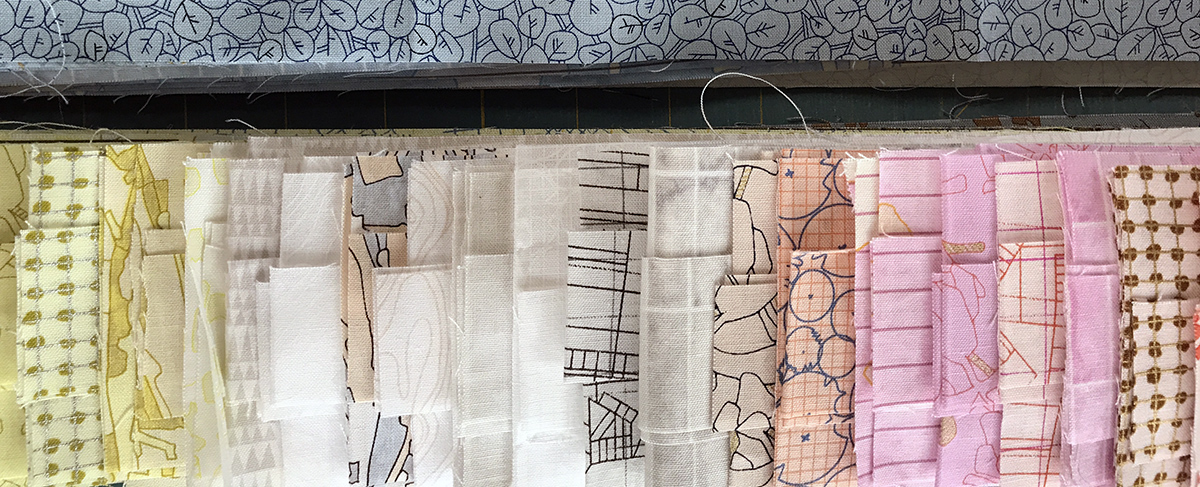
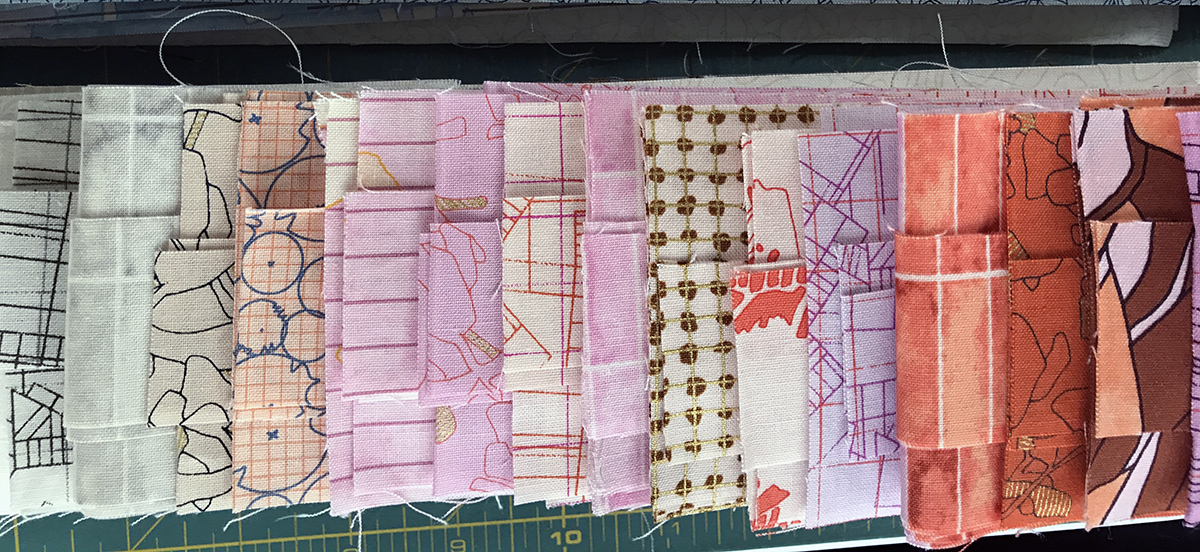
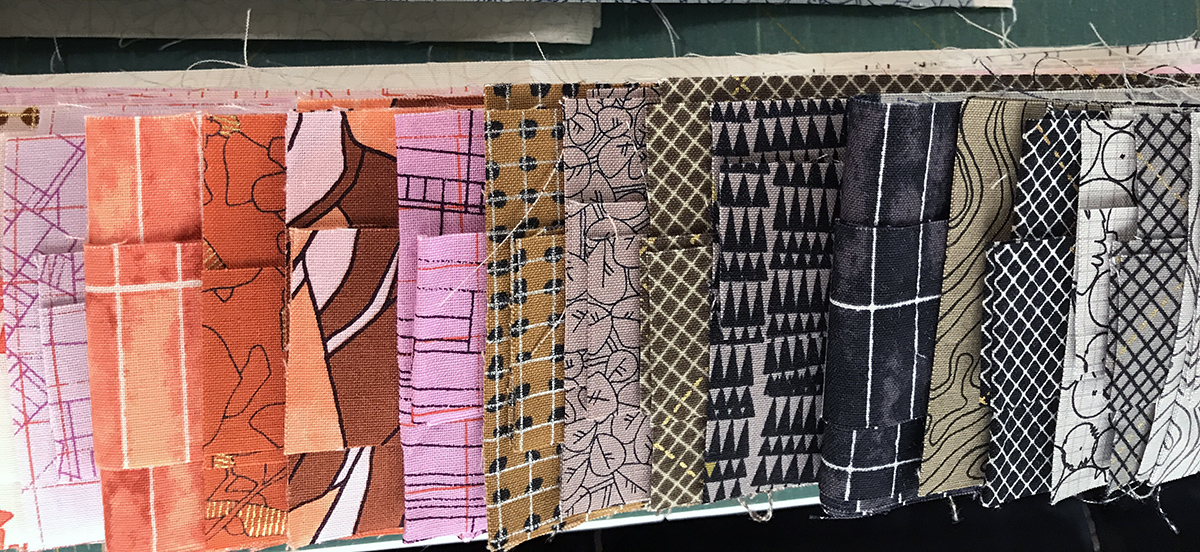
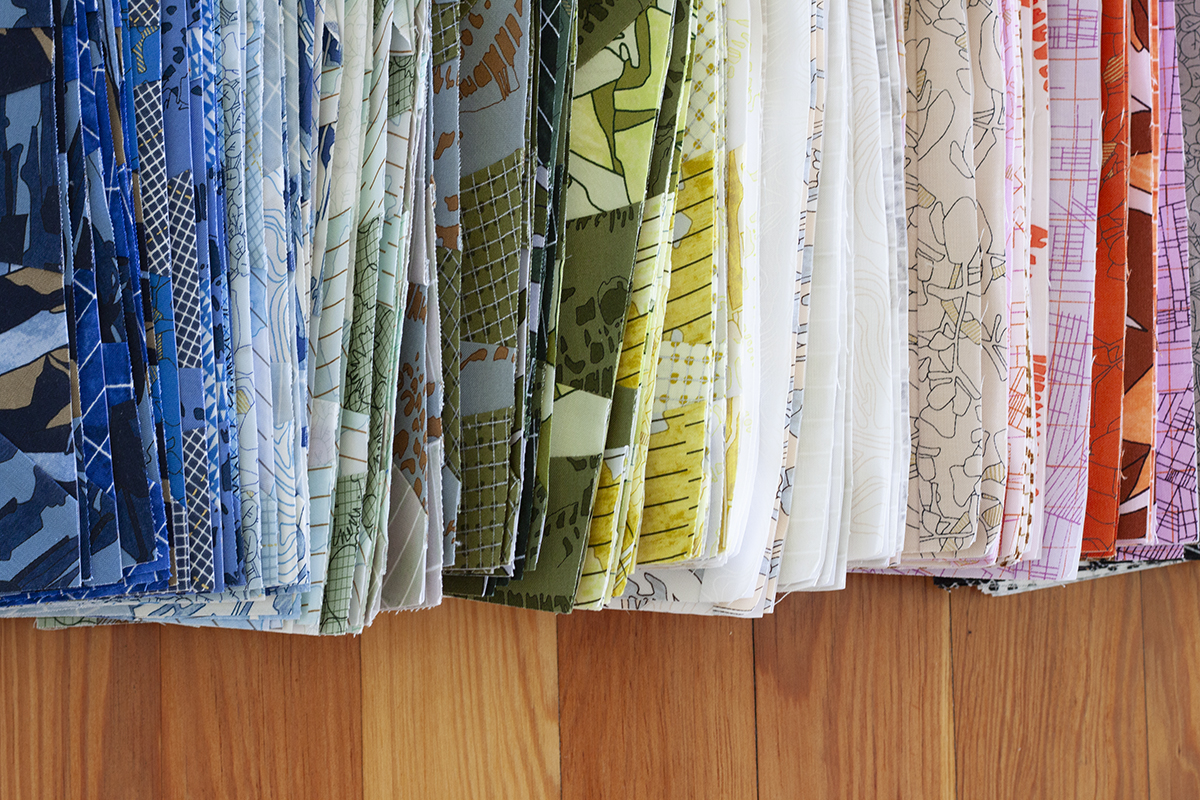
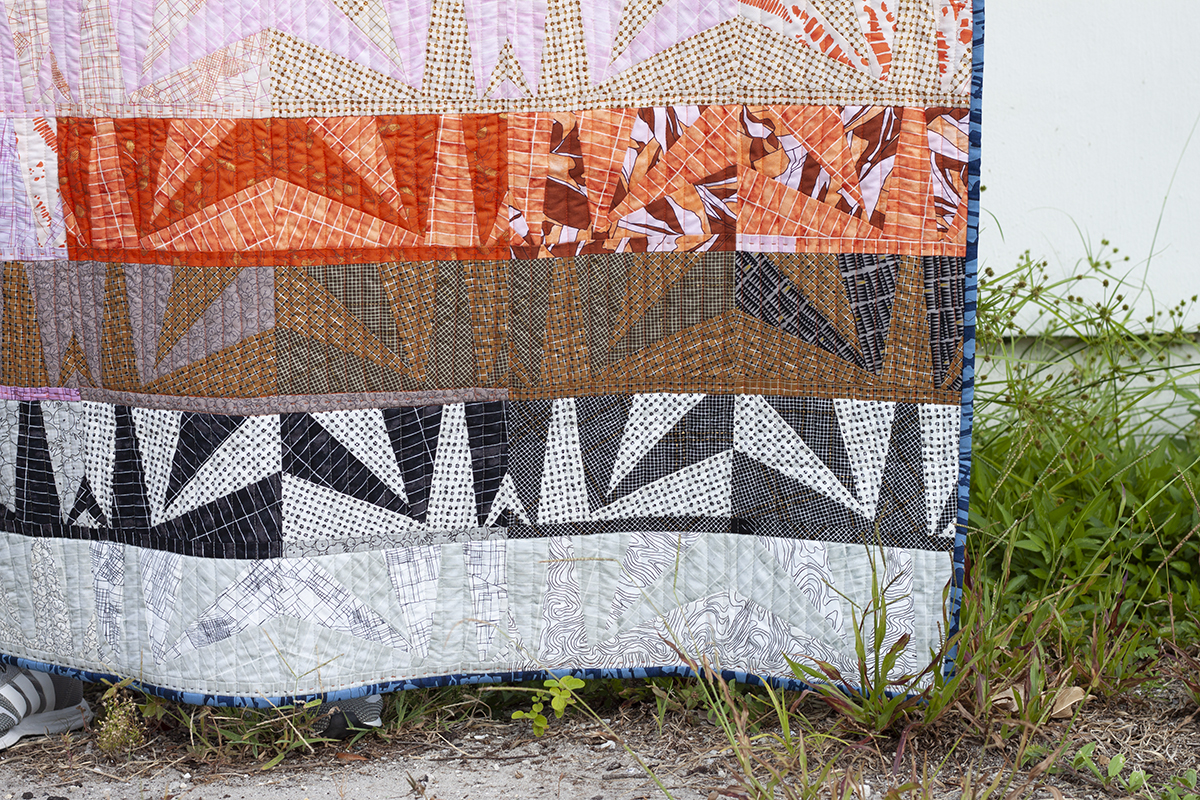
Starting with the darkest blues, I arranged the strips progressing to lighter blue, green, yellow, cream, white, peach, pink, orange, brown and black. Even with this same set of colors, I know you could graduate the colors in any number of other good ways.
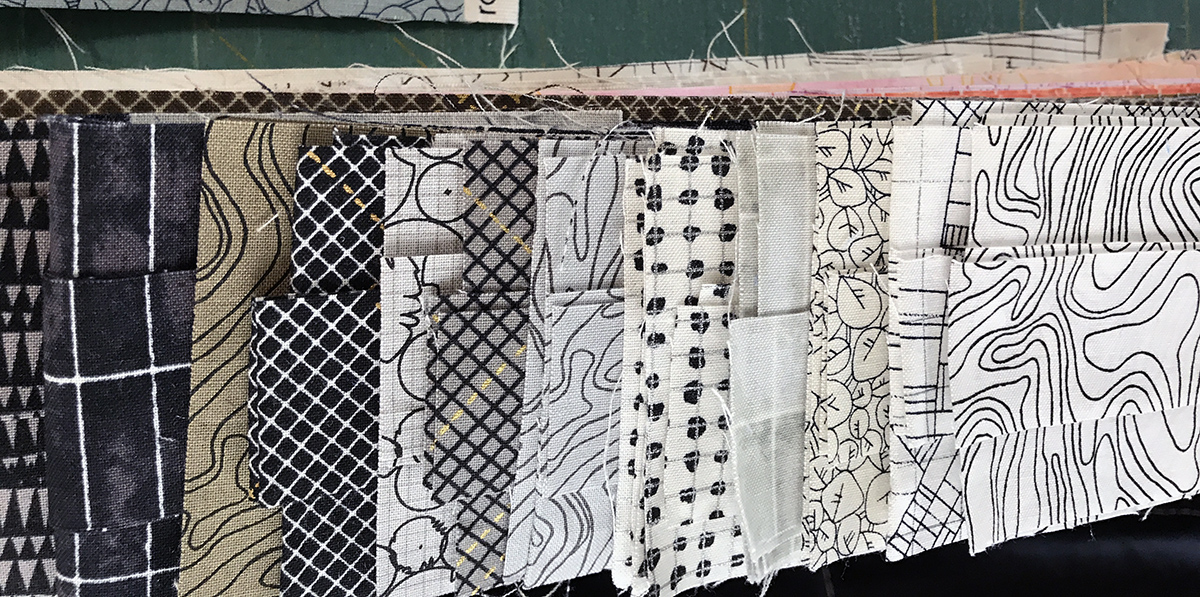
One note on working with the colors…
While I ordered my fabrics by color, I did sometimes shift choices up or down when/if I wanted to give the block a little more contrast. In many cases I used neighboring choices as planned, but in some cases I offset a choice as desired. Since each block is made with 2 fabrics, it’s easy to plan out these choices. Here is what it looked like for me.
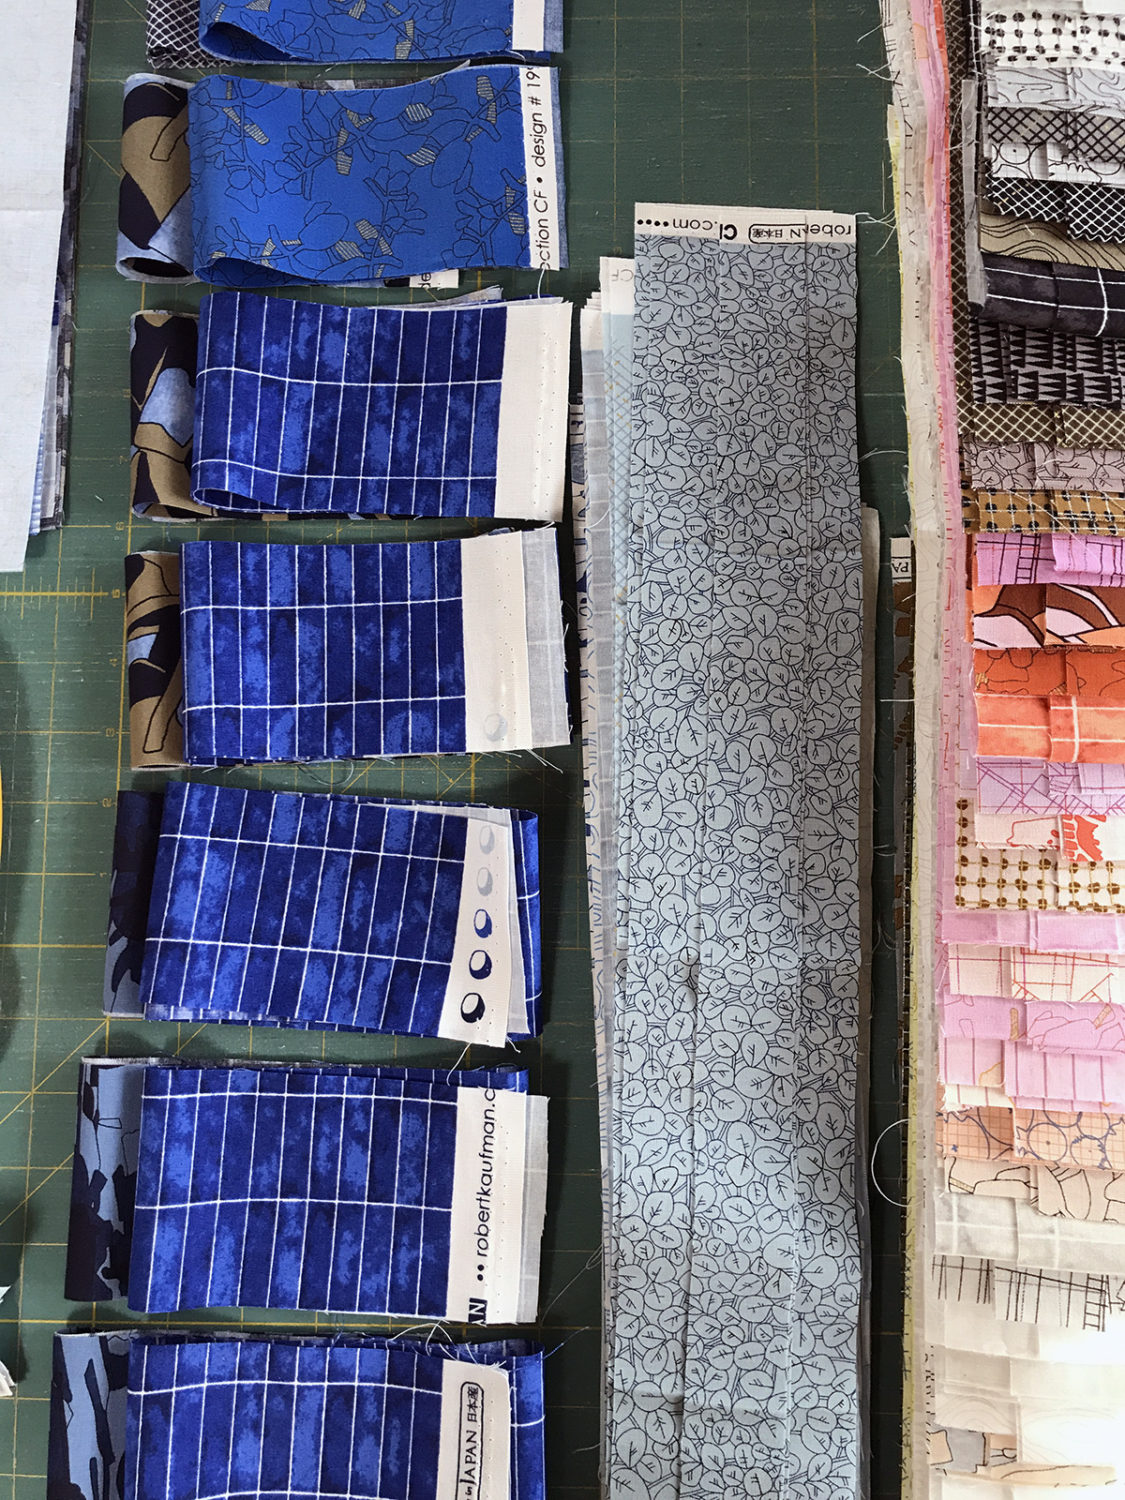
Above my strip pile is on the right, and my pairings are lined up in order on the left.
Approaching the layout…
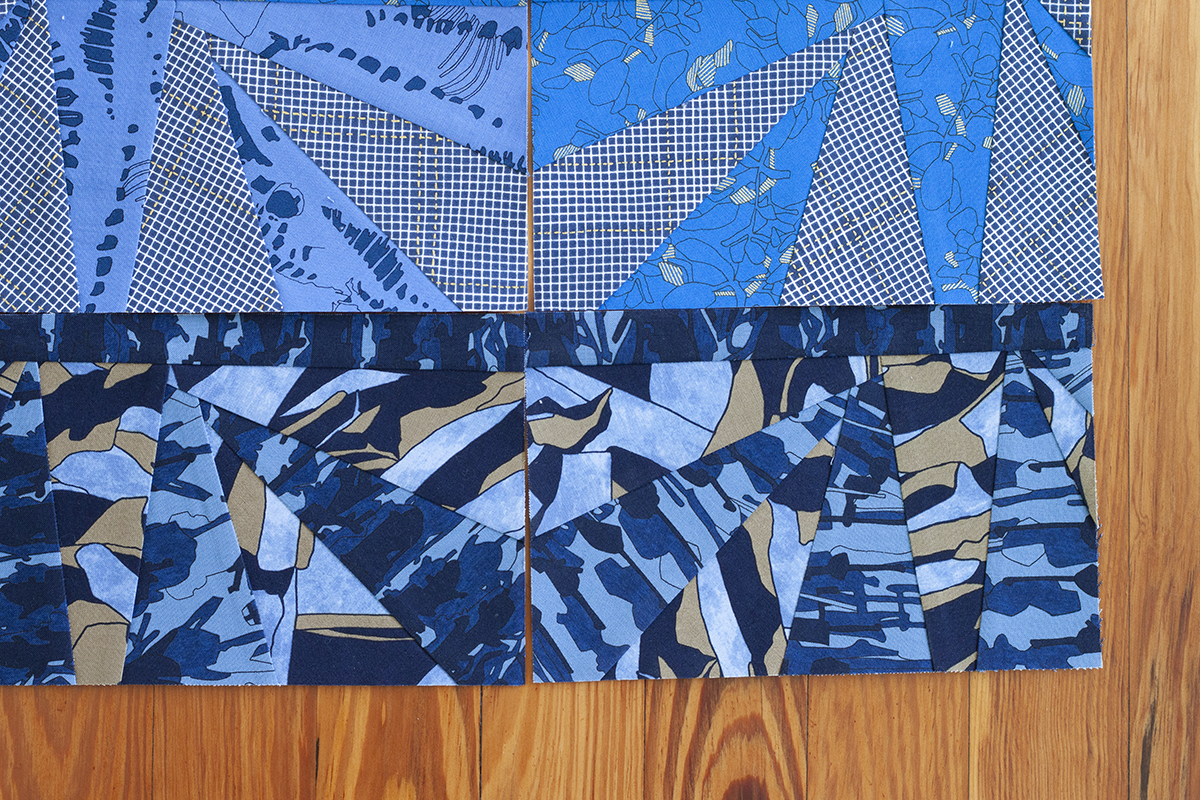
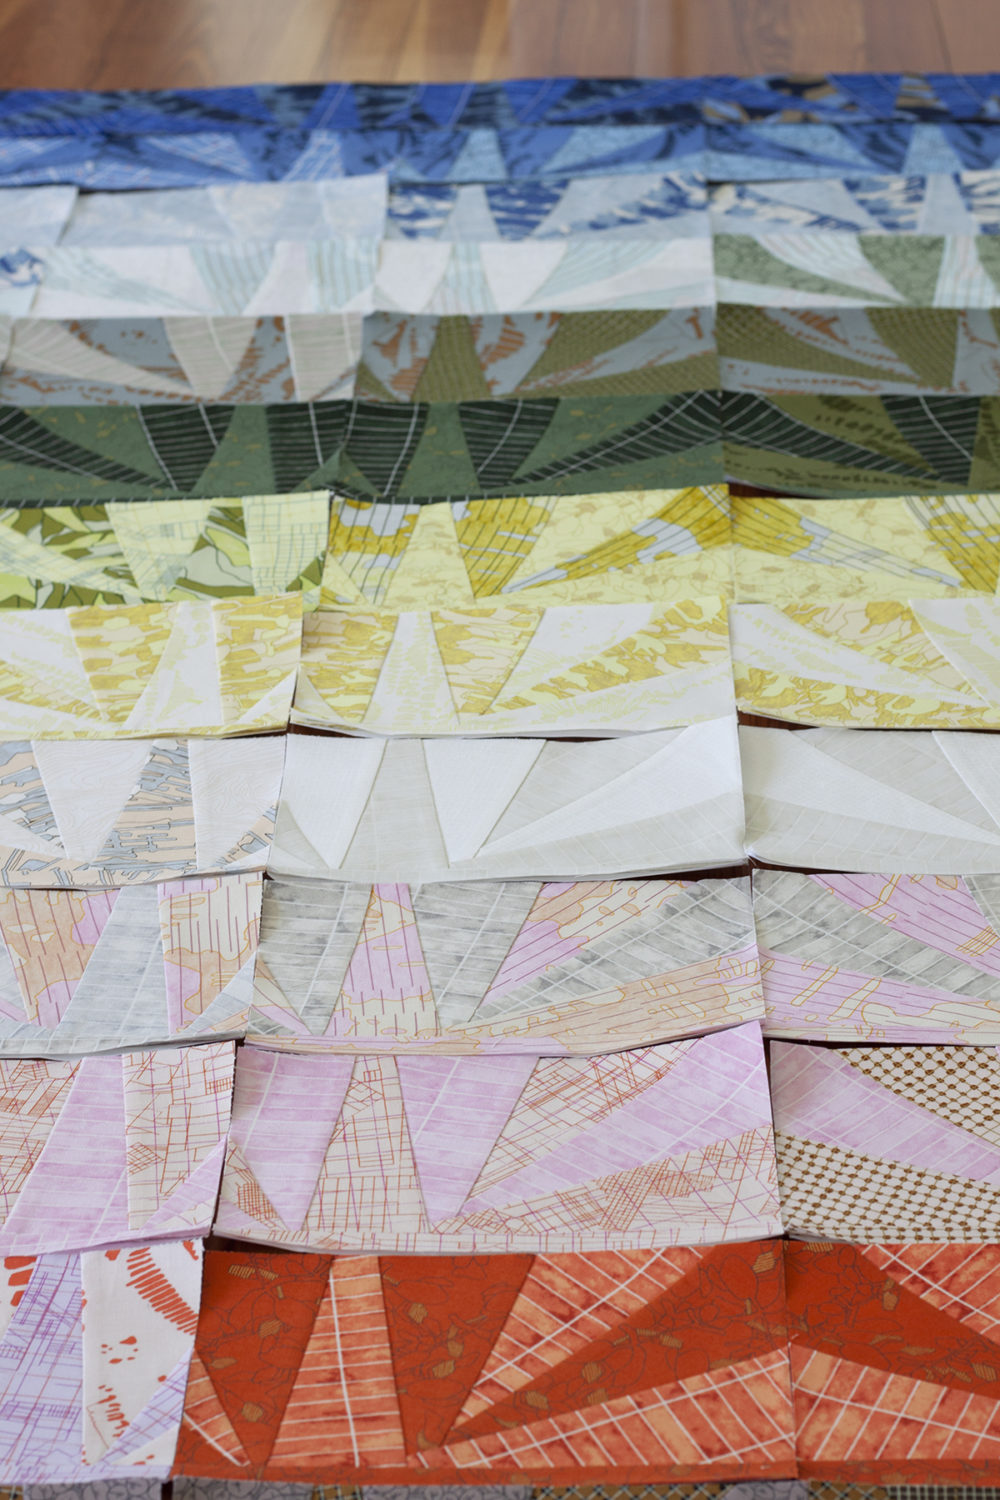
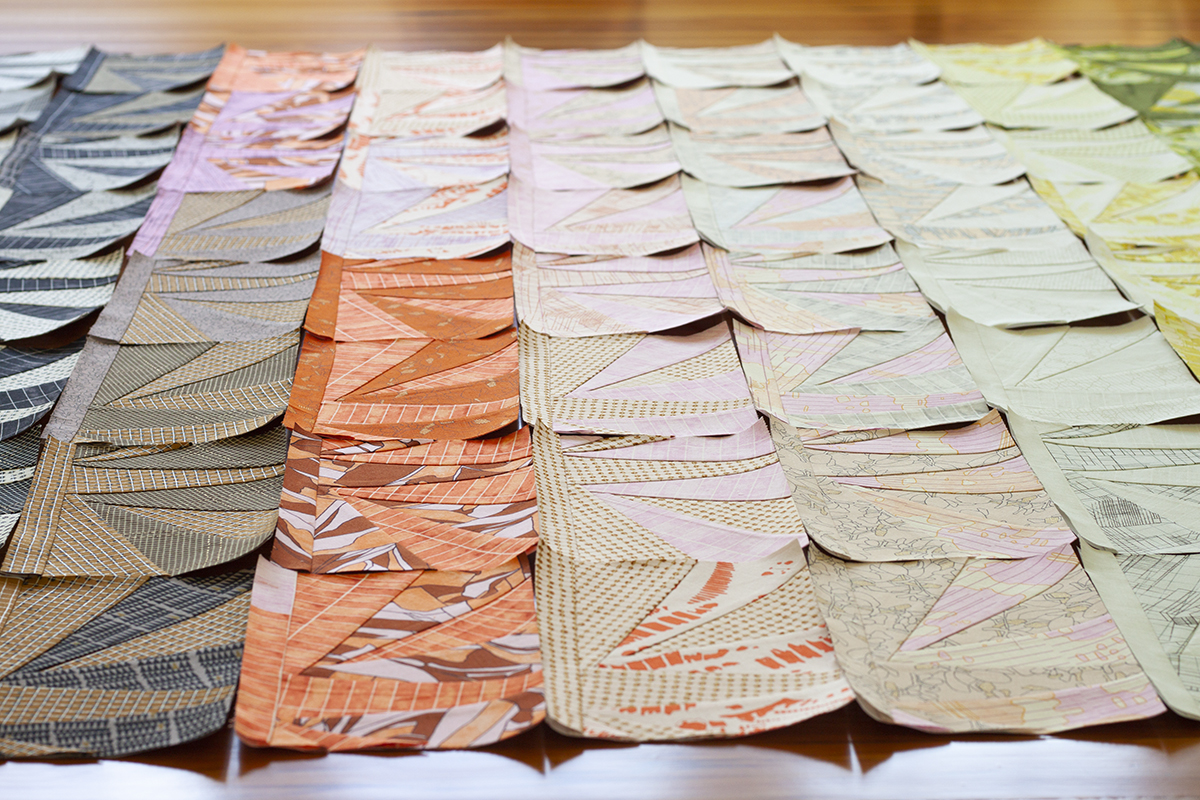
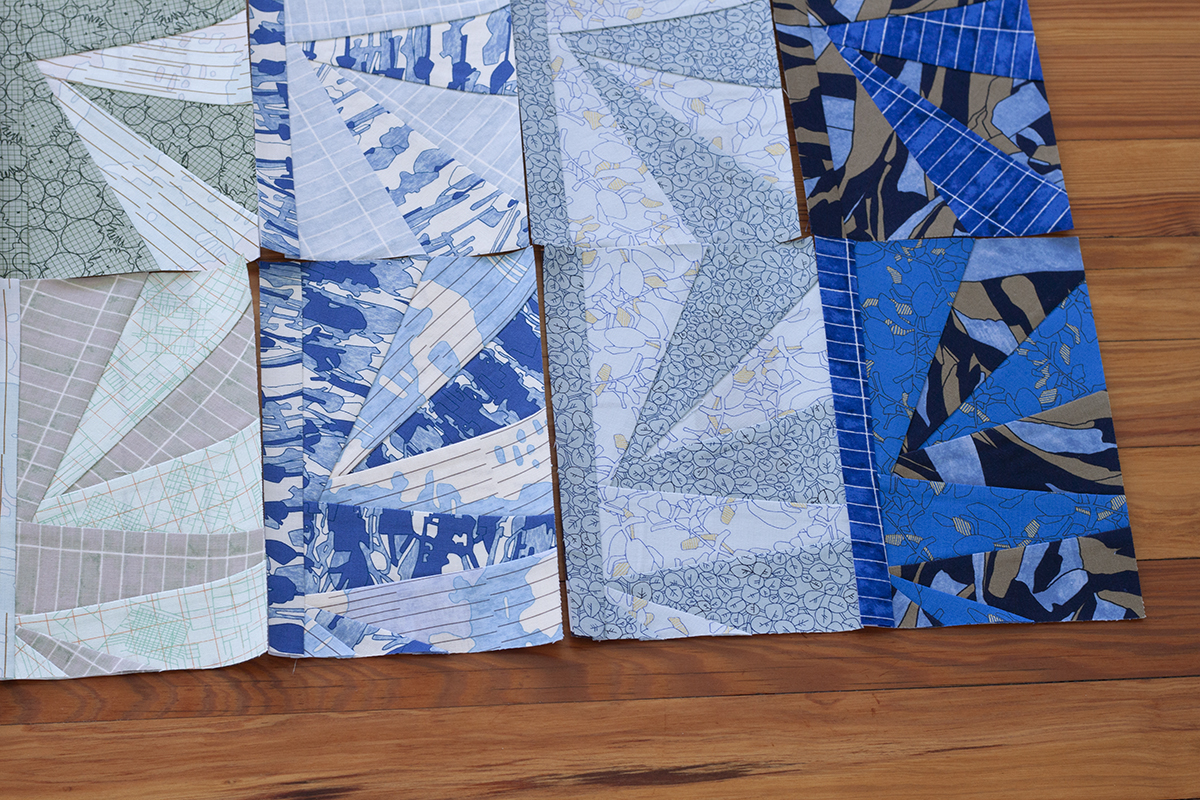
Unlike my previous Eads quilts where blocks are mixed up and rotated as I wished, in this project I wanted all of the blocks to be in a repeated and symmetrical order. After prepping my fabric strips, selecting their color flow and printing my block templates, it made things easy to work down the block pile.
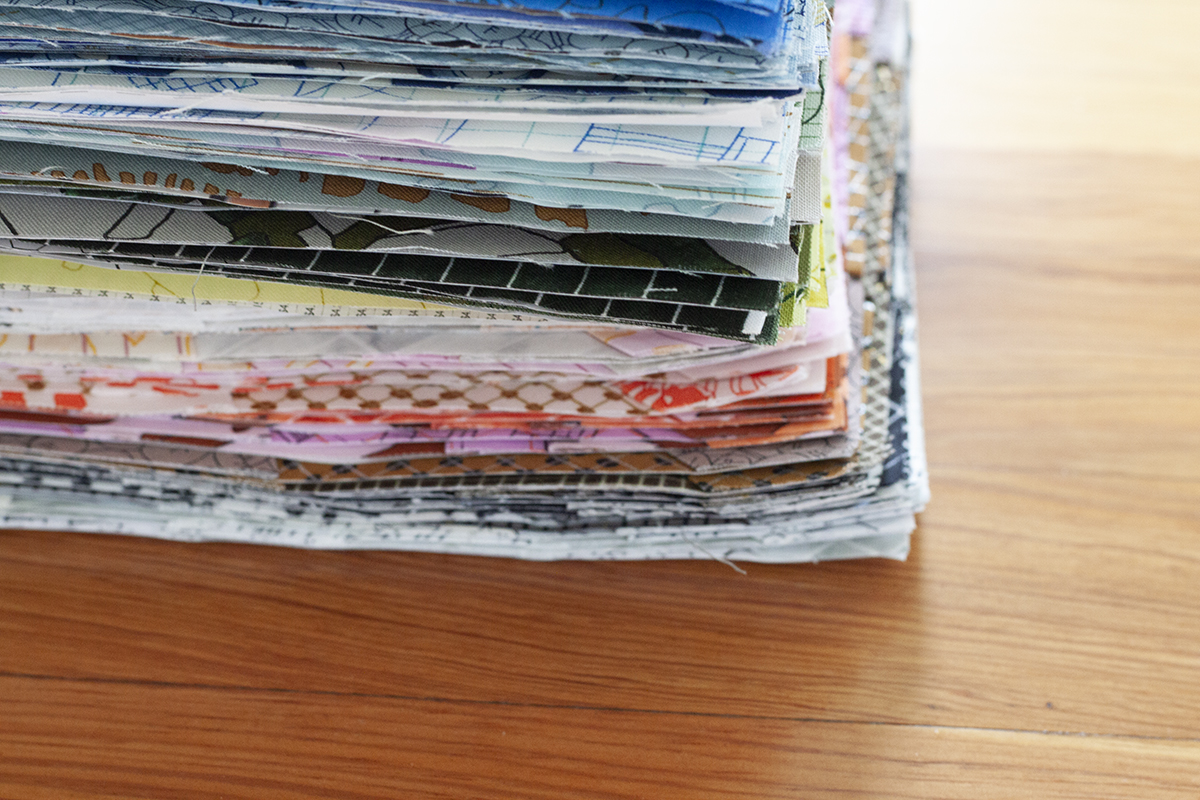
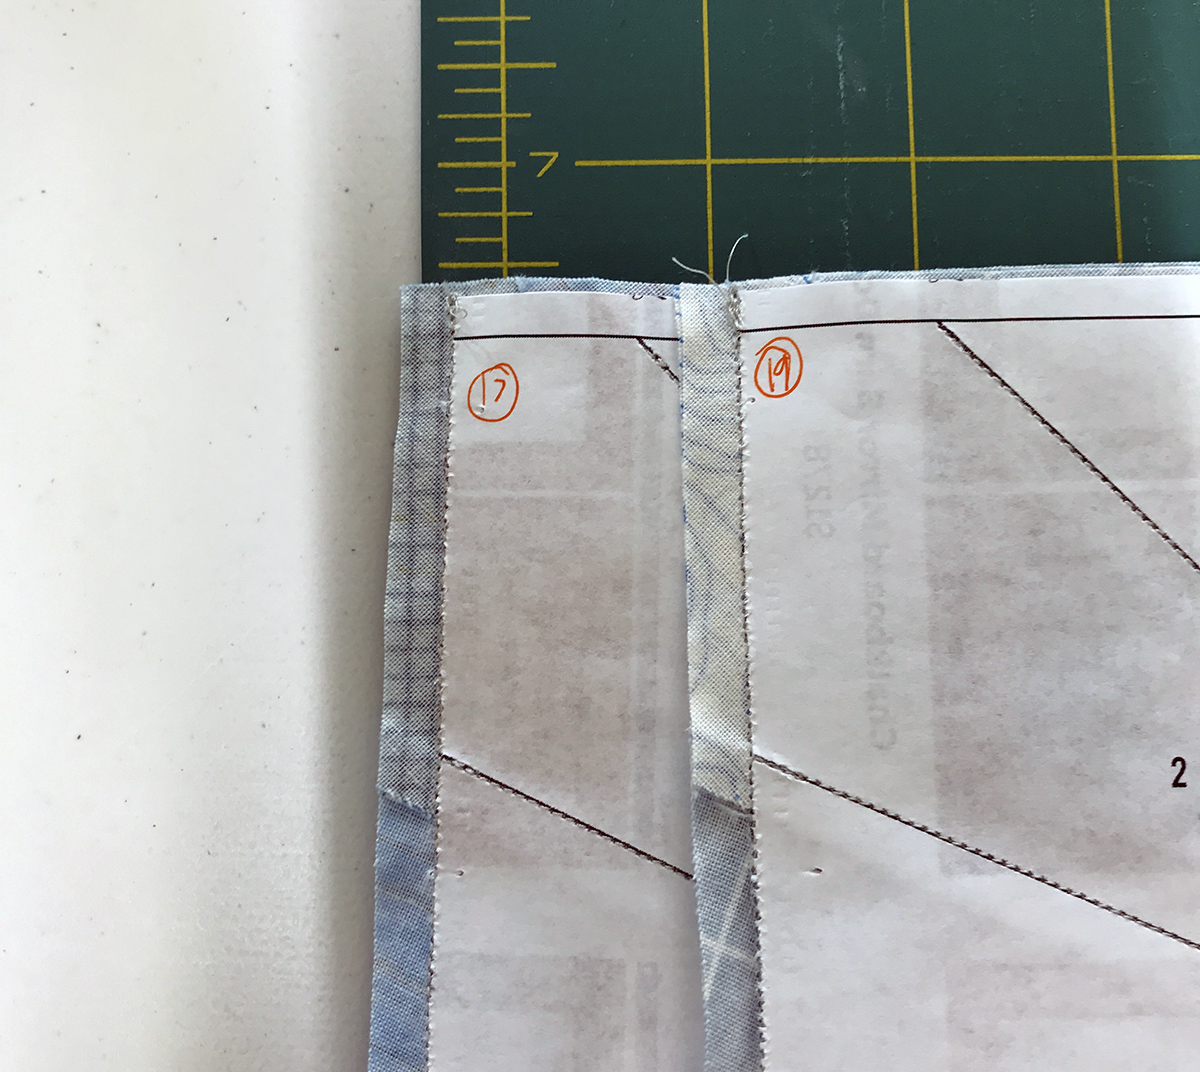
Because I know how some things can get shuffled, I numbered the back side of every block.
After the blocks were all sewn up, I couldn’t wait to get it all laid out. Again, this type of project is so satisfying to me, especially at this point.
Finishing the quilt…
After sewing the top together, I was eager to quilt it but not initially sure how I’d do it. I wanted something fairly simple that wouldn’t stand out too much, but I also wanted something to give it some nice texture and maybe even a little added color. I like the overall transition of color across the quilt and thought the quilting could be a great place to layer more of that in.
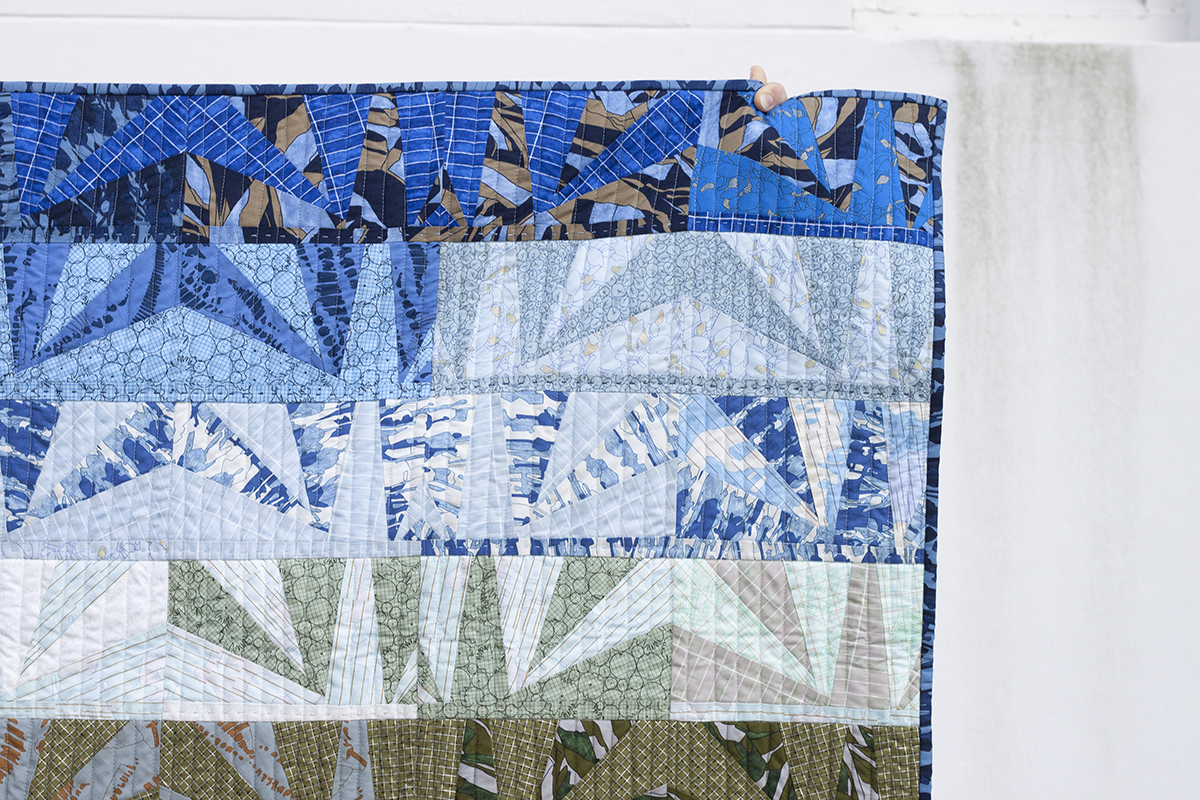
In the end, I did horizontal rows of big stitch hand quilting in colorful threads across the width of the quilt at the bottom of each row. Then I free motion quilted vertical lines across each row of blocks in colors that matched the fabrics.
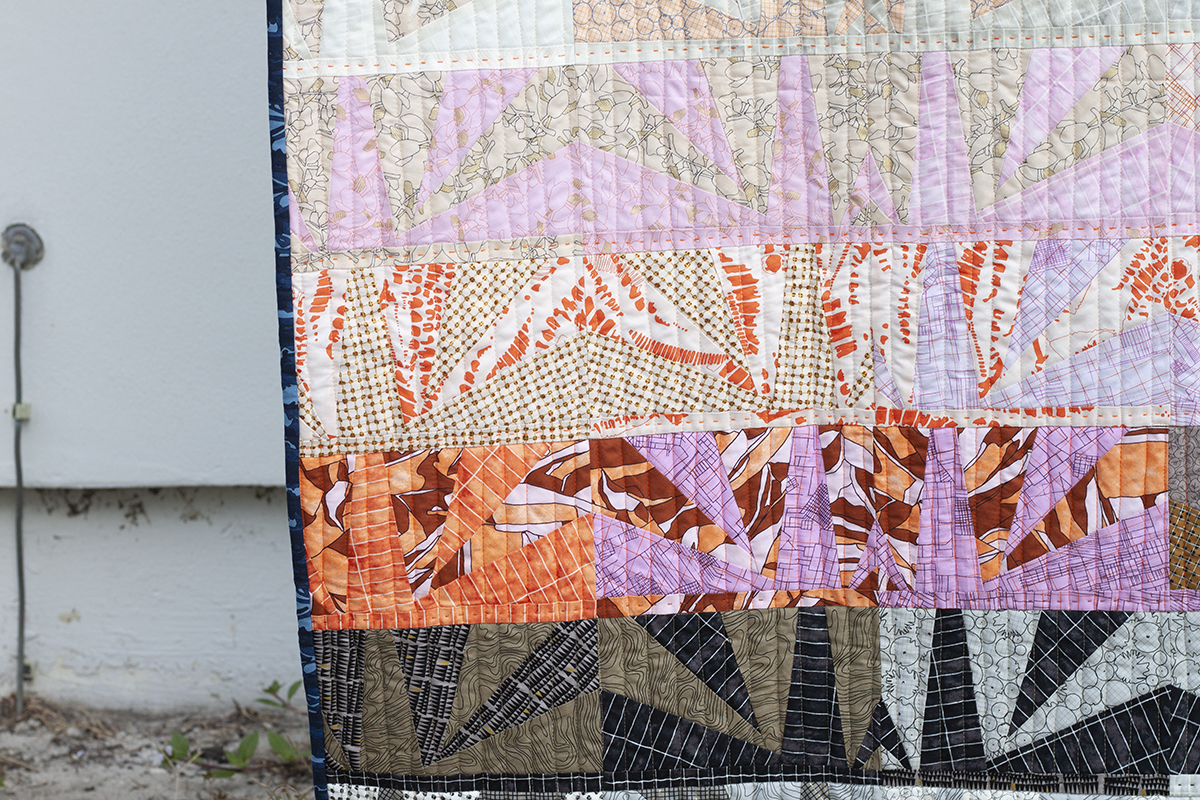
It was really fun quilting this quilt. I quilted by hand and by machine and with many different colors.
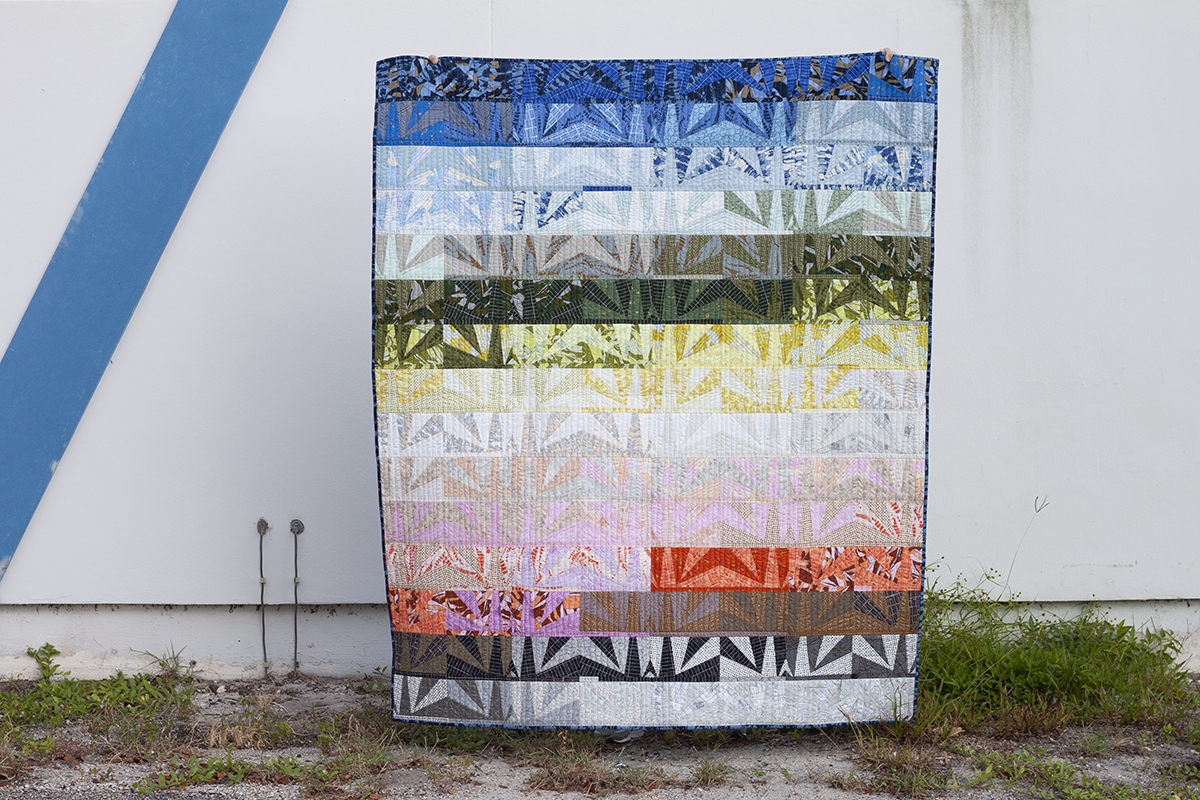
pattern: Eads quilt pattern
fabric: Jetty and Collection CF

This is just beautiful–I have your instructions and will begin to sew next week…gathering fabrics…hugs Julierose
Great! Happy sewing, Julie!
Lovely colour and tonal value transitions. Thanks for inviting us in to your process. It helps with my thinking and my own processes.
I’m really glad this is helpful, Sue! Thanks for reading!
Thank you for such a detailed plan for how you approached this quilt. I have many of your quilt patterns but have been hesitant in attempting a pattern like this due to my lack of confidence in fabric/colour selection. I have literally cut out the almost 200 squares for the Wainwright quilt, but have left it for a year as I’m unsure how to order and pair the colours! But this post is very informative and inspiring.
I’m so glad to hear that this is helpful, Thahera! My approach to my first Wainwright was actually very similar to this quilt. I stacked up my fabric squares in a pleasing order. Then I cut from the stack and laid them out as I went. I didn’t keep those colors in a super formal order, but they are generally grouped by how I initially started. Good luck with yours!
Gorgeous! Thank you for sharing your process
Thank you! I’m glad you like it. 🙂
If I purchase a fat quarter collection of Jetty and a fat eighth bundle of collection CF, how large will the quilt end up being?
To make one like the version I made and using those fabrics would be the Throw size, 64″ x 75″.
Thanks! I’m going to try it!
I attended your retreat in Sarasota and won the CF bundle in raffle 👏👏, and just bought Jetty and am anxious to expand my paper piecing expertise to EADS!! I love the color gradation layout you used in this version. One question, you mentioned that a full jetty bundle could be used with CF collection of eighth yards. What strips are caught out of the 1/8 yard pieces (thinking not the full set of 3 in and 1 and 1/4 in strips) and what size quilt were you referring to? I hope you and Lee had a good visit after the retreat!
Hi, Kathleen! It was great having you in class in Sarasota. 🙂 As for this Eads projects, I worked from Fat Quarters and Fat Eighths, which can be cut as outlined in the instructions with the fat eighth just giving you half as many strips since a fat eighth is half as wide. If you are working from eighth-yard cuts of fabric (4.5″ x WOF), you can cut a 3″ strip and then have the remaining 1.5″ strip to use in the smaller sections. I mention in the post that you might need an extra 1/8 yard of one of the prints just to give you more wiggle room. I made the throw size. Hope that’s helpful for you!