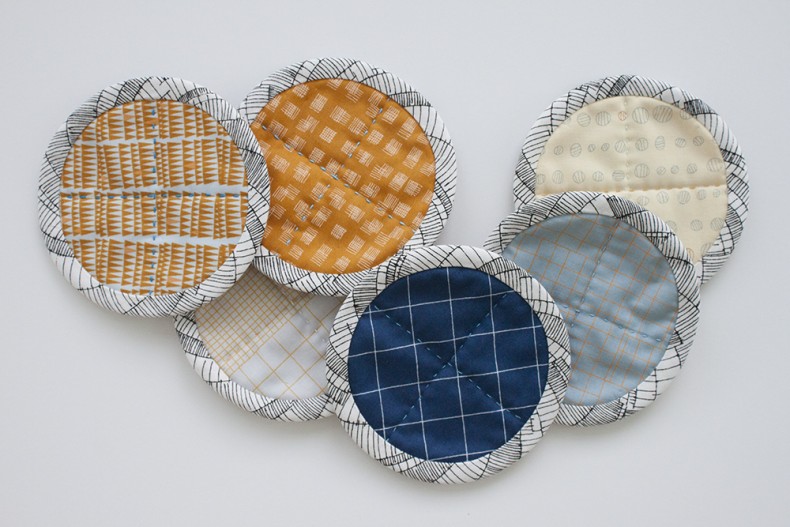
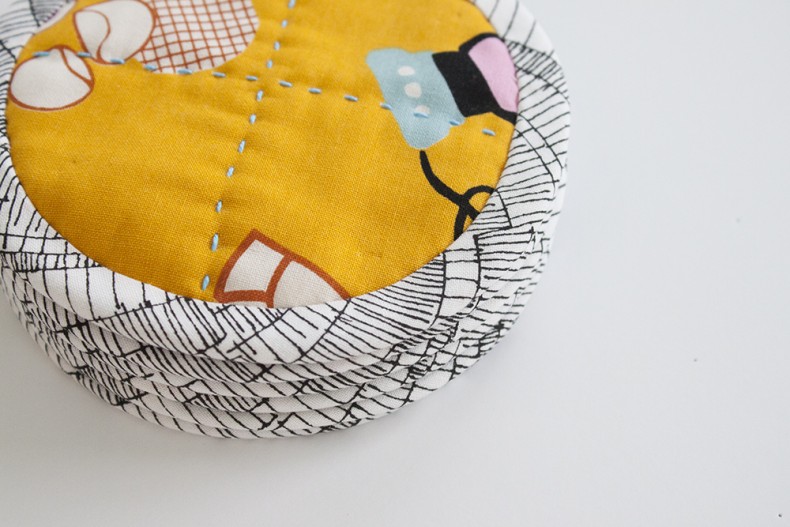
More big stitch coasters.

But I gave these away, which is why I wanted to make myself some to keep.
Tutorial: By me and found here.
Fabric (fronts, binding): Doe
Fabric (back): Atelier Pigs in Yellow by Lecien

More big stitch coasters.

But I gave these away, which is why I wanted to make myself some to keep.
Tutorial: By me and found here.
Fabric (fronts, binding): Doe
Fabric (back): Atelier Pigs in Yellow by Lecien

This site uses Akismet to reduce spam. Learn how your comment data is processed.
Carolyn Friedlander creates quilt and sewing patterns for the modern maker. Find projects, inspiration and Carolyn’s fabric collections.
Sign up for my weekly-ish newsletter to stay updated on the newest projects, posts, products and other good stuff.

These are on my to-make list. So cute and so many possibilities!!
Do you have any tips on joining the binding ends when you’re working on a curve, especially on such a small piece? I can barely see the seams on yours! I made a circular mug rug – basically the same as these but larger – and that part gave me trouble.
I’d like to know about the binding, too. That’s such a small area that I know I would have trouble binding the edges with such short ends and on a curve, too.
Sure thing! I usually partially sew the binding on, stopping a few inches from where the binding ends will need to be joined together on either side. Then I match up the seams to join, stitch them together, open the seam allowance and readjust the binding along the rest of the edge to finish. Using pins helps me, but you can do it however you’d like.
Another way to do it would be to measure the length around the coaster, sew your binding into a loop that exact size, and then pin the entire binding in place before stitching down.
It all gets easier with practice!